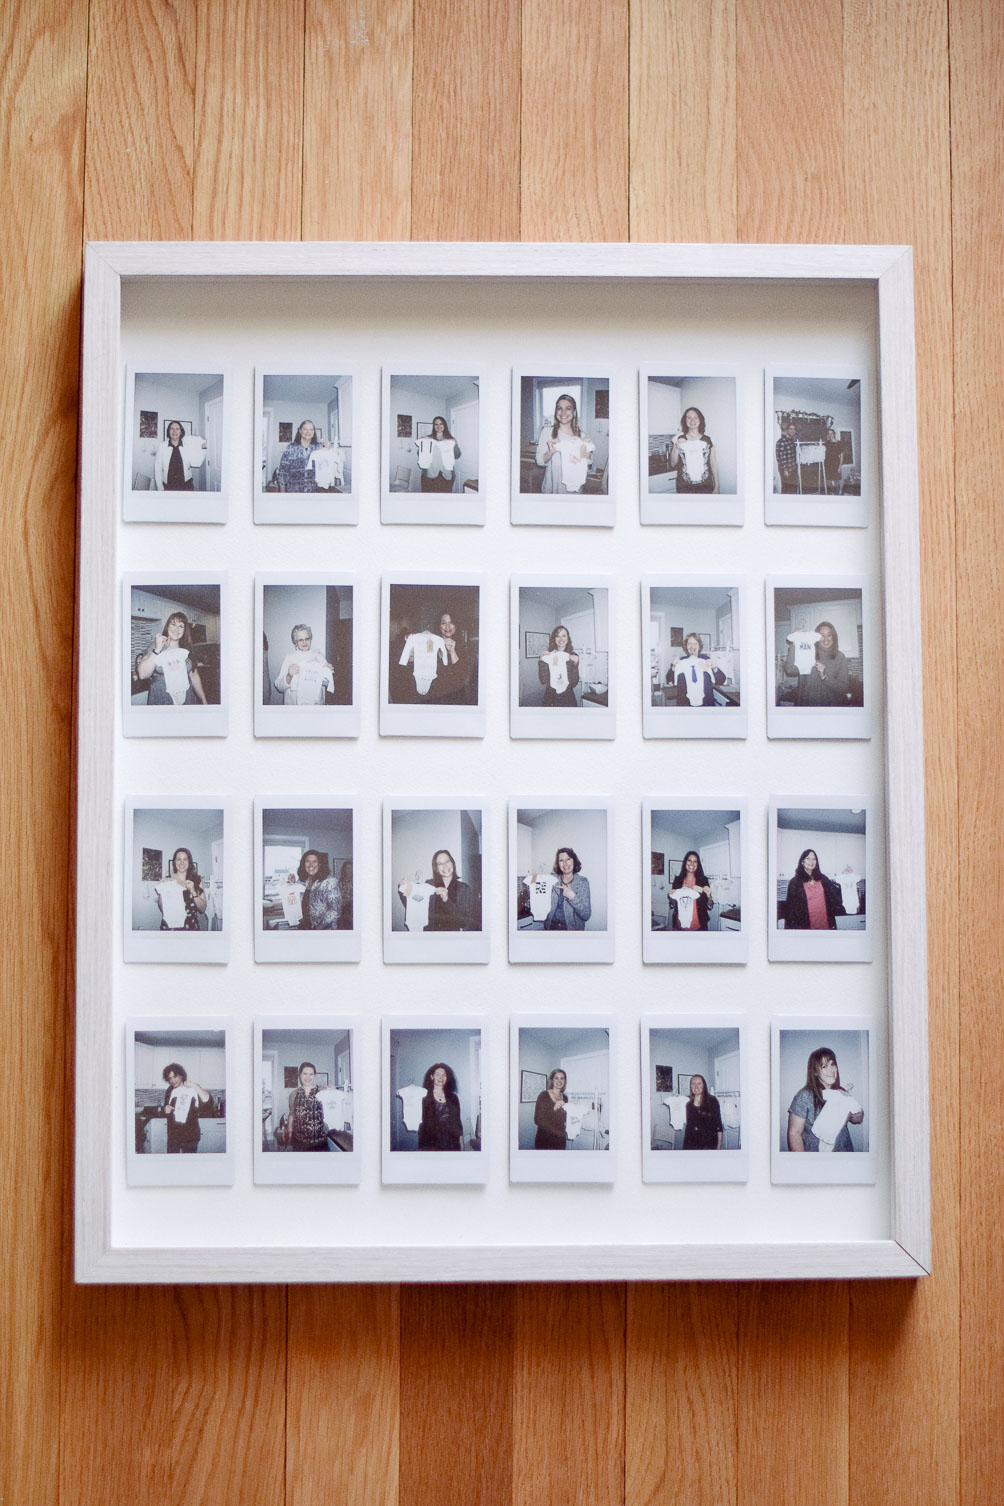
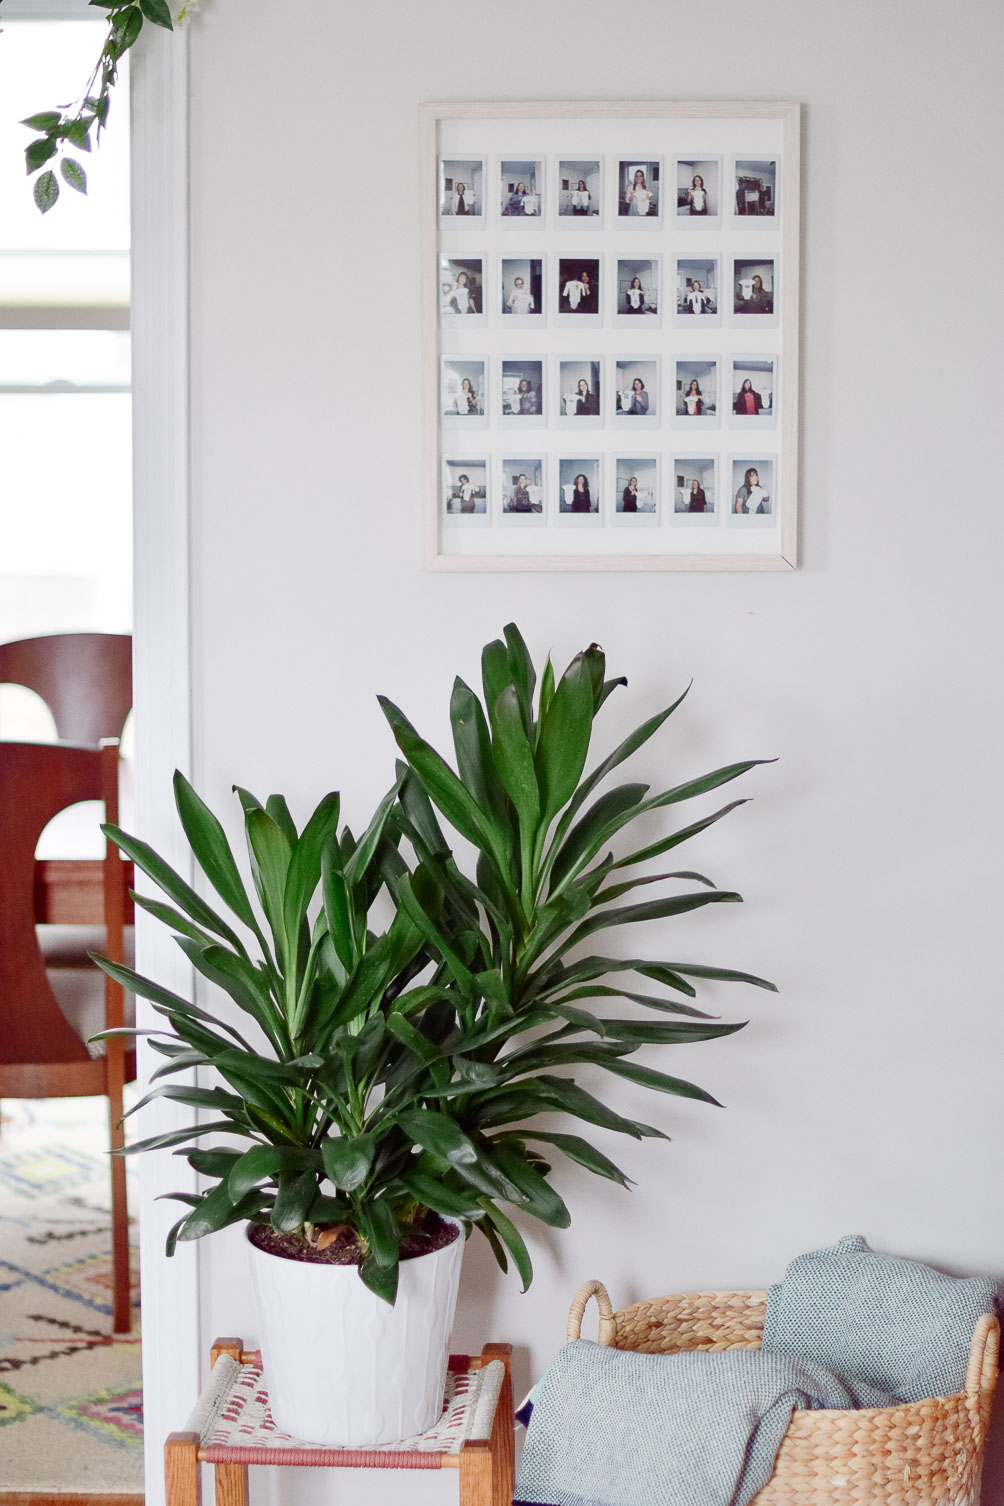
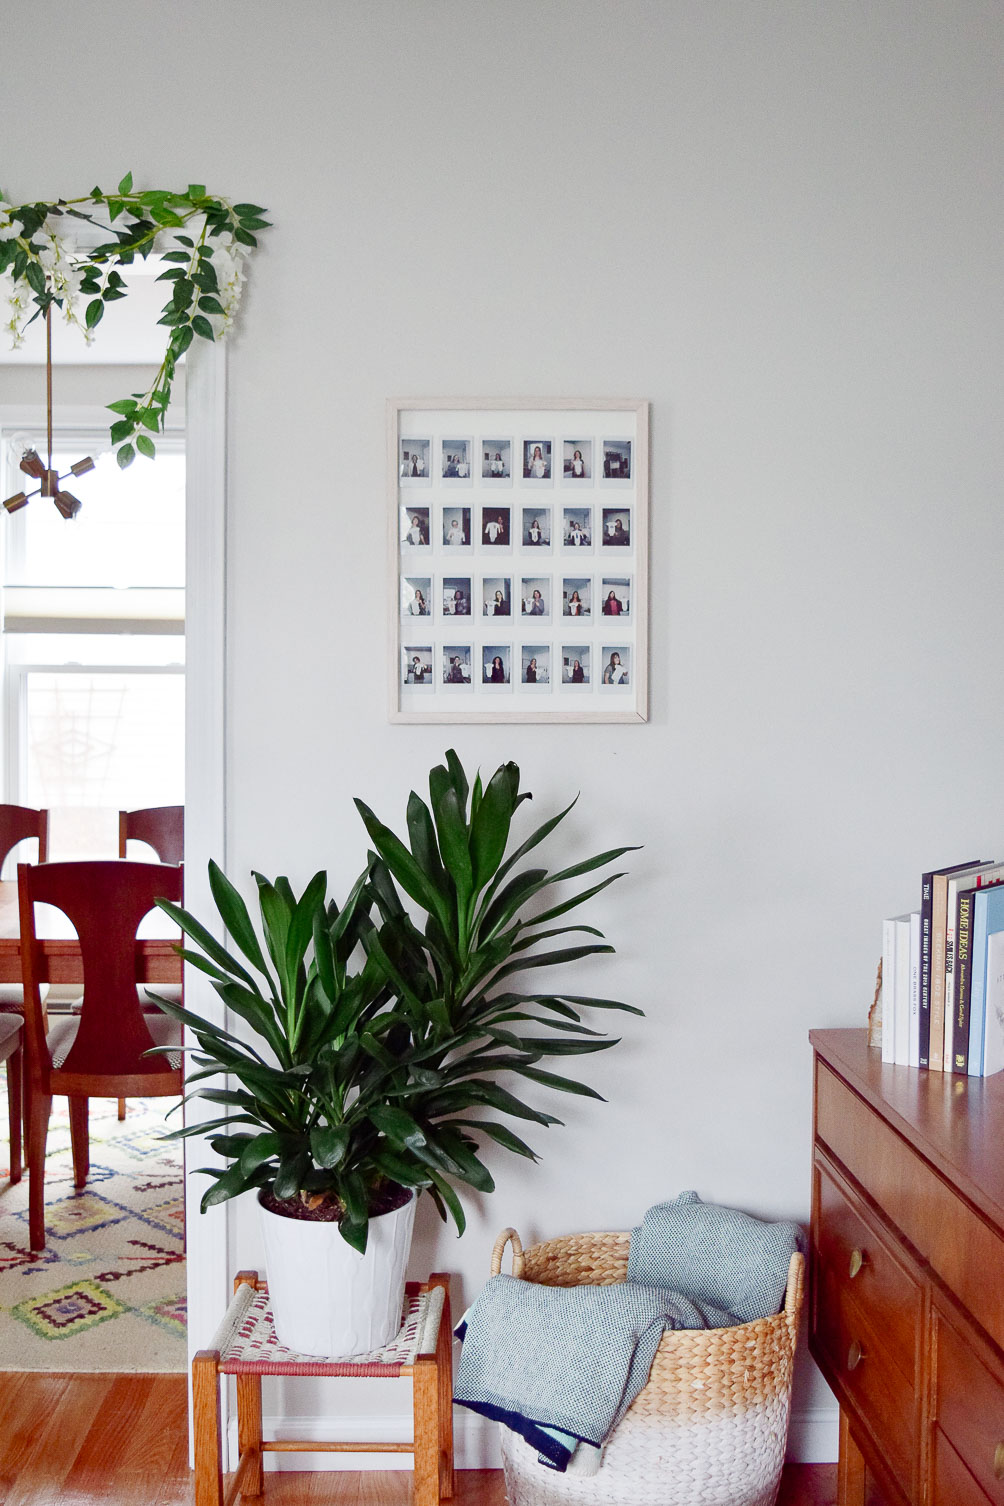
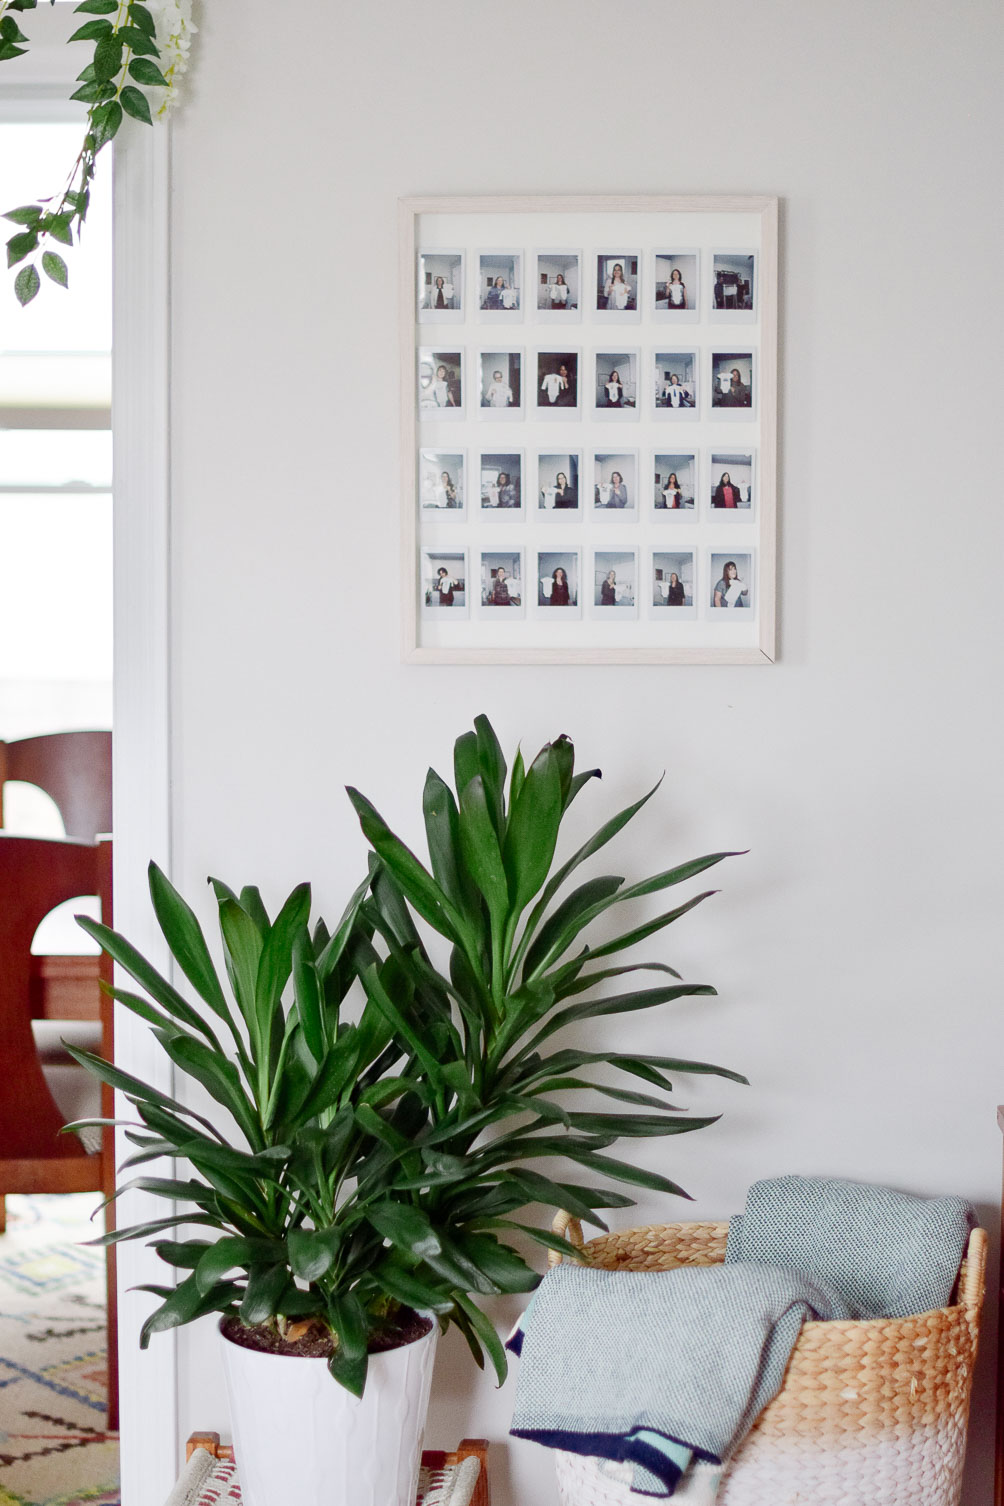
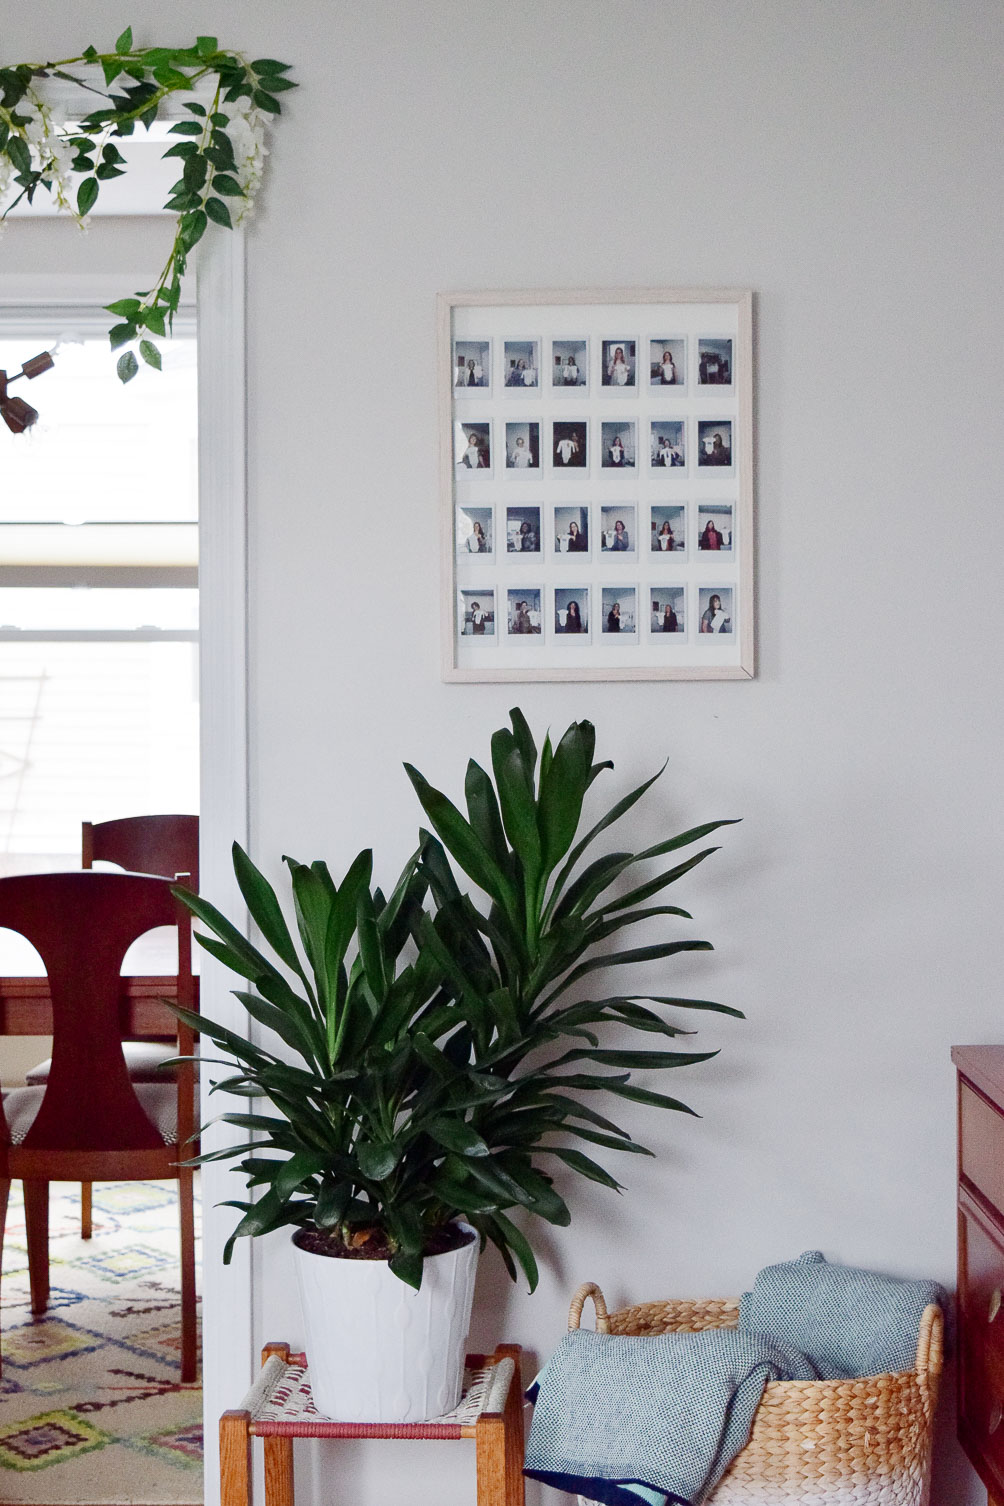
 At my baby shower a few weeks back we had each guest decorate a onesie for our nugget. It was wildly entertaining to watch everyone put their own spin and character into the project. And, at the end, I wanted to make sure we had a permanent record of who made which one. That way, I can send pictures of him wearing them in the months to come. So we snapped a quick Instax (a.k.a. mini polaroid) of every attendee holding their onesie. Not wanting all those images to be lost in new baby chaos, I created this diy instax photo gallery frame. The result was sleek, looks professionally done (if I do say so myself) and already brings about many fond memories. I have no doubt that there’ll be more of these frames in my future. Here’s a quick tutorial on how to create your own.
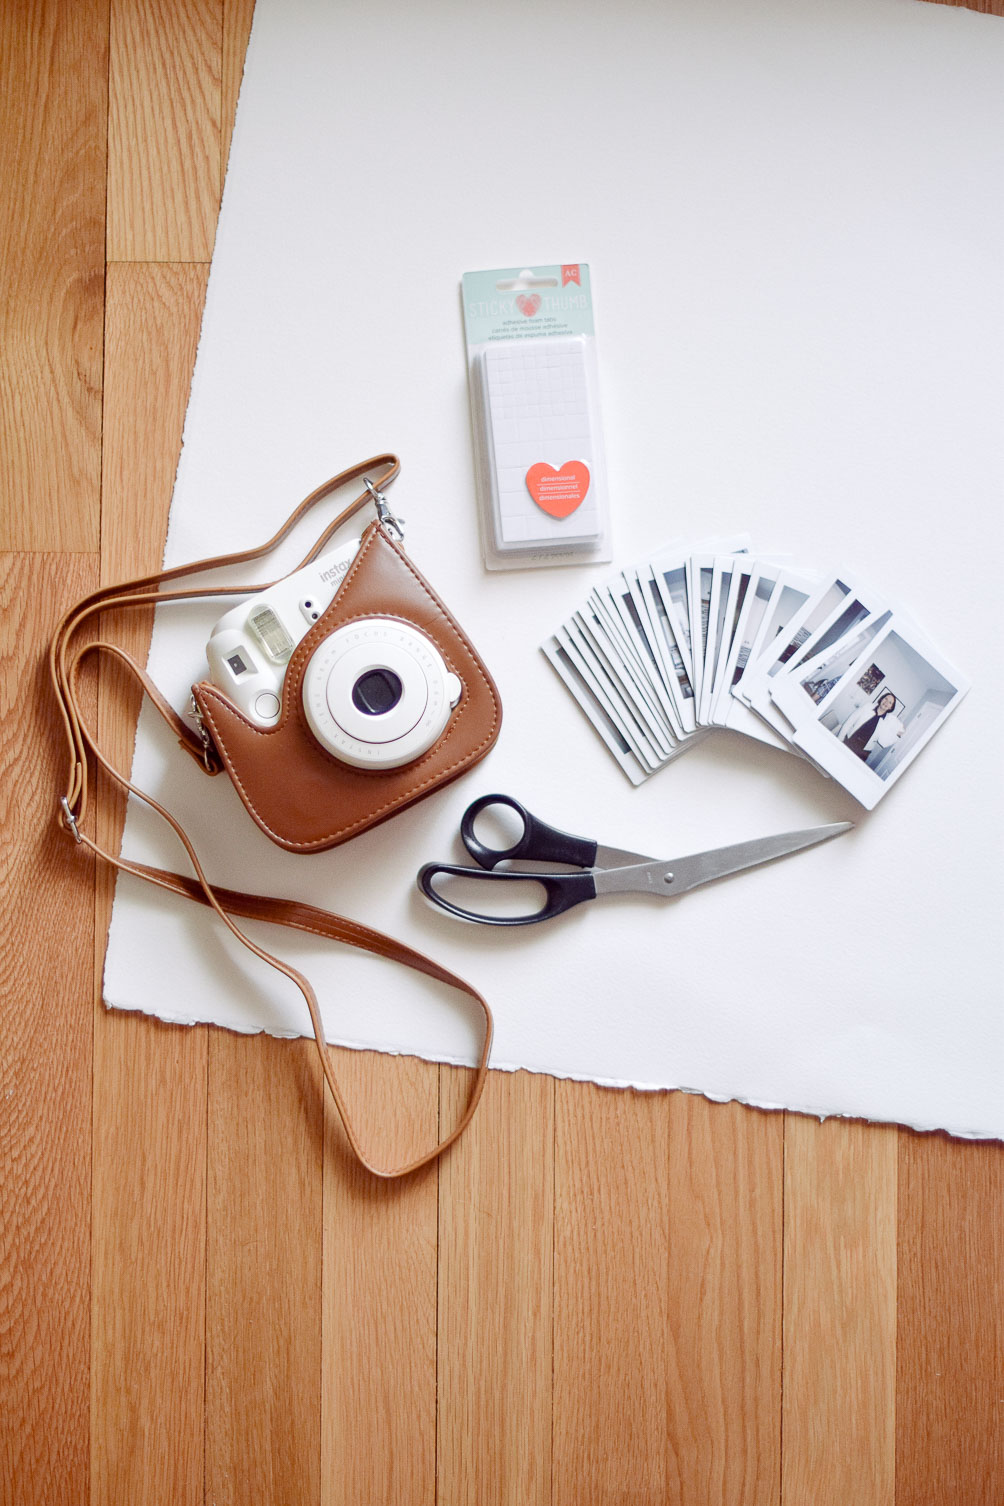
Supplies:
- Instax photos
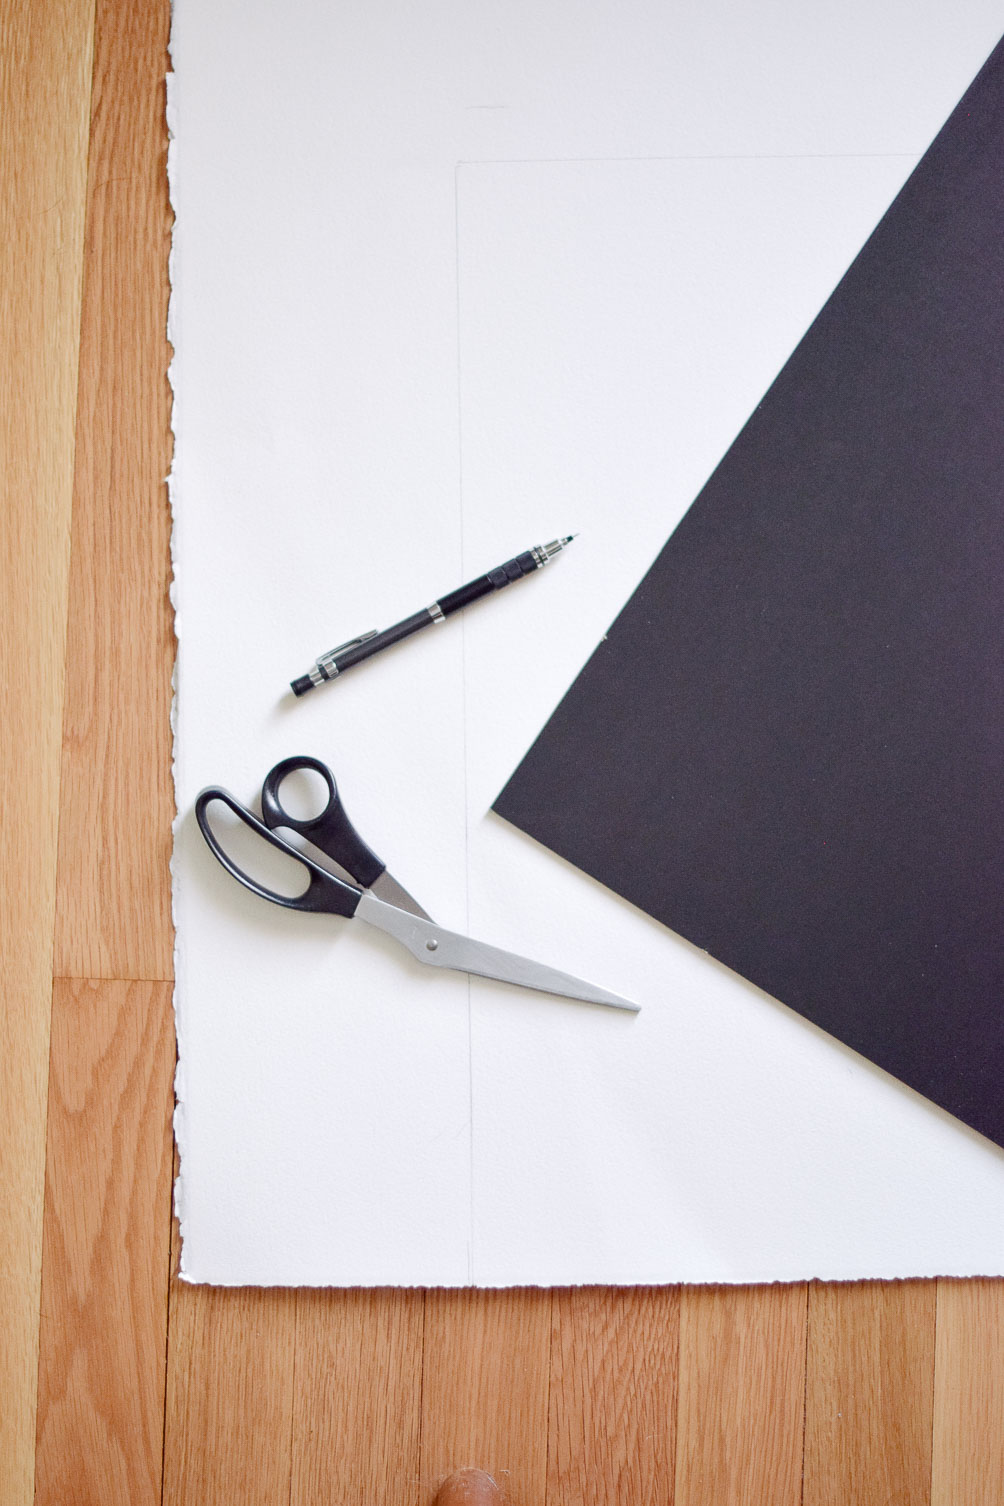
- poster sized cardstock paper
- scissors
- pencil
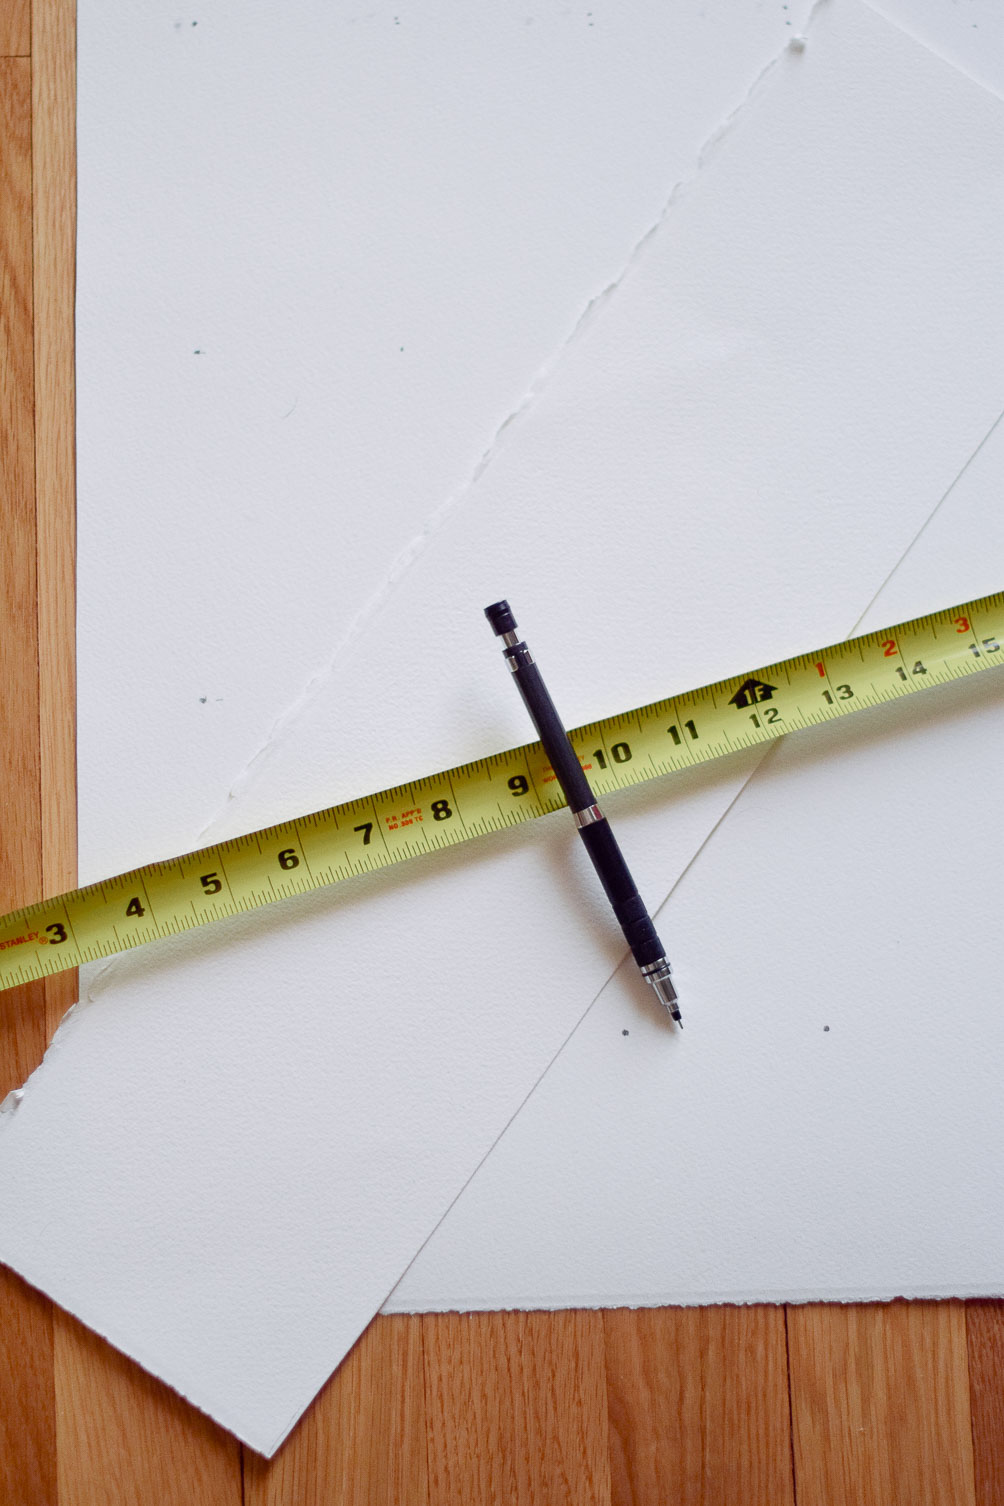
- measuring tape/yardstick
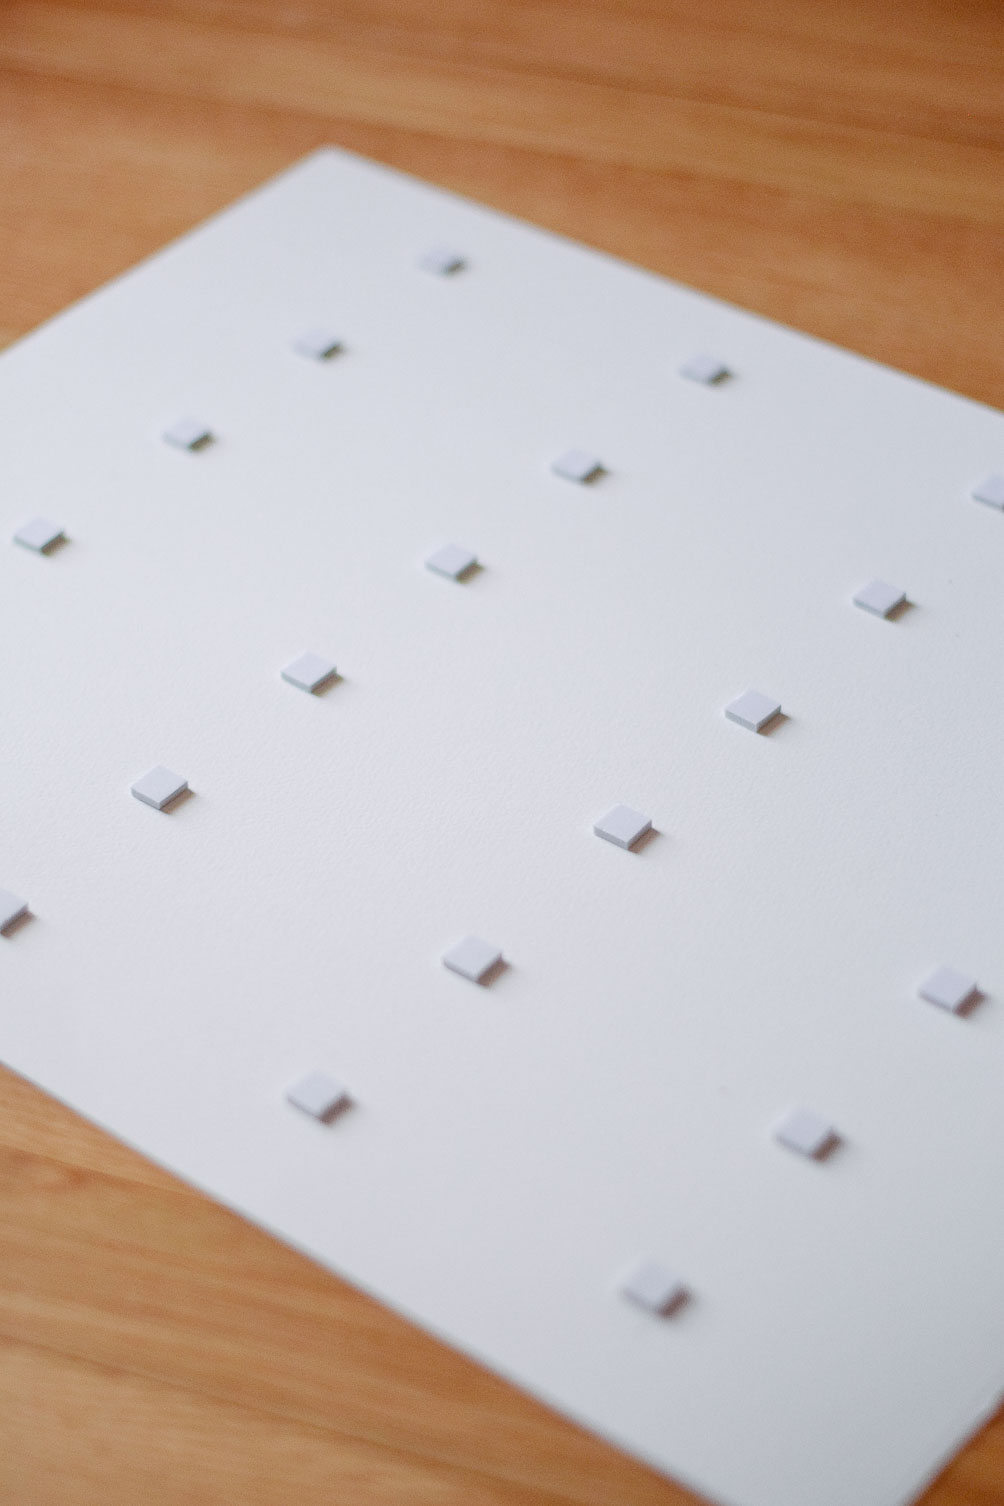
- double-sided foam mounting squares
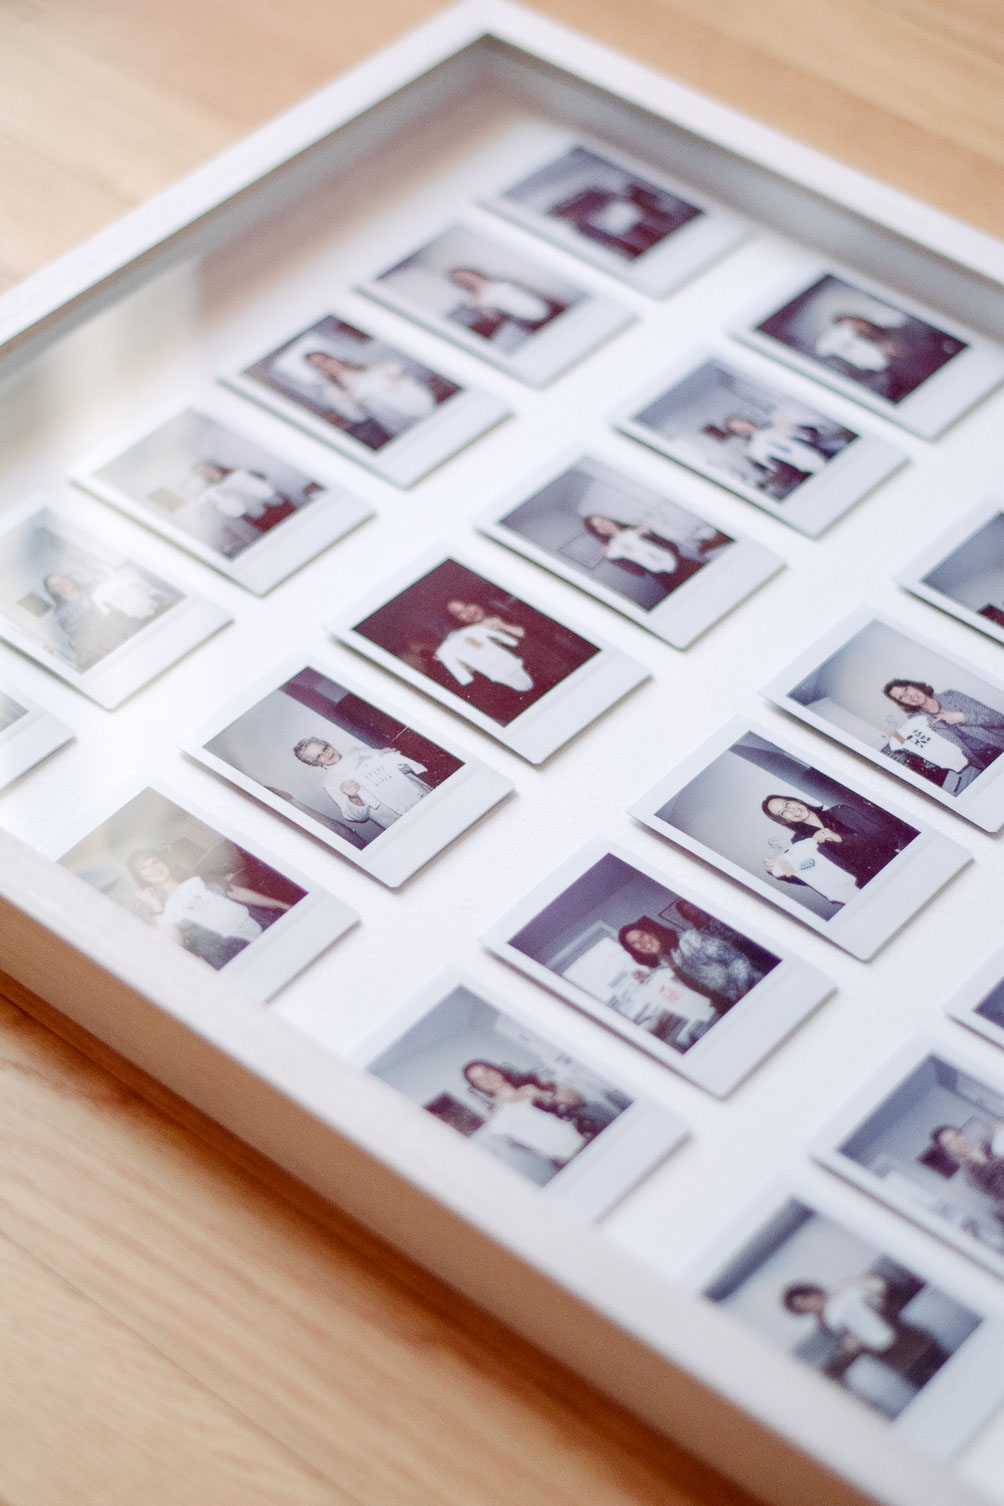
- shadow box style frame
Instructions:
- Decide on number of Instax photos to be included (this will help you figure out frame size)
- Cut cardstock to chosen size
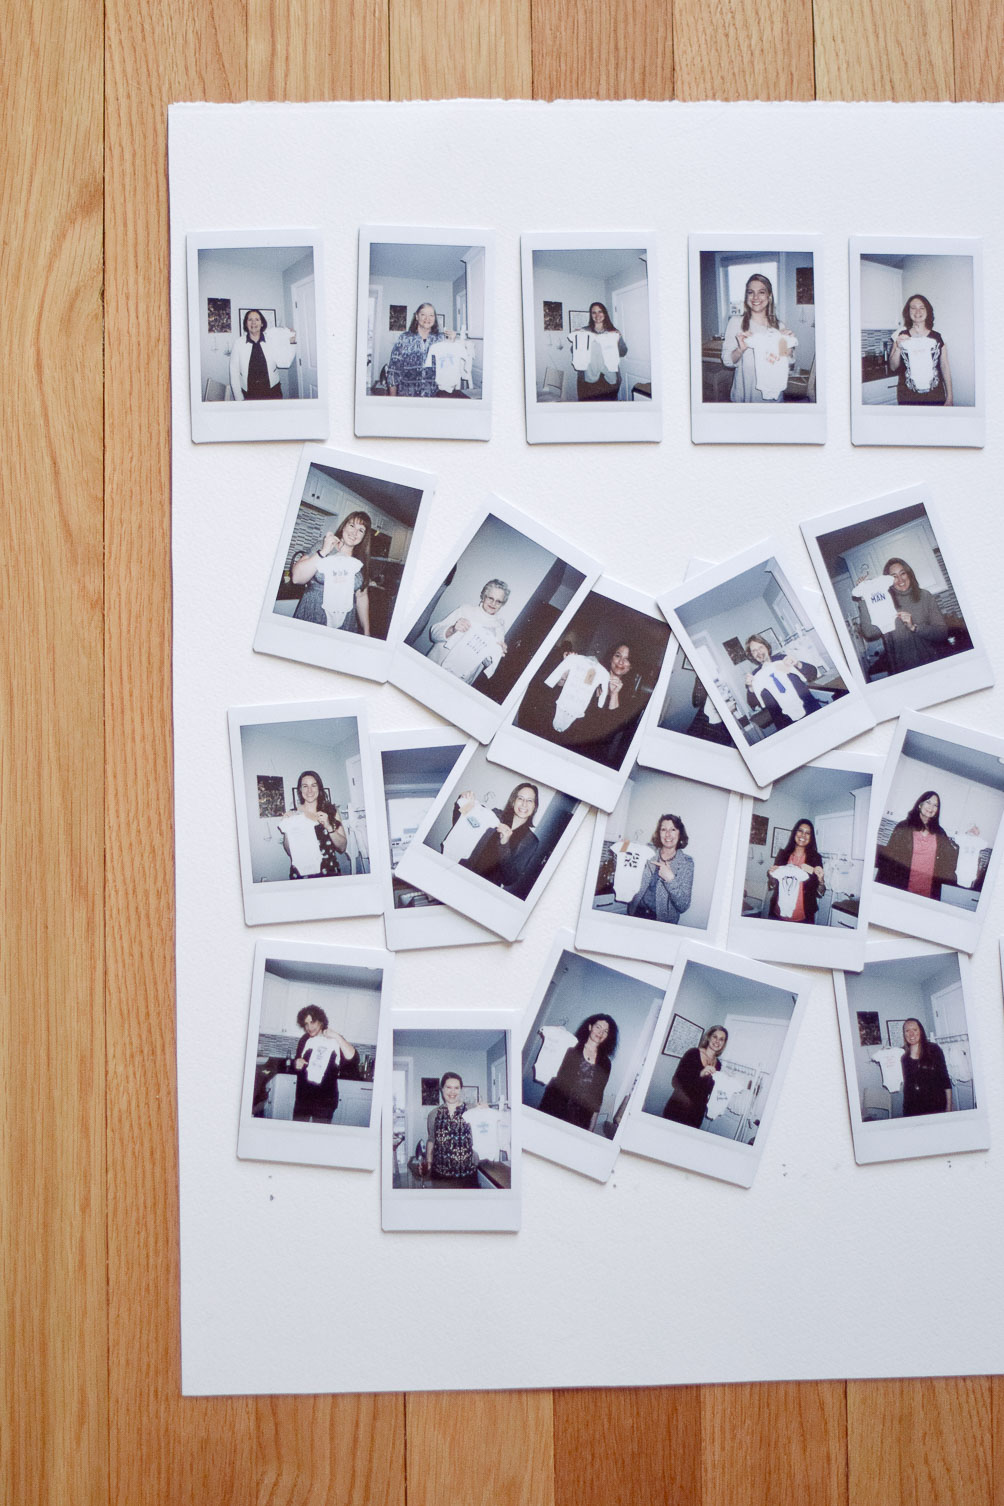
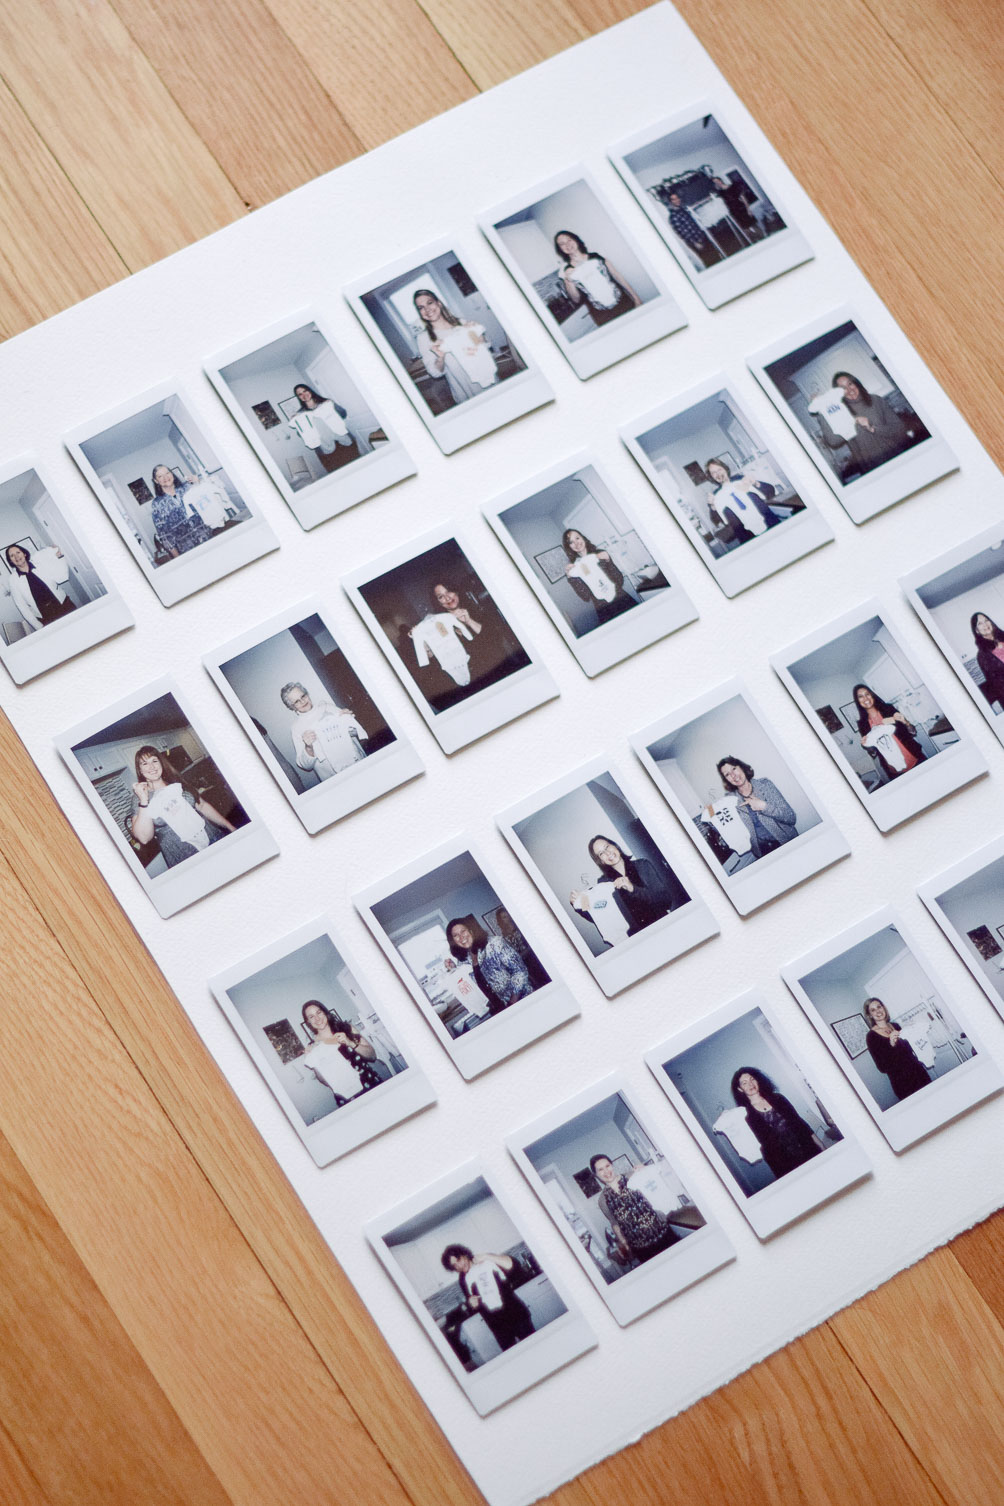
- Do a practice layout with the images to decide spacing
- Use a yardstick/measuring tape to mark out the exact picture placement
- Place one foam square on each chosen spot
- Adhere each Instax photo to the other side of the foam squares
- Once all images are attached, place in a shadow box style frame and display
shop this diy instax photo gallery frame post

