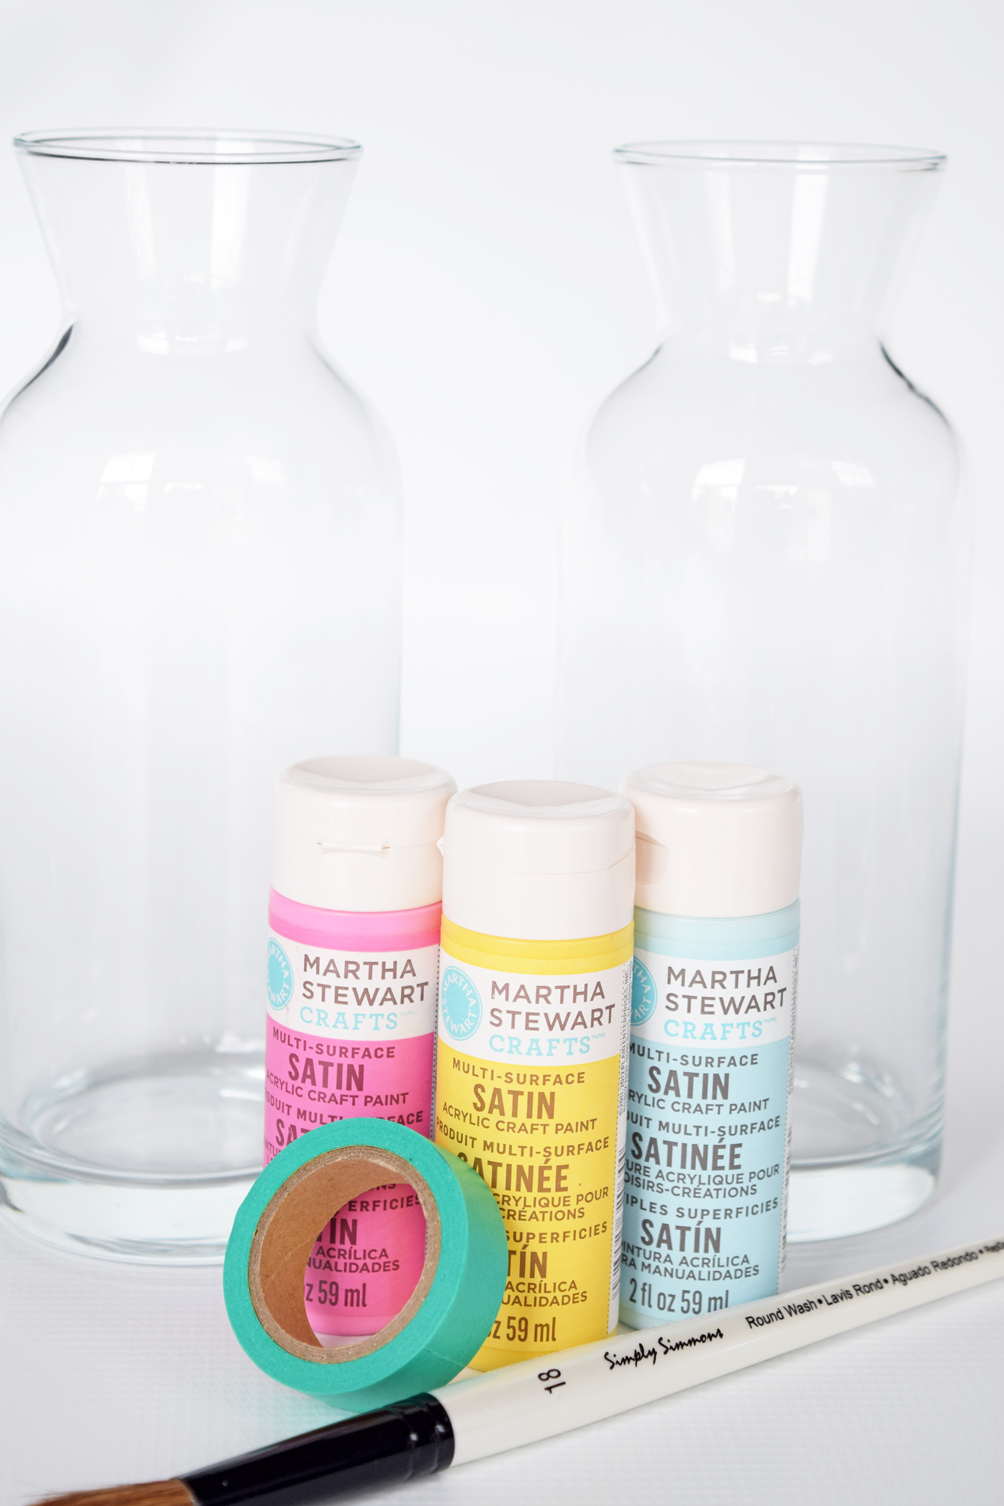
Whenever I buy Martha Stewart products, I feel magically empowered. Just the name alone gives me confidence to conquer the crafting world. This little project is by no means difficult, but it’s super adorable and makes for a simple upgrade to the standard pitcher. In six steps this DIY painted carafe will bring your lemonade, iced tea, or flavored water to life. See full details and step-by-step images below!
What you’ll need:
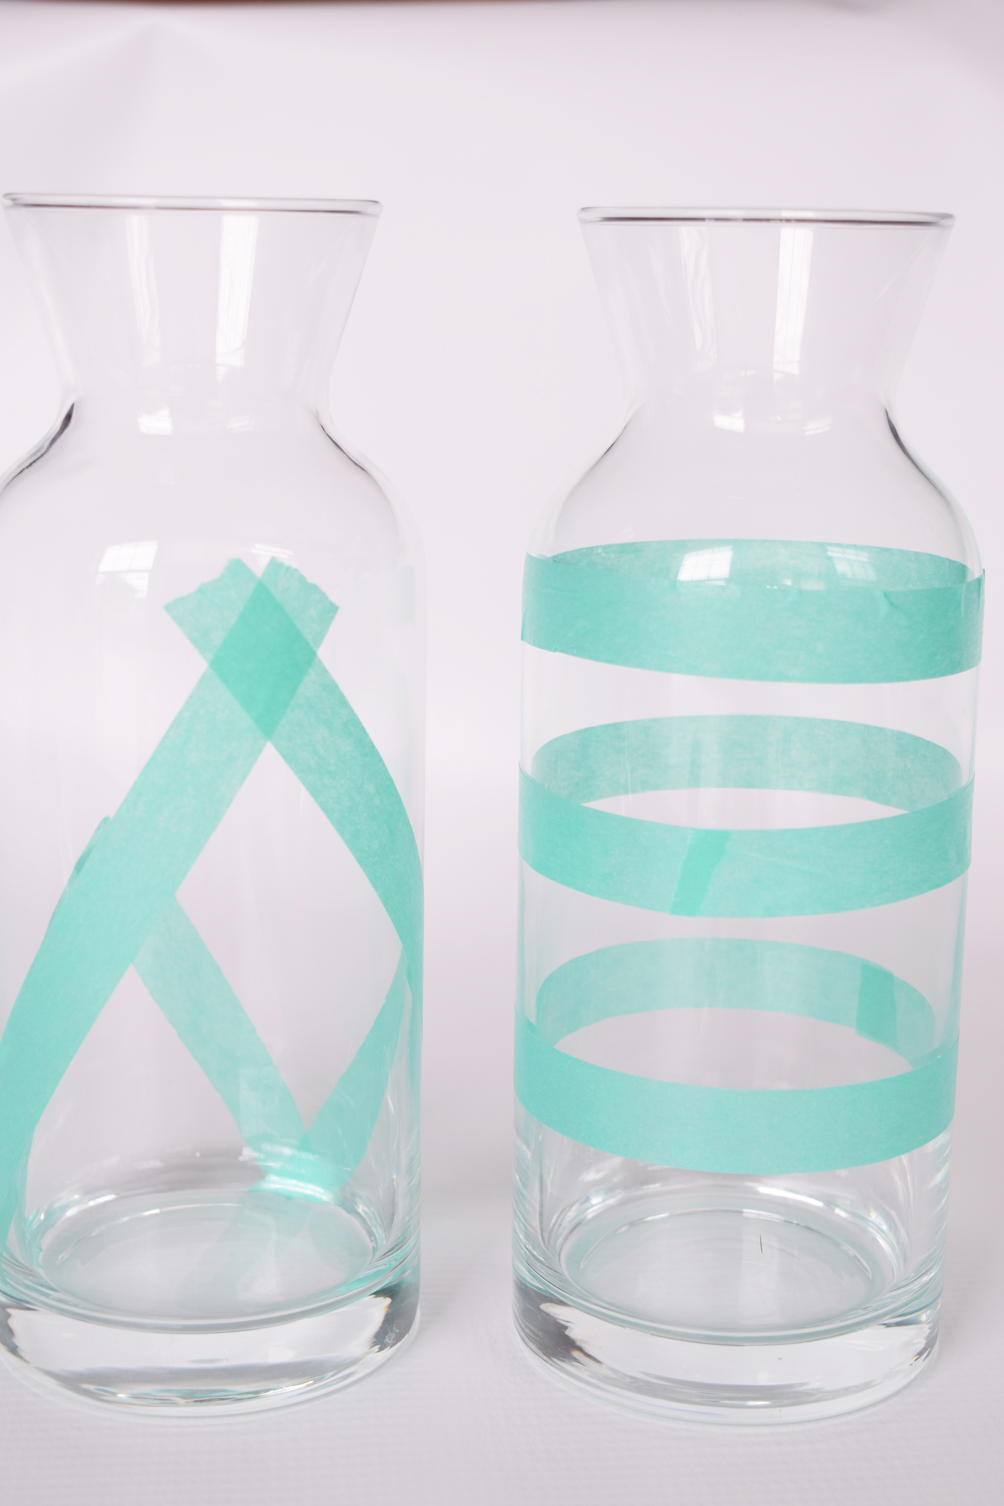
- glass carafe, washed and dried
- washi tape
- craft tape
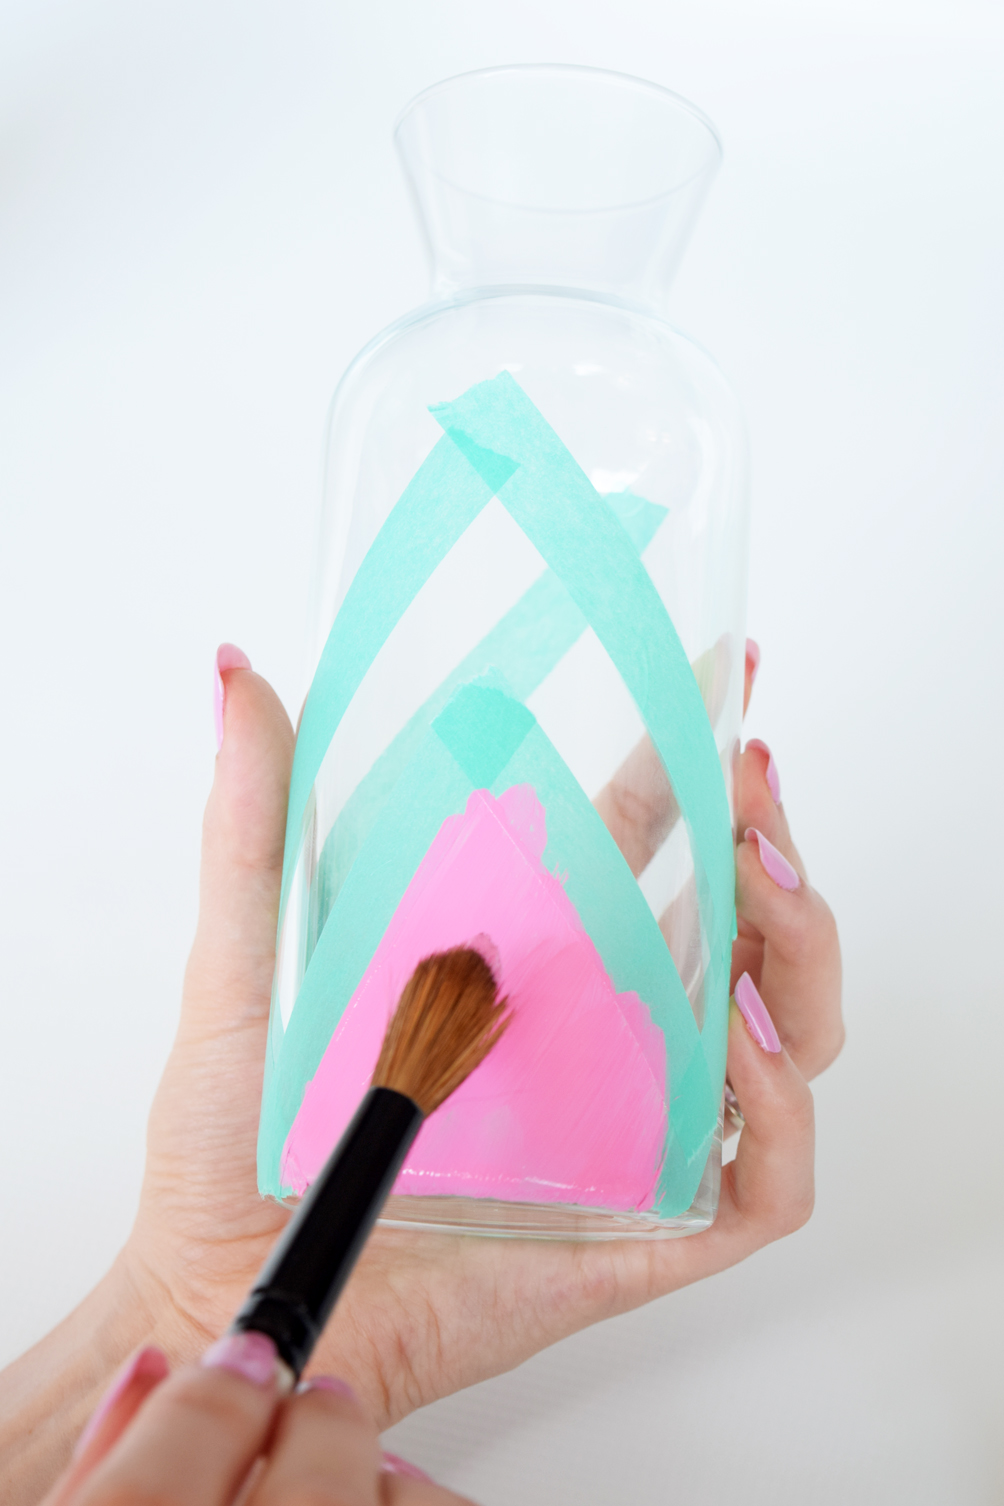
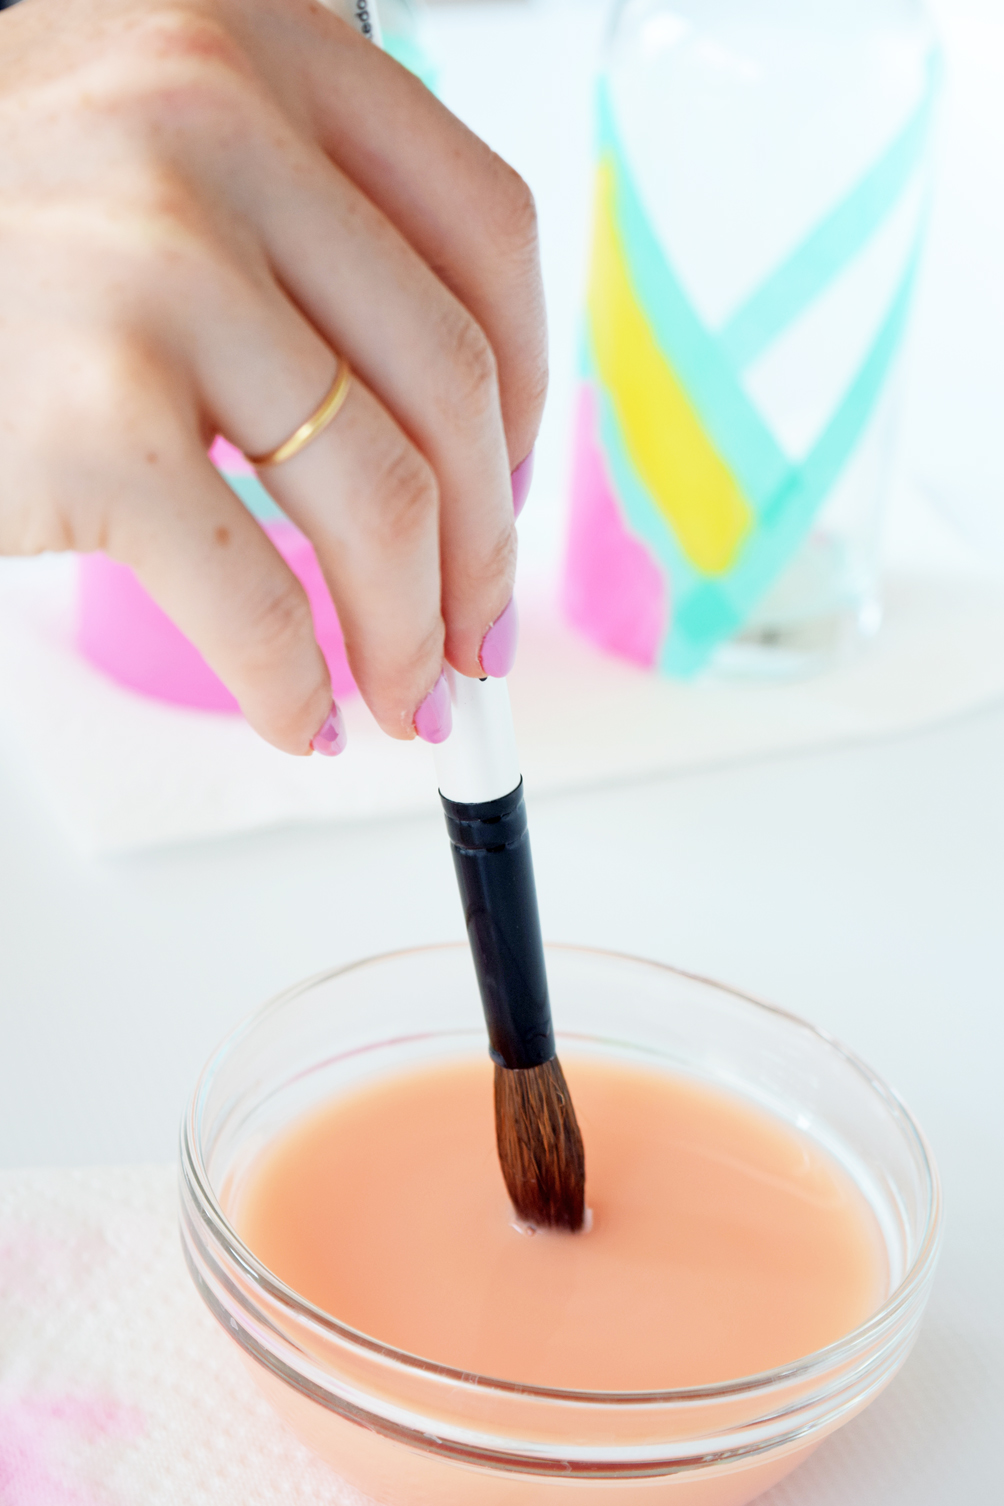
- paint brush
Directions
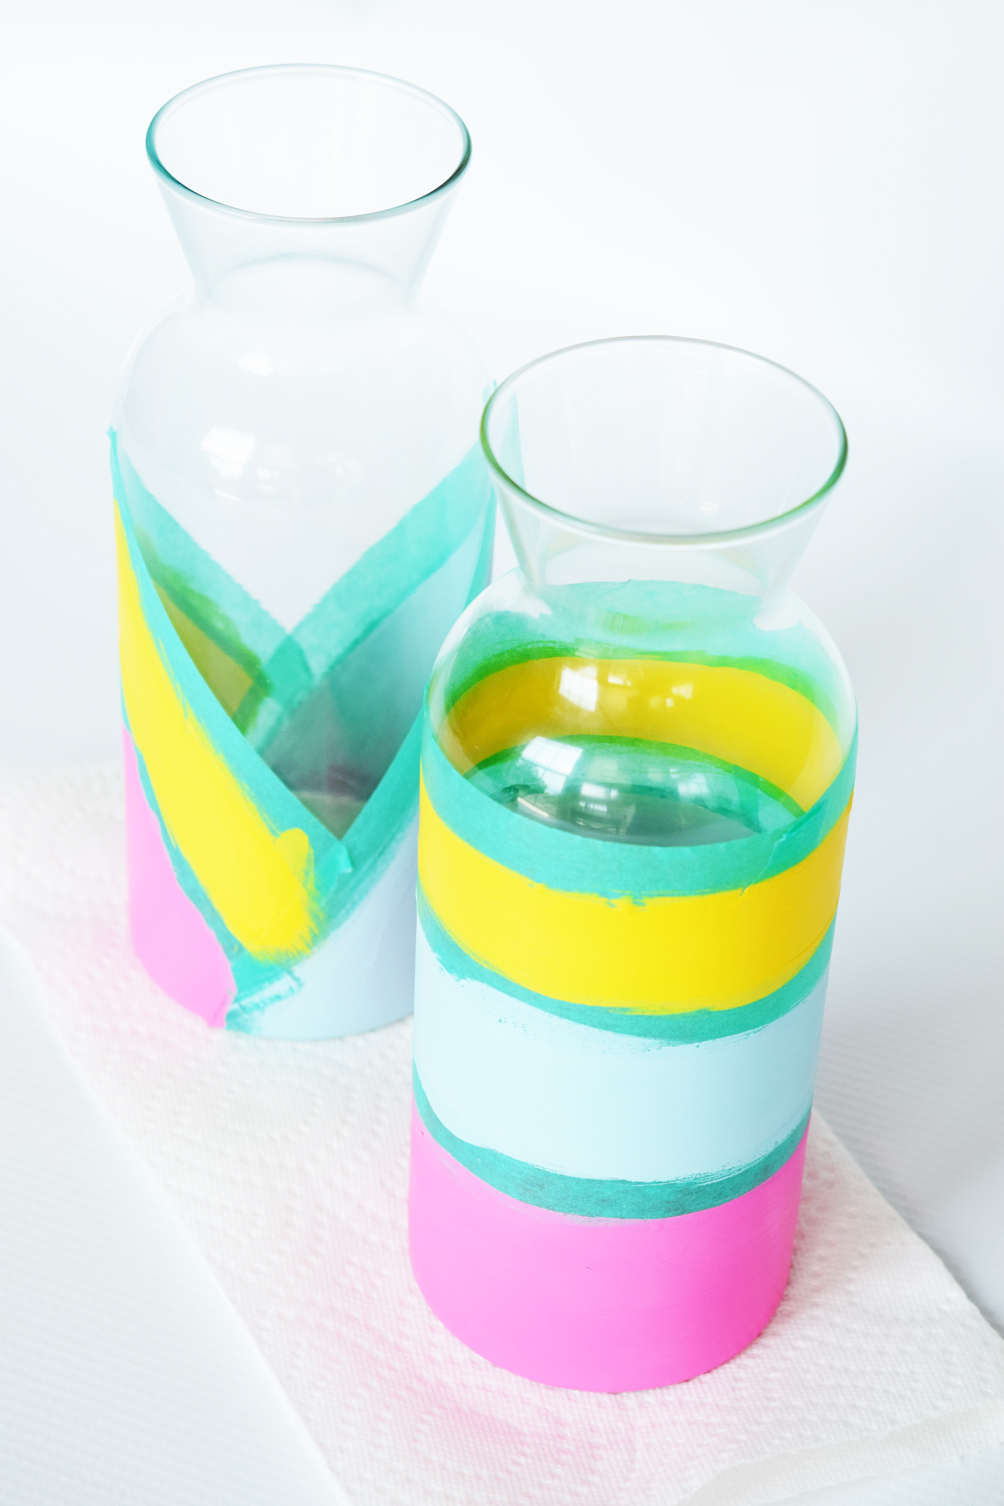
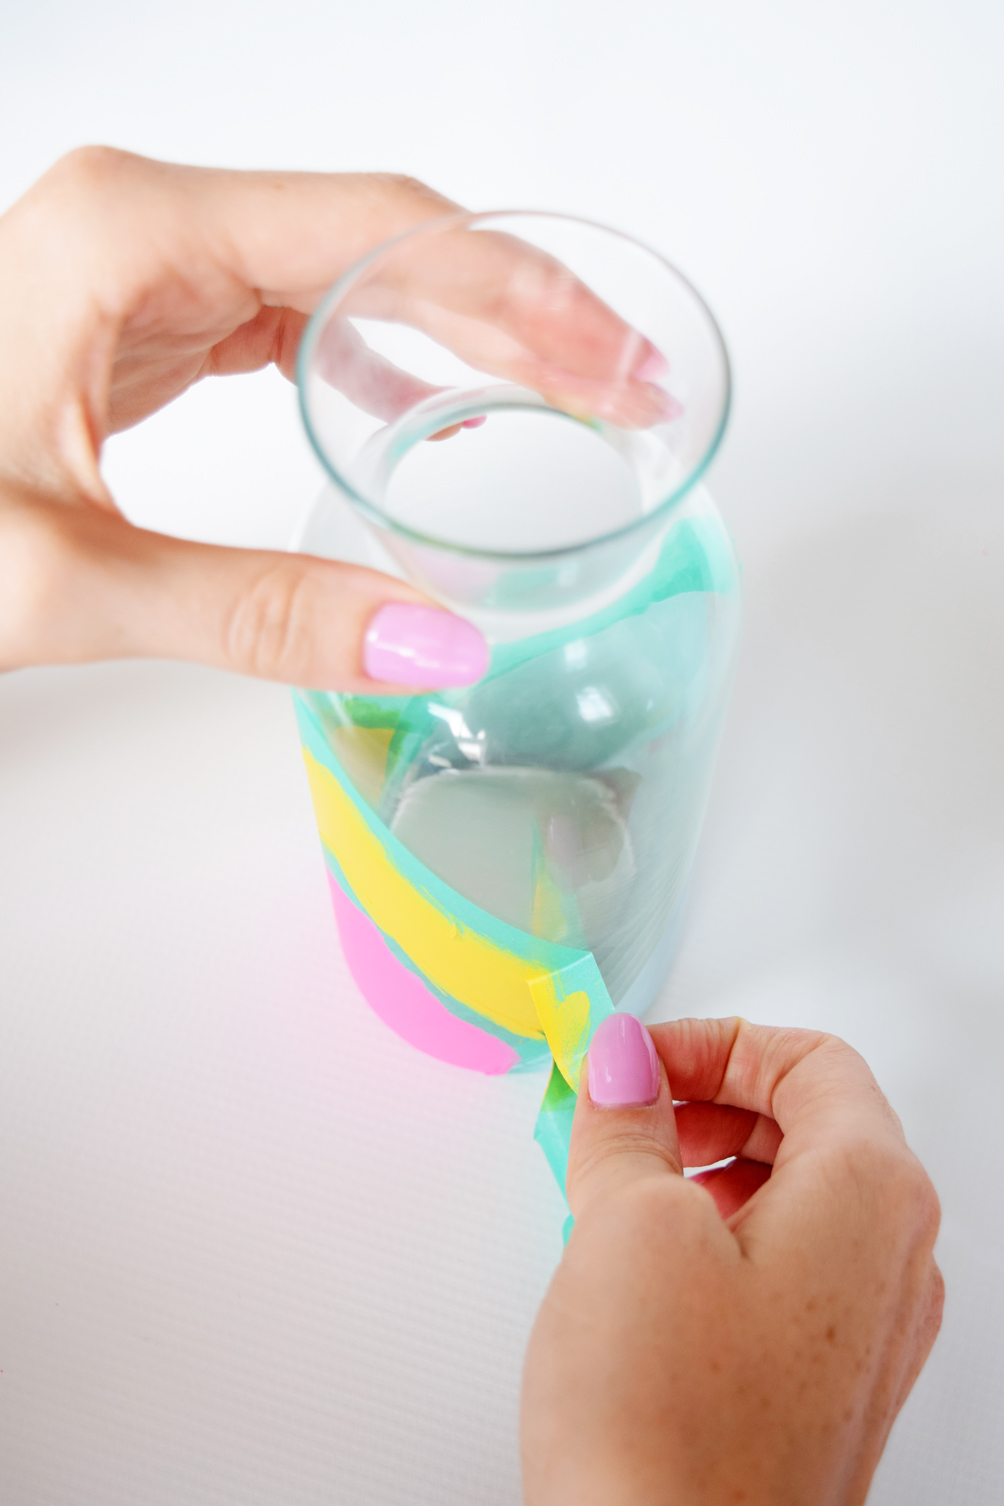
- Using washi tape, create a design on the carafe by marking off different sections.
- Paint in the lines with one or more colors.
- Allow to dry then apply a second coat.
- Repeat until the desired color is reached.
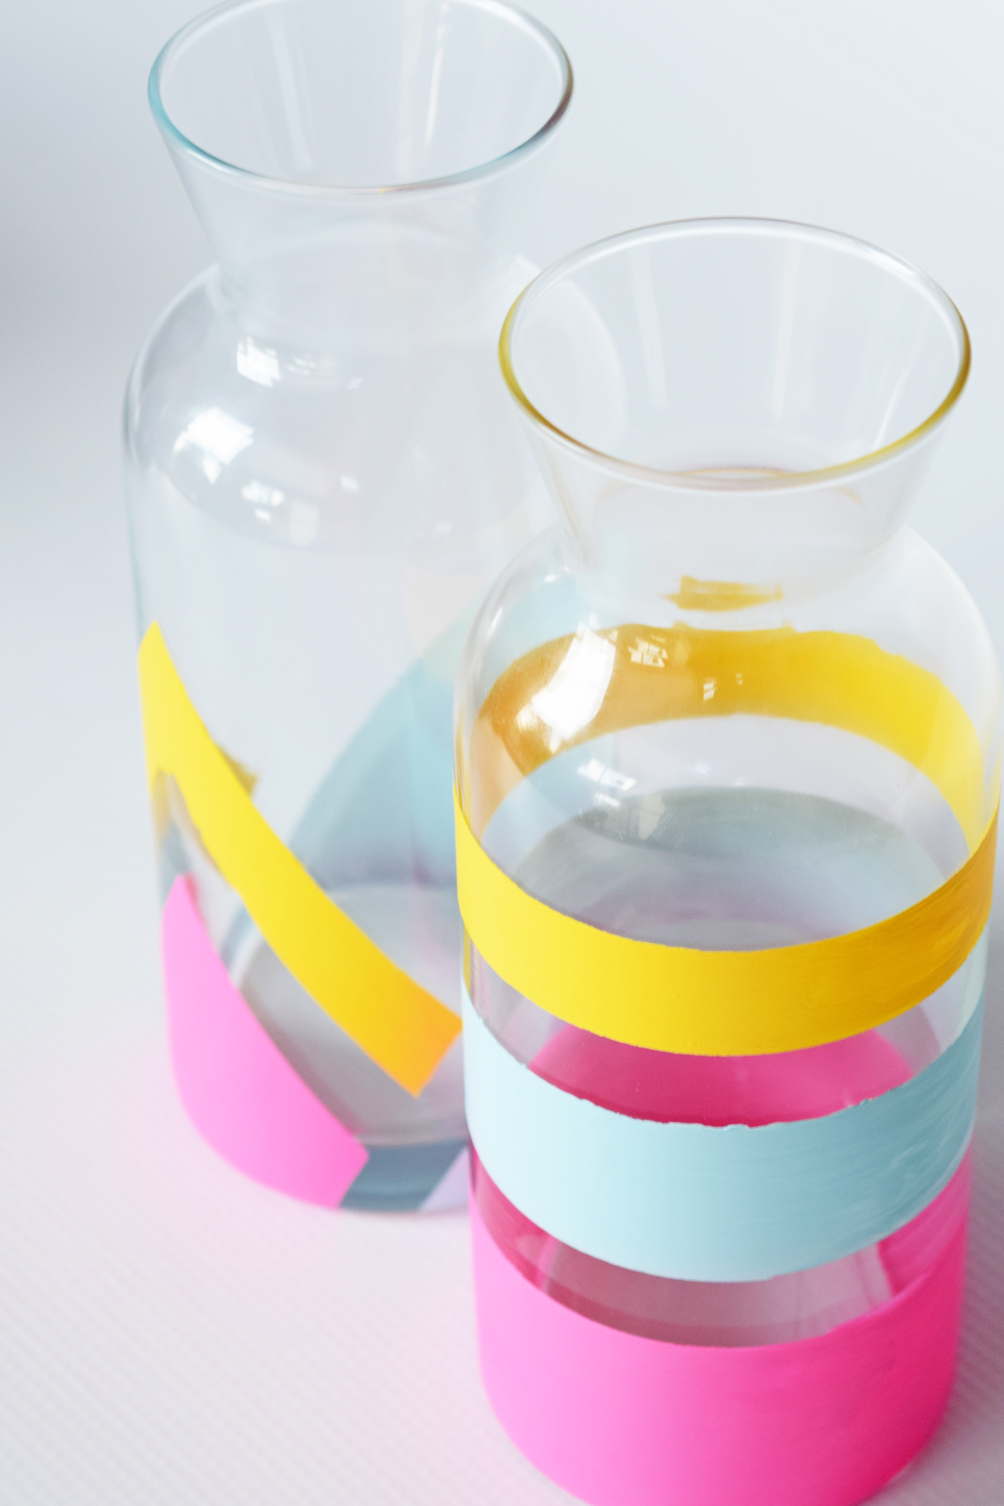
- Now allow to dry completely before removing the washi tape.
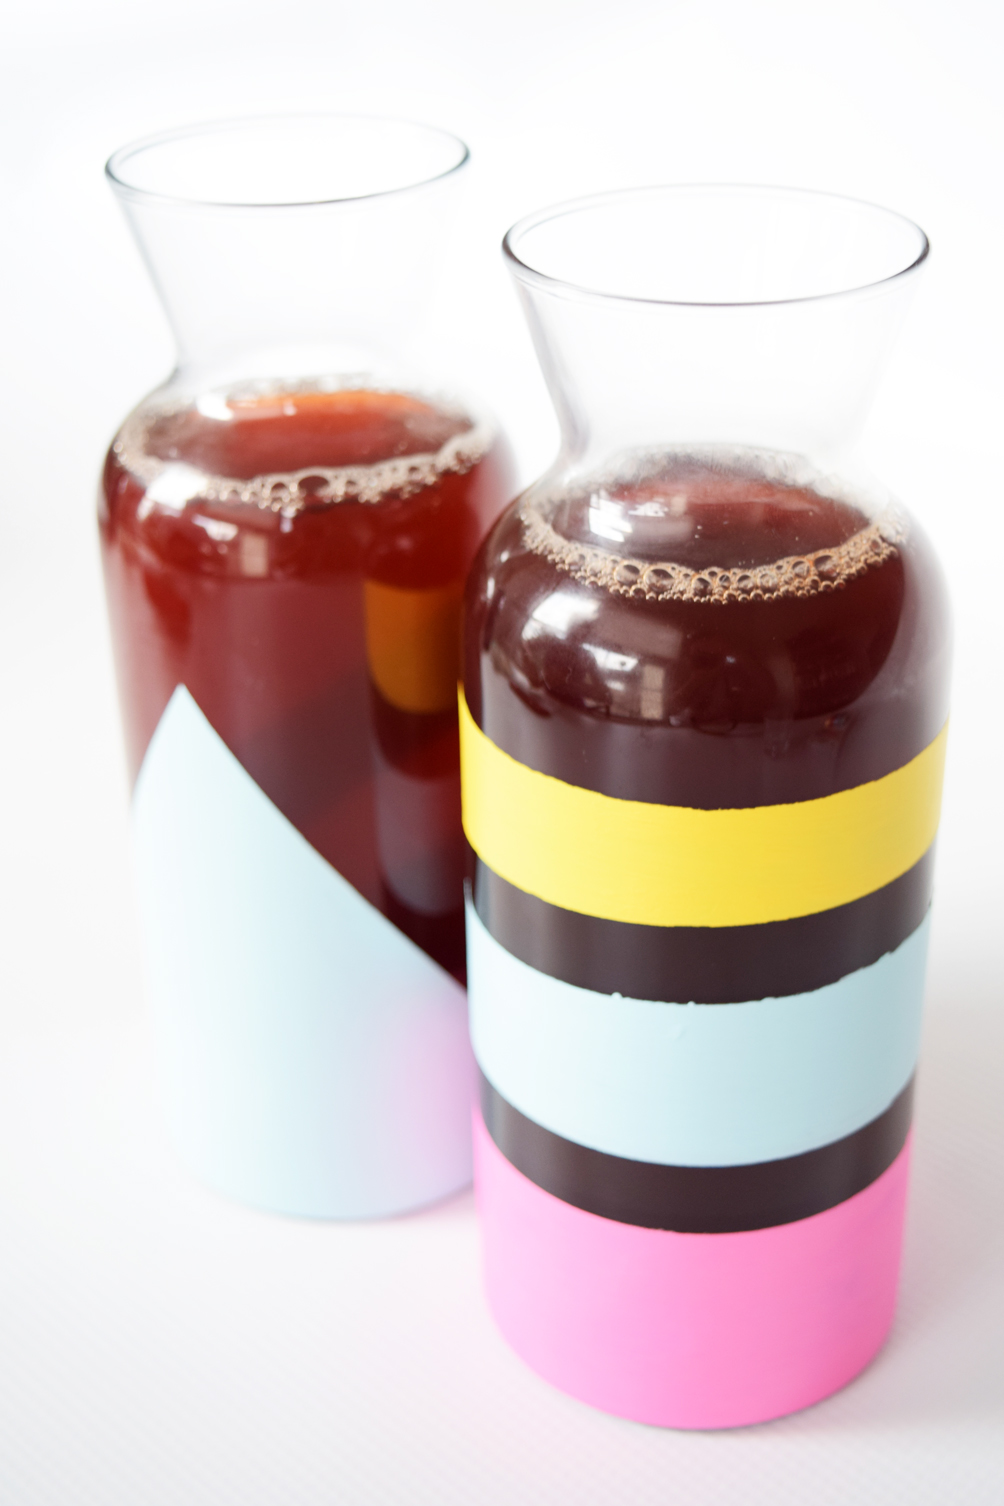
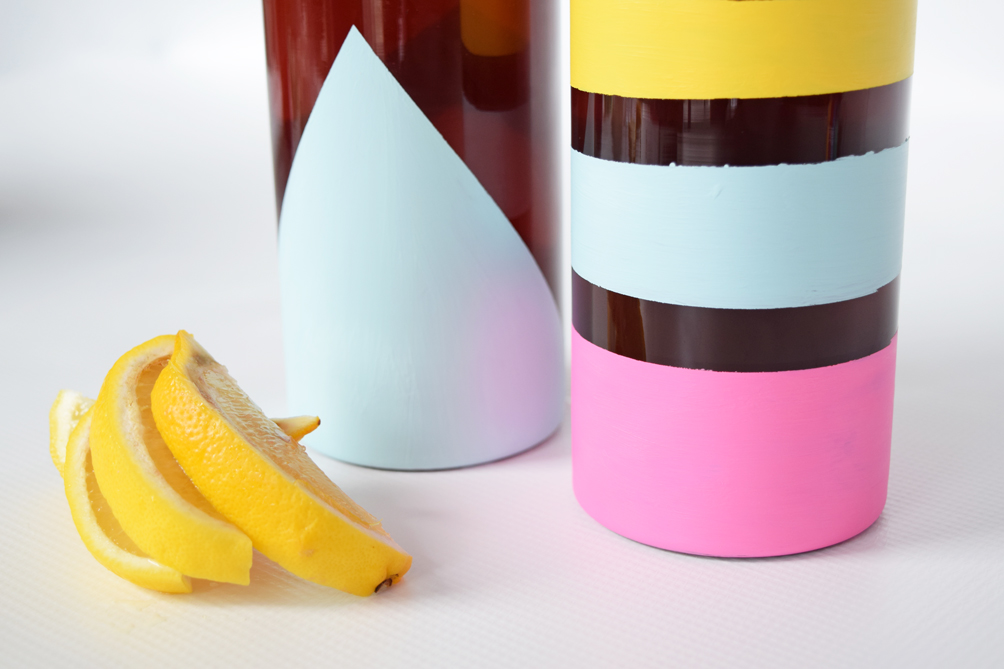
- Once the washi tape is removed, fill and enjoy!