A few weeks ago I went the creative route with this edible hostess gift. It’s easy, has a long shelf life, and doesn’t make extra work for your host. But I can’t deny that flowers are a classic–pretty much everyone appreciates a good bouquet and there’s never a wrong time to give one. So if you’re picking up a beautiful arrangement, take these extra steps to make it more enjoyable for the recipient. This tutorial keeps them fresh for hours and vase-ready.

step 1: choose your blooms
I tend toward neutral choices and always love to have one statement green.
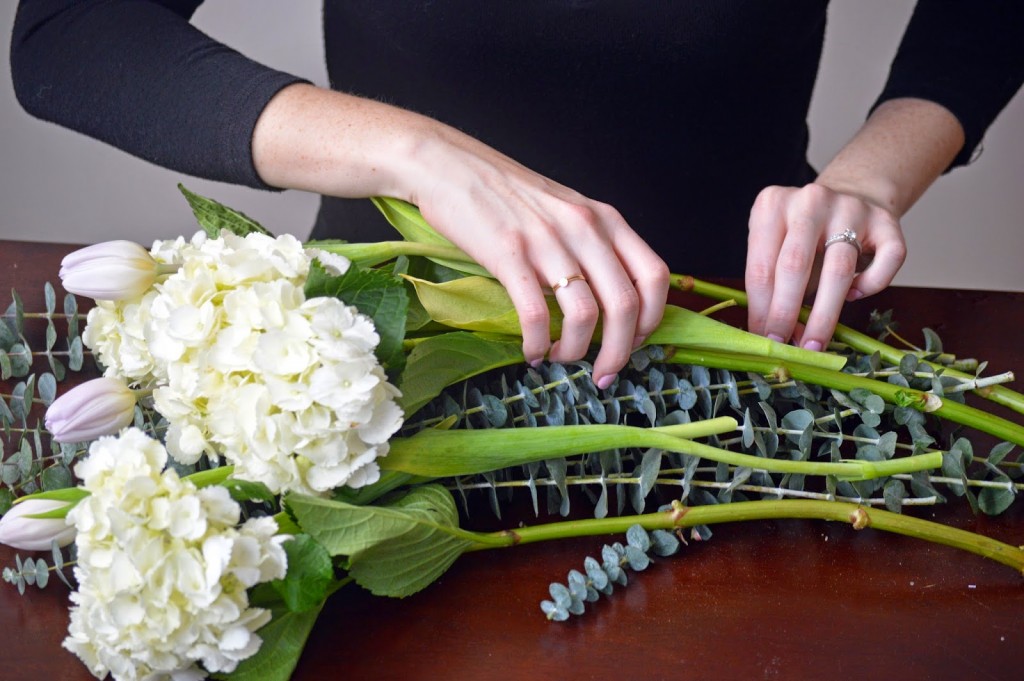
step 2: arrange on a flat surface, staggering the stems
Doing a ‘flat lay’ of your bouquet shows how it will look when finished.

step 3: tie bouquet tightly with twine + trim stems
This makes sure everything stays in place (looking like you planned) for the next few steps.
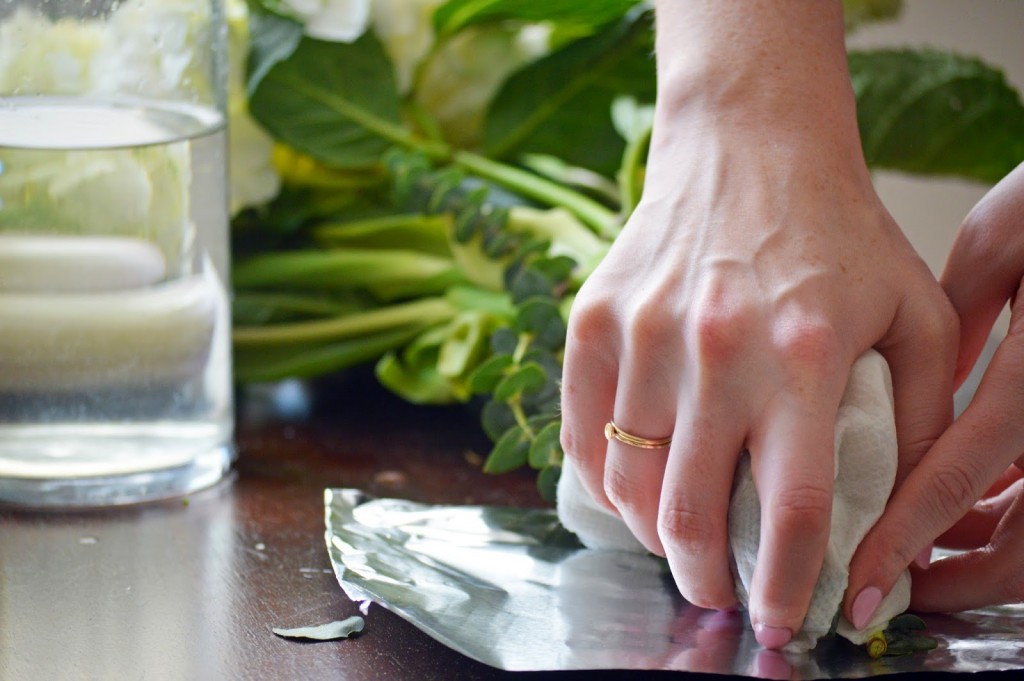
step 4: enclose stems in damp paper towel
This is where your flowers stay fresh–no need to put immediately in water!
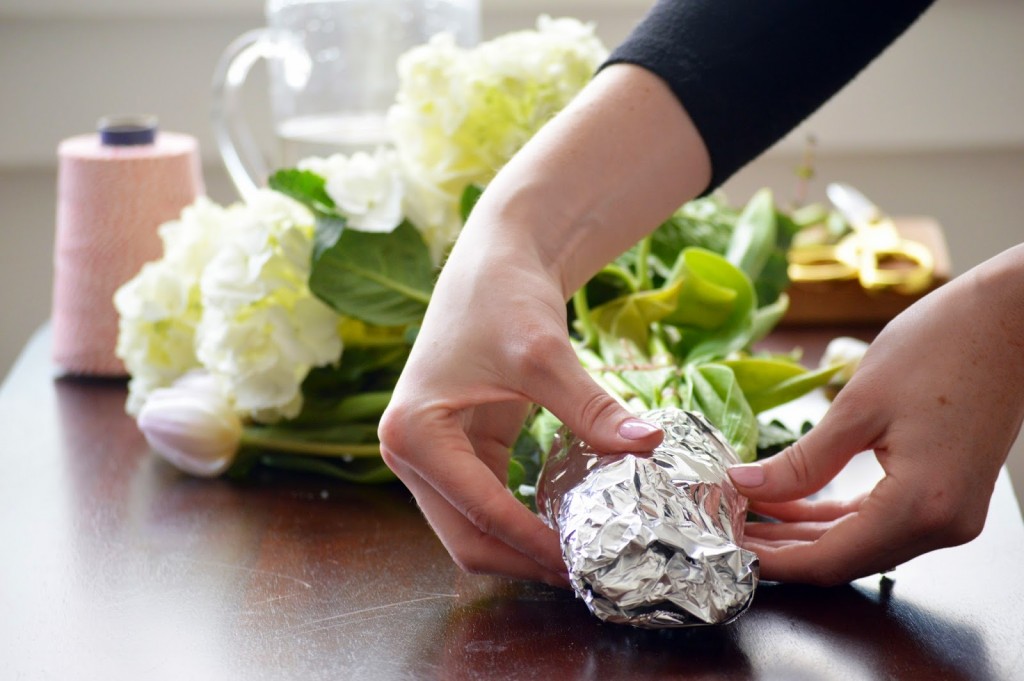
step 5: seal paper towel with aluminum foil
It locks in the moisture and keeps the paper from getting damp or soggy.
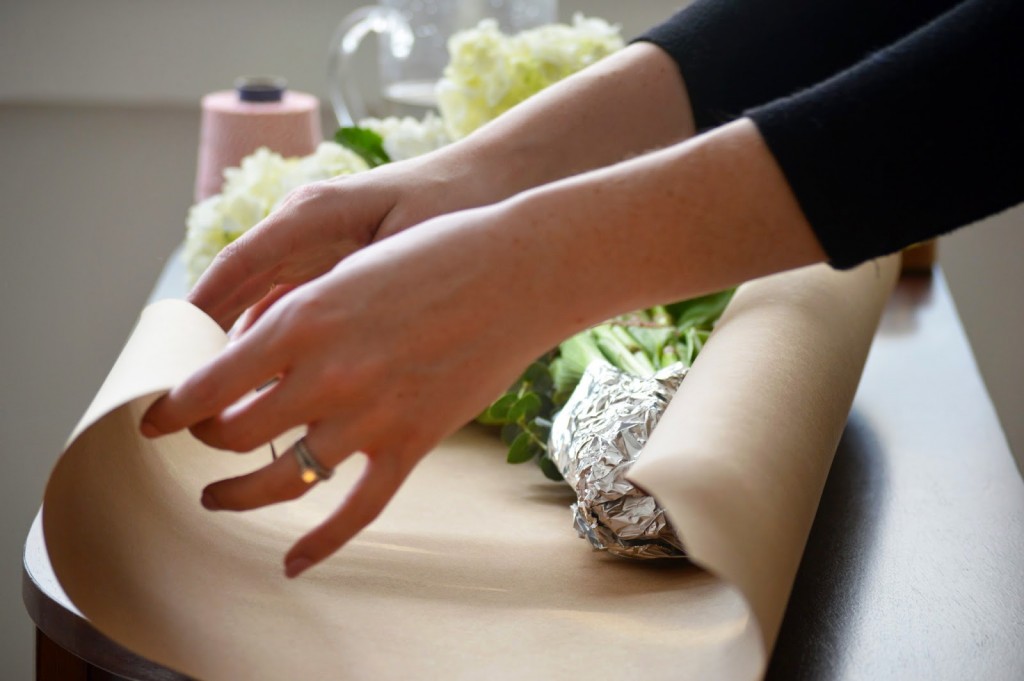
step 6: use Kraft paper to wrap the bouquet + tape to secure
Kraft/butcher paper is stronger than the average wrapping paper and holds the bouquet in place.
step 7: finish with ribbon
Here’s where to add in color. I chose gold + silver for a glitzy finish.