2 In DIY/ Lifestyle

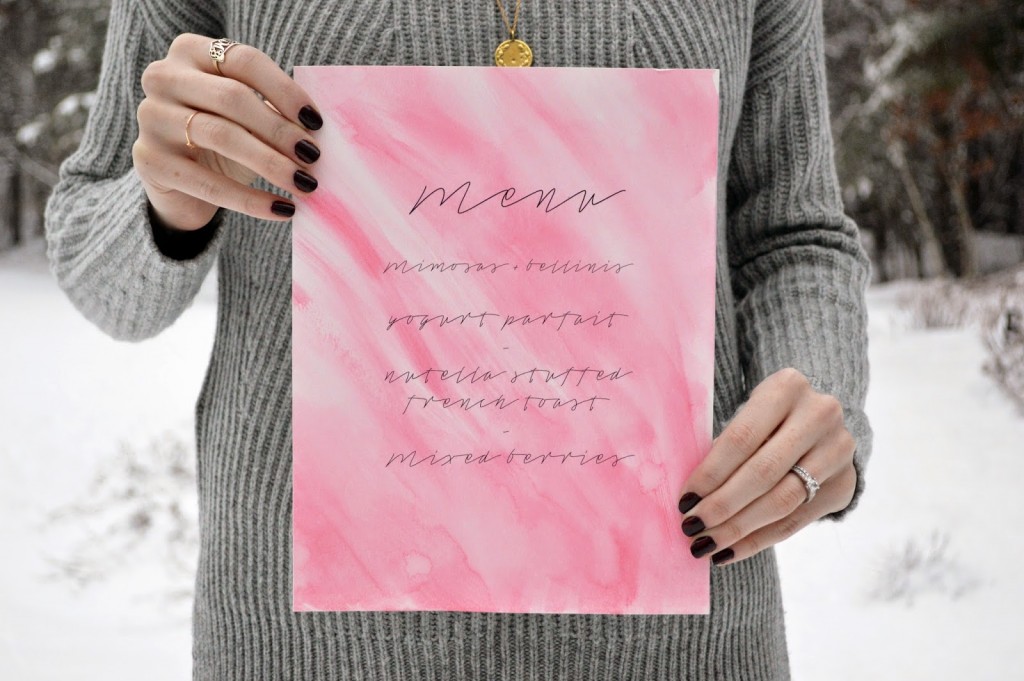
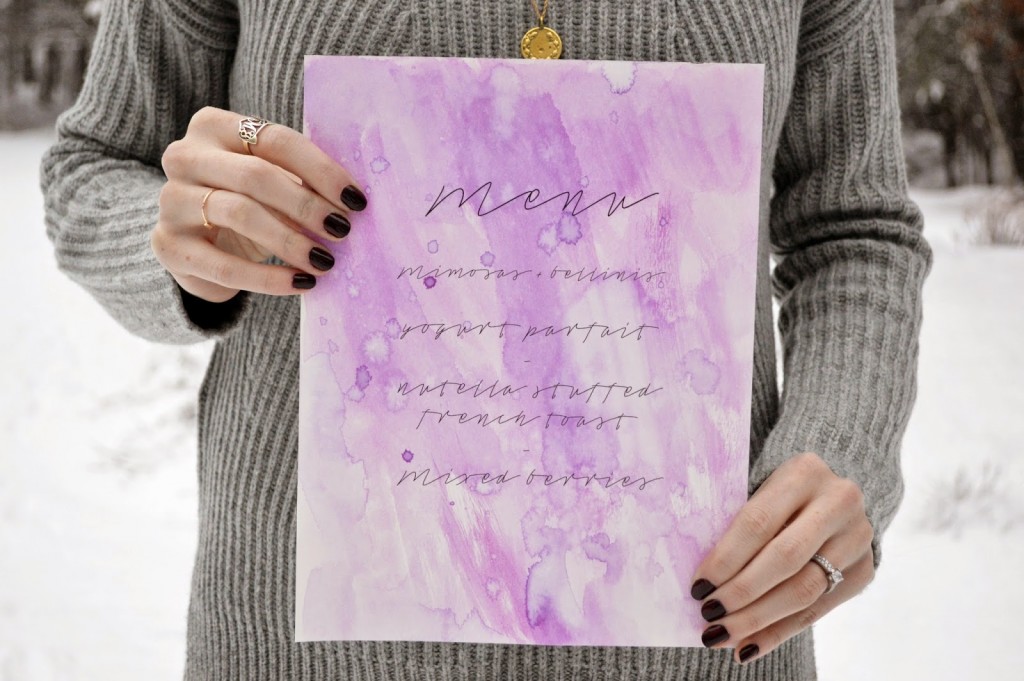
watercolor menu cards

Let me be the first to admit I am not an ‘artsy’ person. I am creative and can come up with grandiose ideas of how something should look. But come time to put brush (colored pencil, crayon, marker) to paper and I am more than inadequate. It’s always been a source of frustration for me to have an active imagination and yet poor artist skills (to be fair, though, my stick figures can get pretty epic). All that’s to say these watercolor menu cards make my brush skills look expert. The forgiving materials and “no right or wrong way” directions result in a beautiful, unique presentation for your event. See full directions below and tap your inner visionary.

Supplies:

Watercolor paint
Thick watercolor paper (in white)
A few different sized paint brushes
Cup of water (to mix the watercolor with)

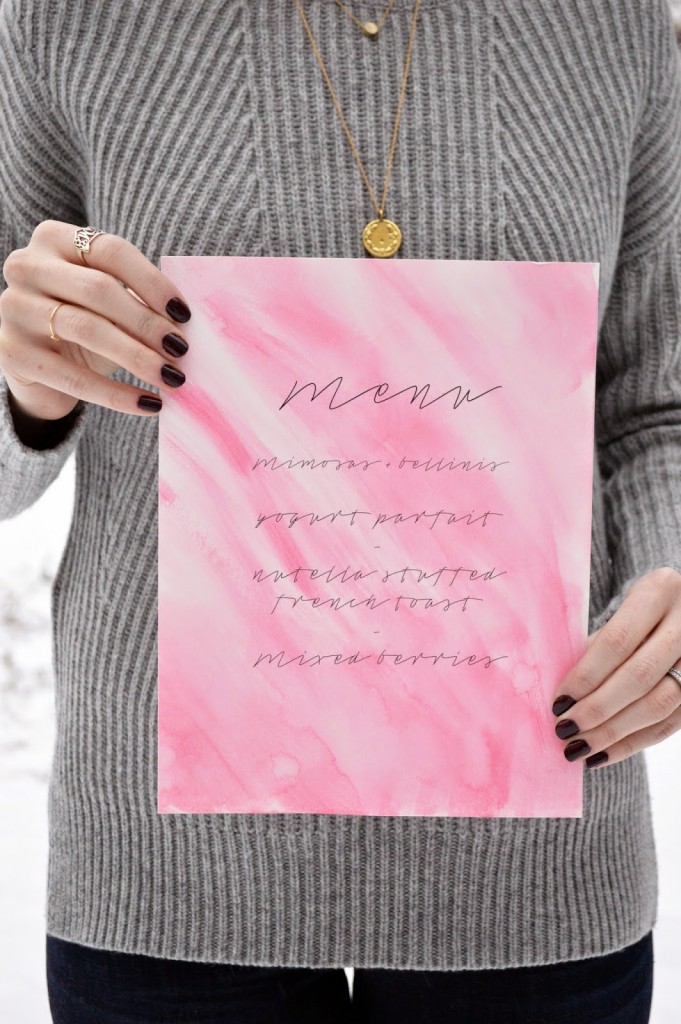
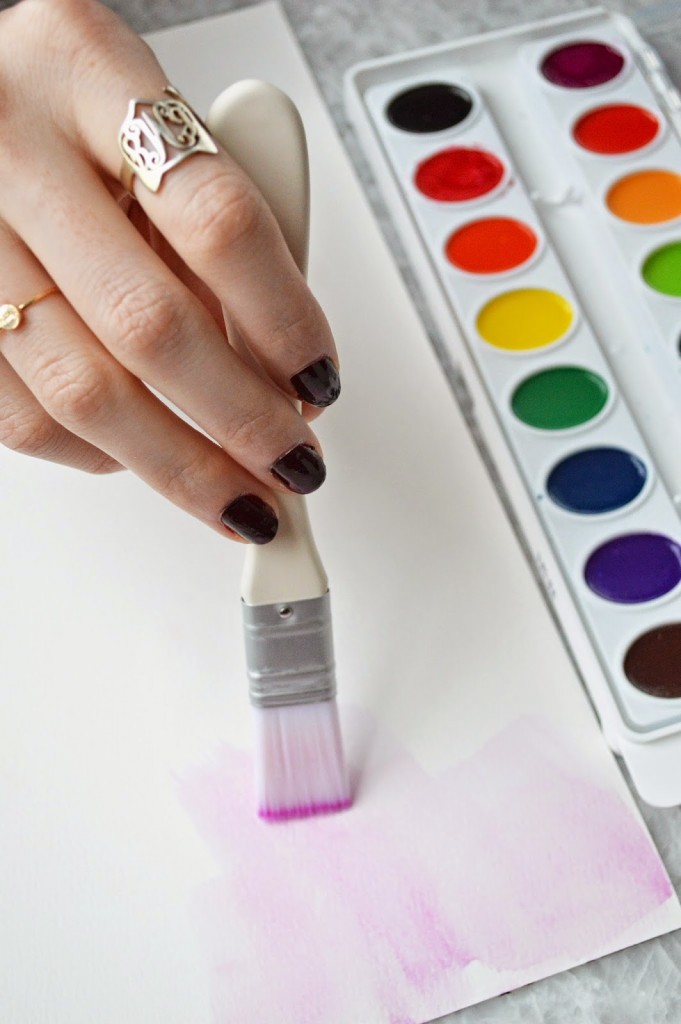
1. Dip your brush into the cup of warm water and mix with your selected color. 
The more paint you use, the stronger the color will be.
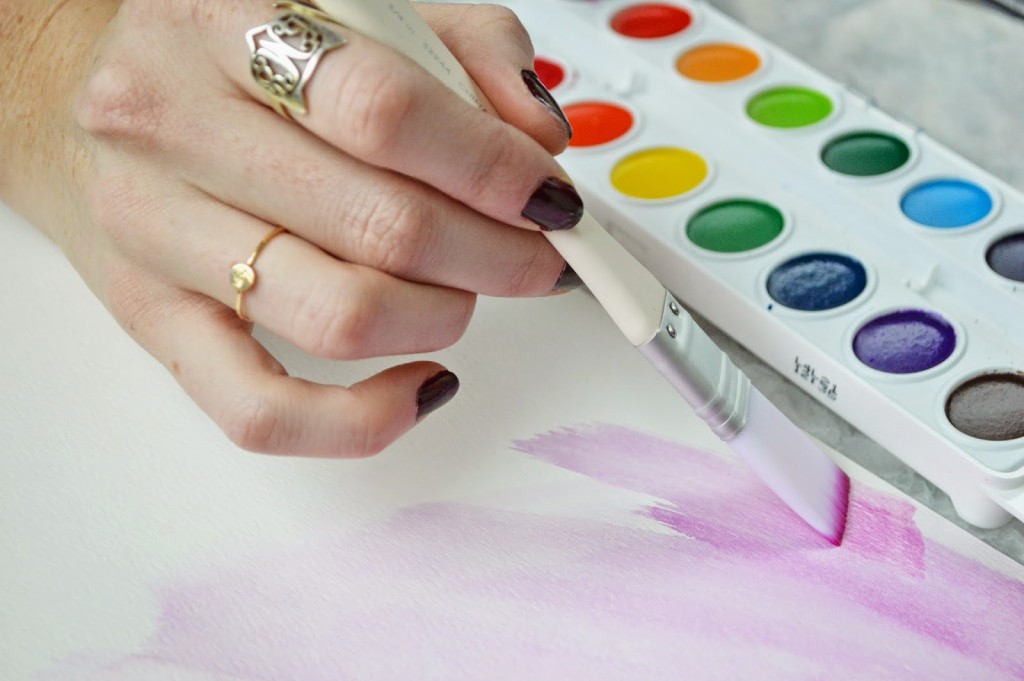
2. Start with a sweeping motion, adding more or less water for different opacity levels. 
For an ombre effect, allow your brush to have more water towards the end of the page. 
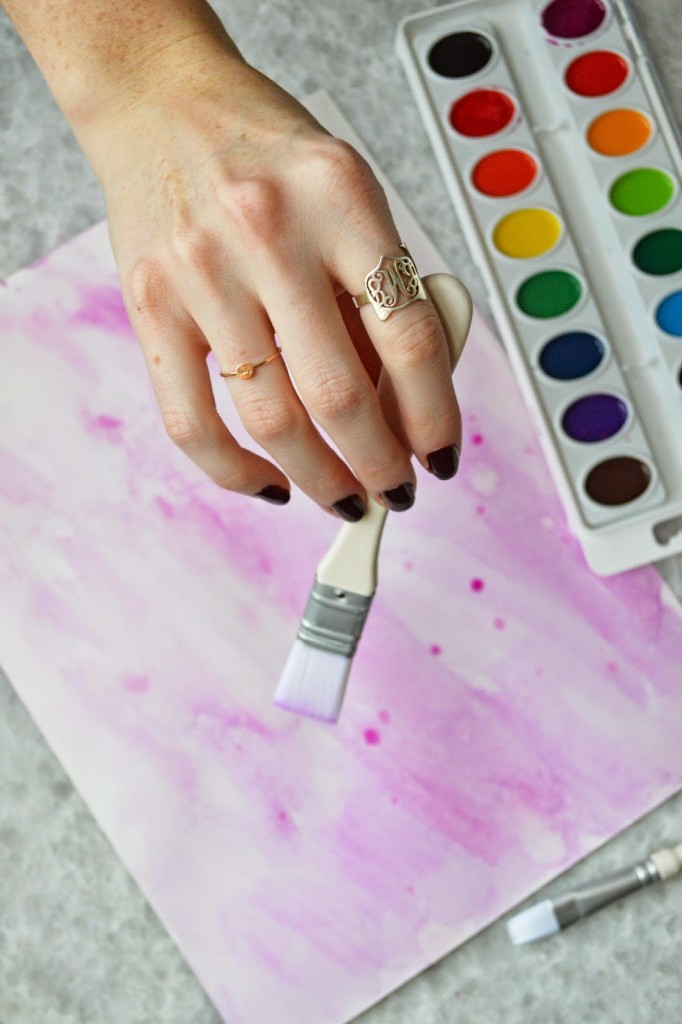
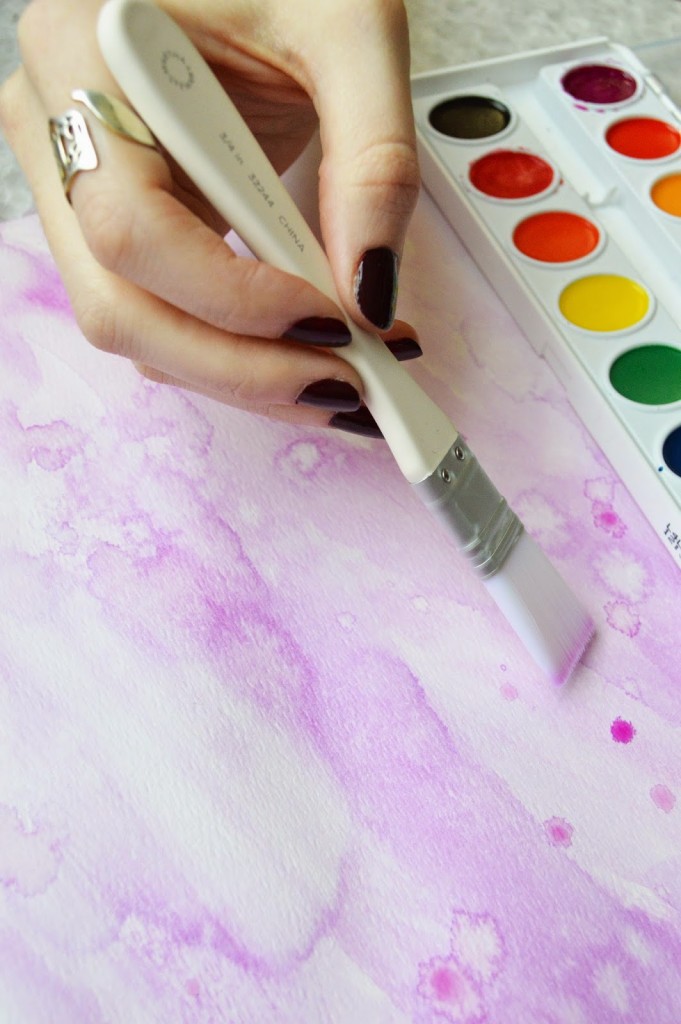
3. If you have a larger, open space, use your brush to flick water on the page. 
This technique gives an abstract, Rorschach vibe to the card. 
4. Once you’ve made enough for all your guests, lay the menu cards out to dry on a nice flat surface. While you wait, type the menu into a Word document with your chosen font.
When the menu cards are completely dry, load into the printer and begin the printing process.
tell all
Share

You Might Also Like

An advocate of dynamite brands that rewrite industry rules for fair trade practices and conscious consumerism.

Big this month

November 06, 2024

Bunny birthday party food setup for girls five years old

September 17, 2024

OBF events flower market birthday party

August 23, 2024