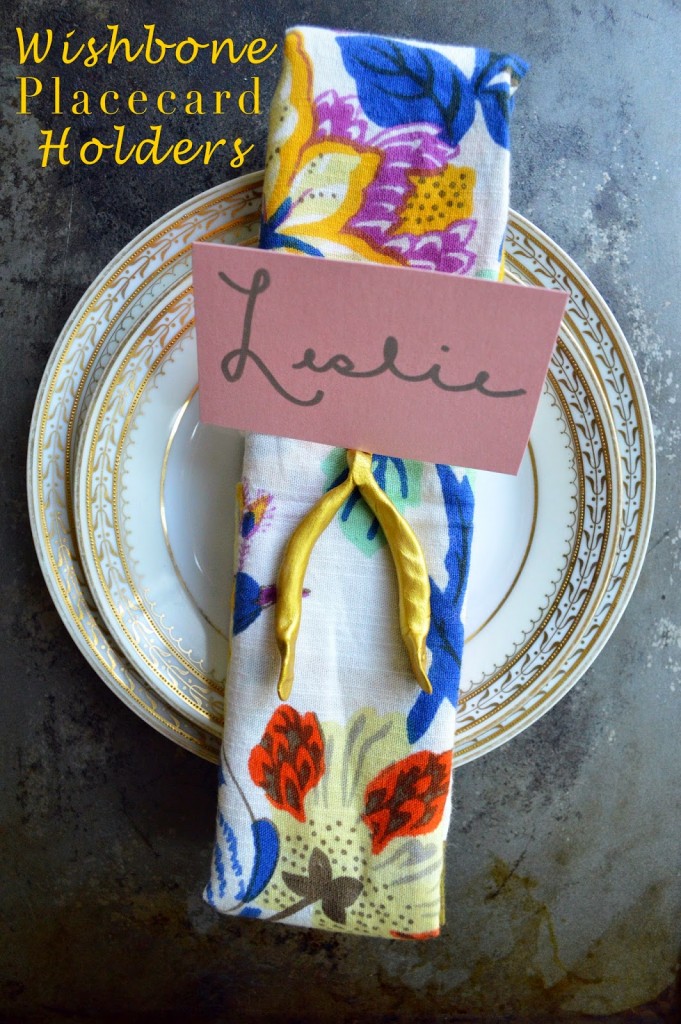
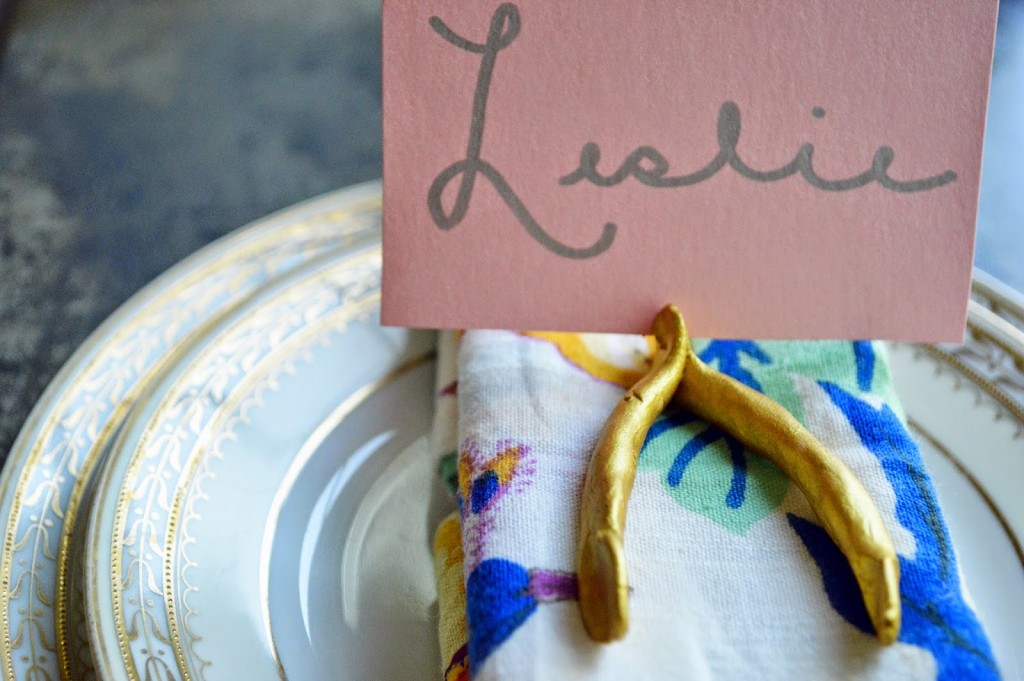
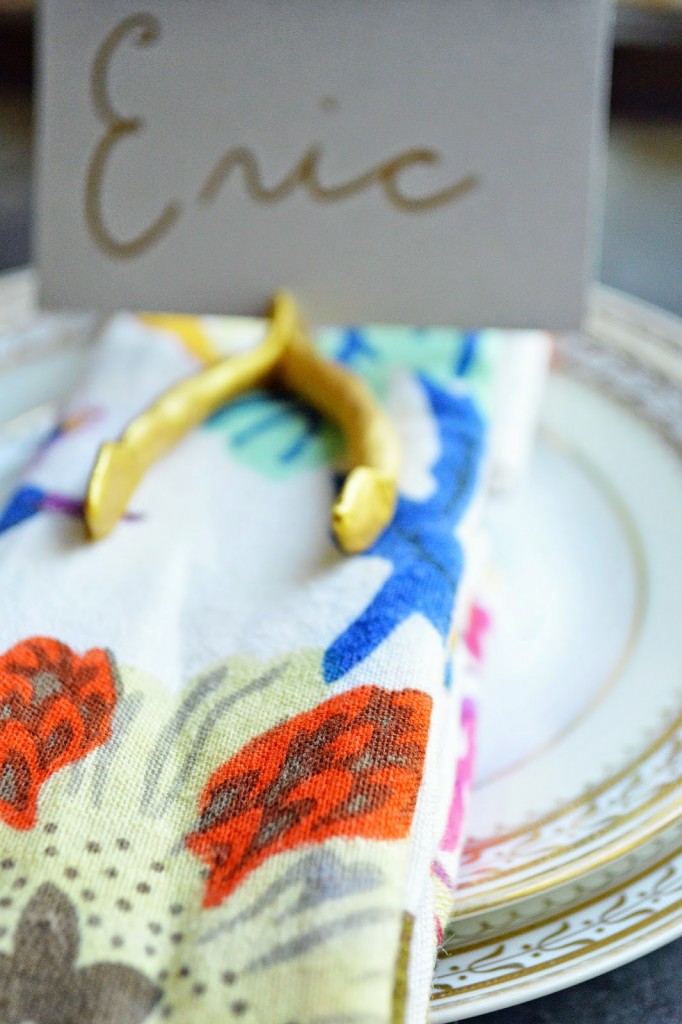
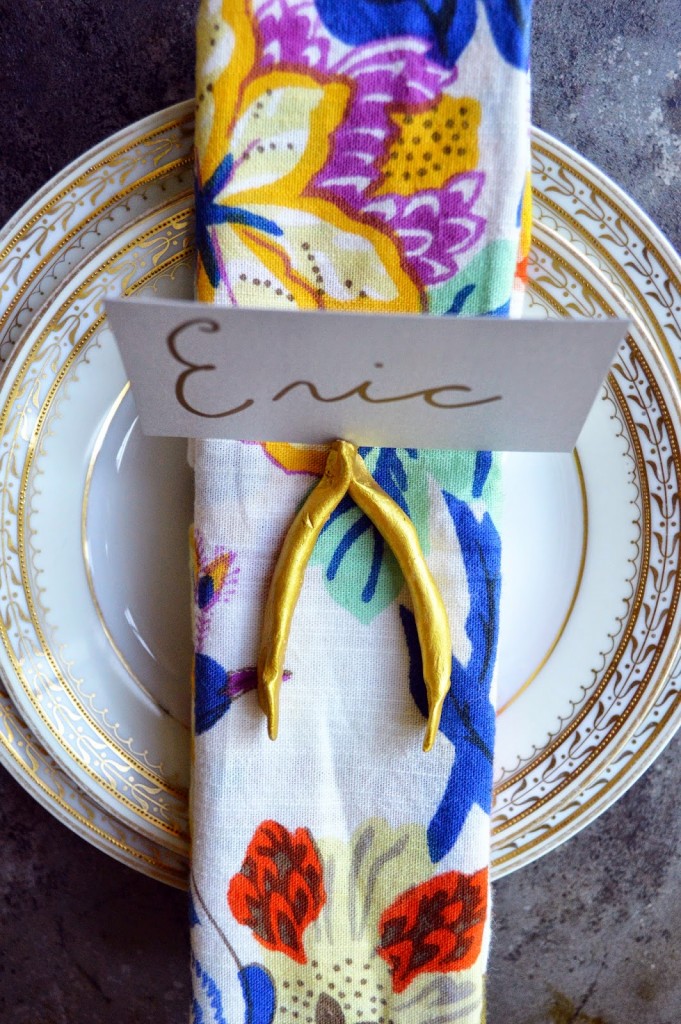
I love any excuse to be crafty around the holidays. Taking on small projects gives me a cozy sense of nesting. These placecard holders are the perfect DIY addition to every seasonal tablescape. Even for intimate gatherings, seating cards let guests know that I thought about their presence ahead of time. It says I was intentional and puts them at ease from the beginning (not to mention, it gets rid of that awkward “where should I sit” syndrome). These simple gestures go a long way toward crafting that fine hostess experience from start to finish. See full details below.
p.s. my napkins are from Anthropologie.
DIRECTIONS
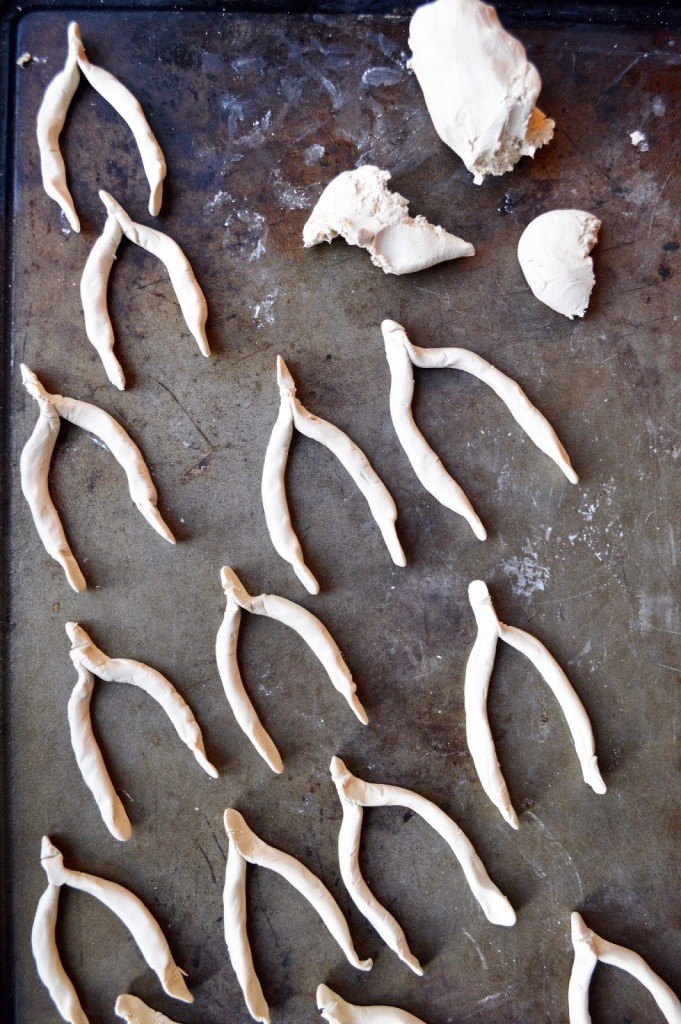
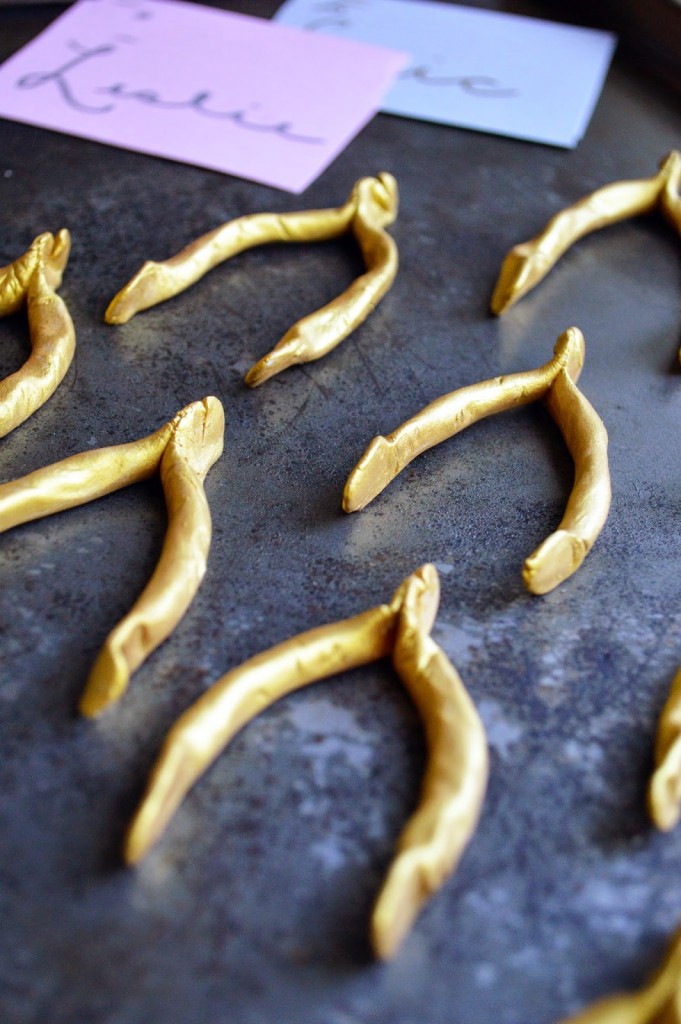
2. Separate the ball of clay into two pieces. Roll each piece into a long, even string.
3. Take one end of each string and press together to create top of the wishbone. Ensure they are firmly connected before proceeding.
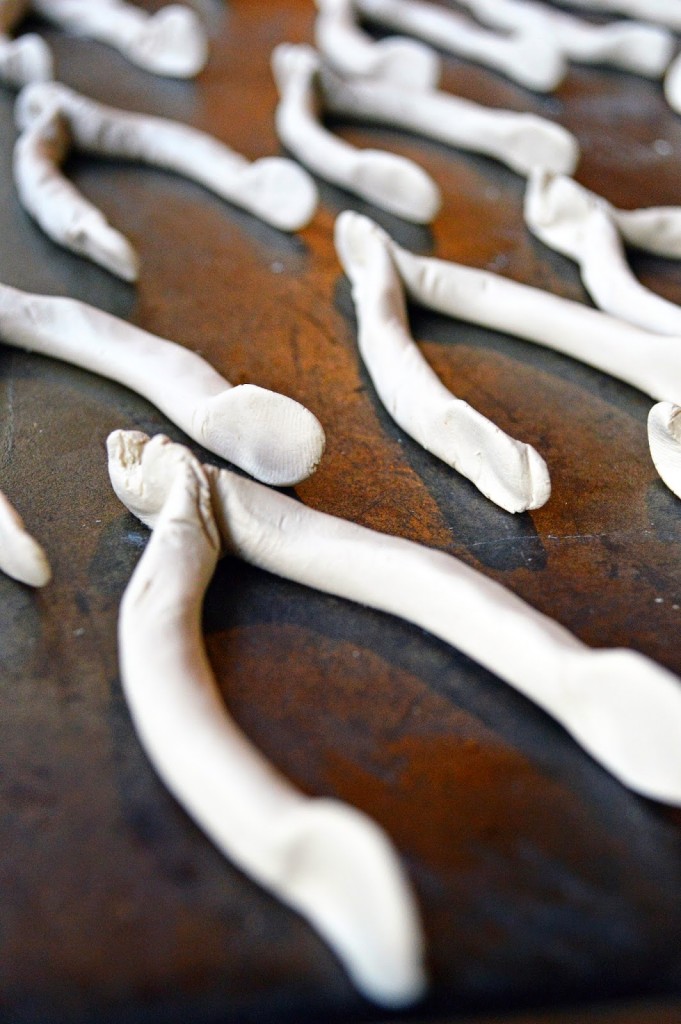
4. Pinch the opposite end of each string to form a flat, rounded surface. Mold the edges of the wishbone to form a bowed “V” shape.
5. Use a thin knife (or piece of card stock) to create a niche in the top of the wishbone, wide enough for a piece of paper to fit securely.
6. Let clay dry overnight.
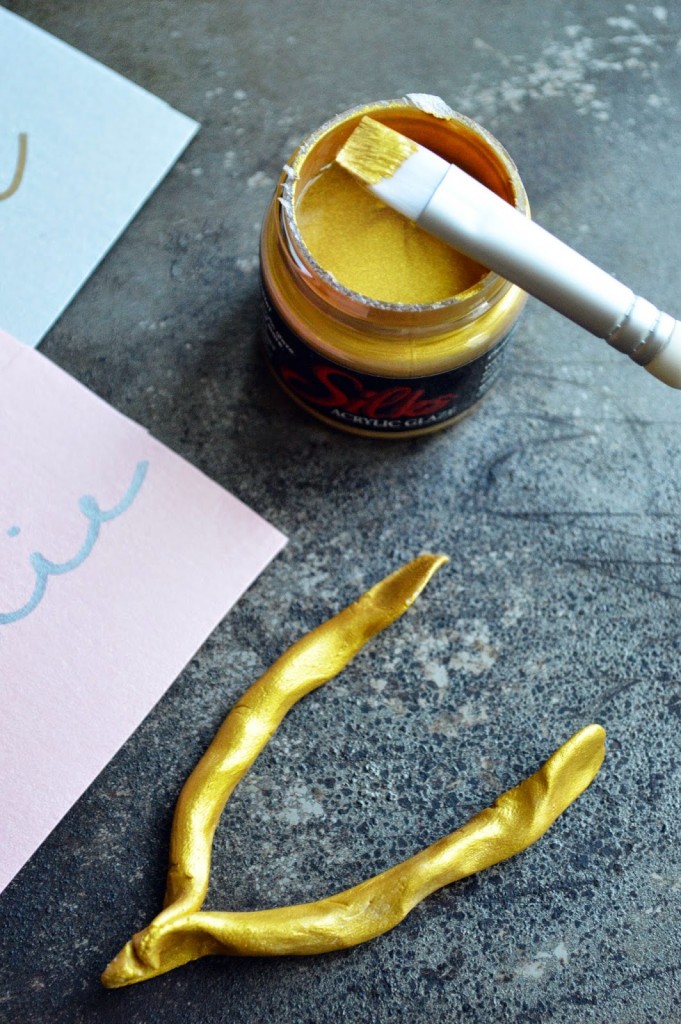
7. Using the medium paintbrush and acrylic paint, generously cover the surface of each wishbone. Allow one side to try completely before turning over and repeating the process.
8. Cut a 2” x 3” piece of cardstock in your color of choice (I traced my business card for reference). Write the name of each guest on the cardstock in gold or silver paint. Insert in the niche at the top of the wishbone and arrange the seating plan.

