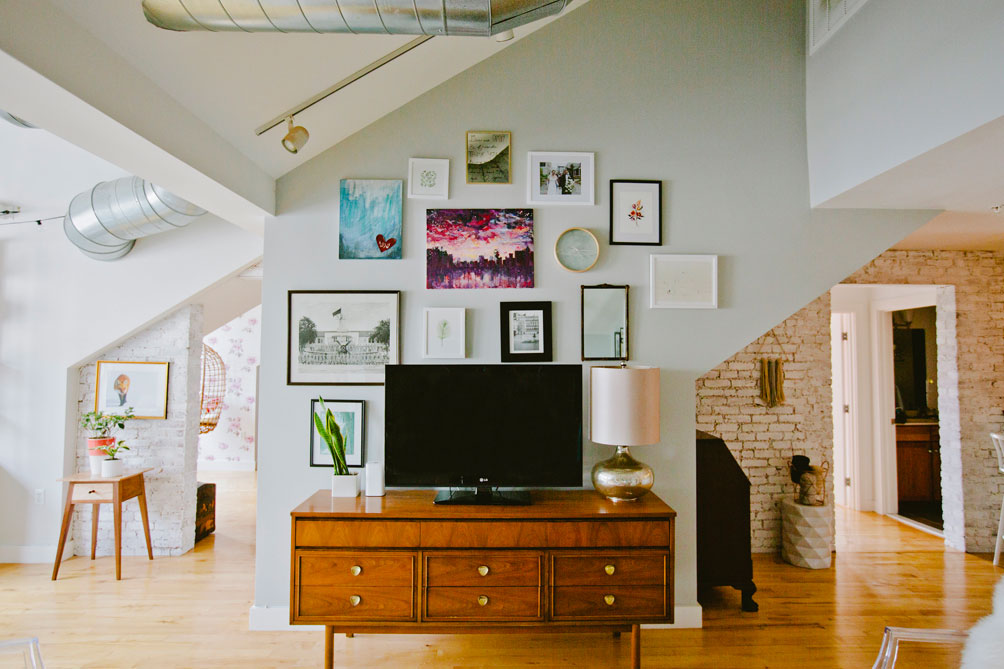
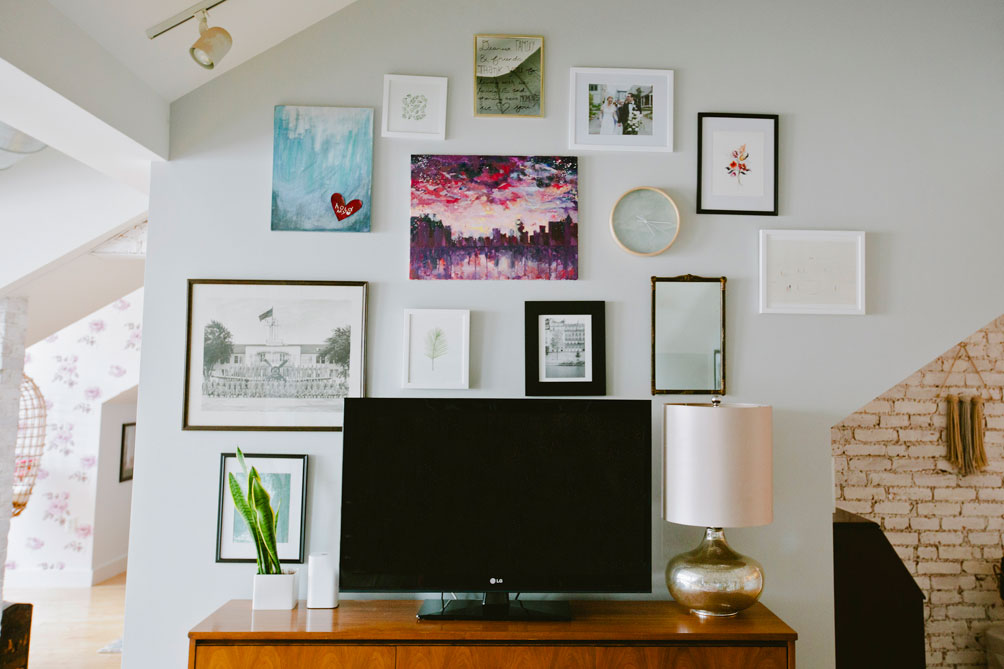
 During the process of our home remodeling, Minted reached out to us with a collaboration opportunity. The timing couldn’t have been more perfect in that we were scheming up a gallery wall to frame the television space. Our lofted ceilings offer a perfect canvas for this kind of installation. So we combed through their archives (it took forever because there are so many talented artists) and chose an array of key pieces. Combined with our own images and artwork, the centerpiece of our living room took shape. And today I’m sharing my tips on how to create a gallery wall of your own.
one: start with a focal piece – back in college I commissioned our crazy talented friend to paint that center, pink-hued painting. it was a valentine’s day gift for E to represent our love of city travel. we knew from the start that this would be our showstopper. the colors draw you in and make it hard to look away. so from that foundation it was time to add our other ‘building block’ pieces.
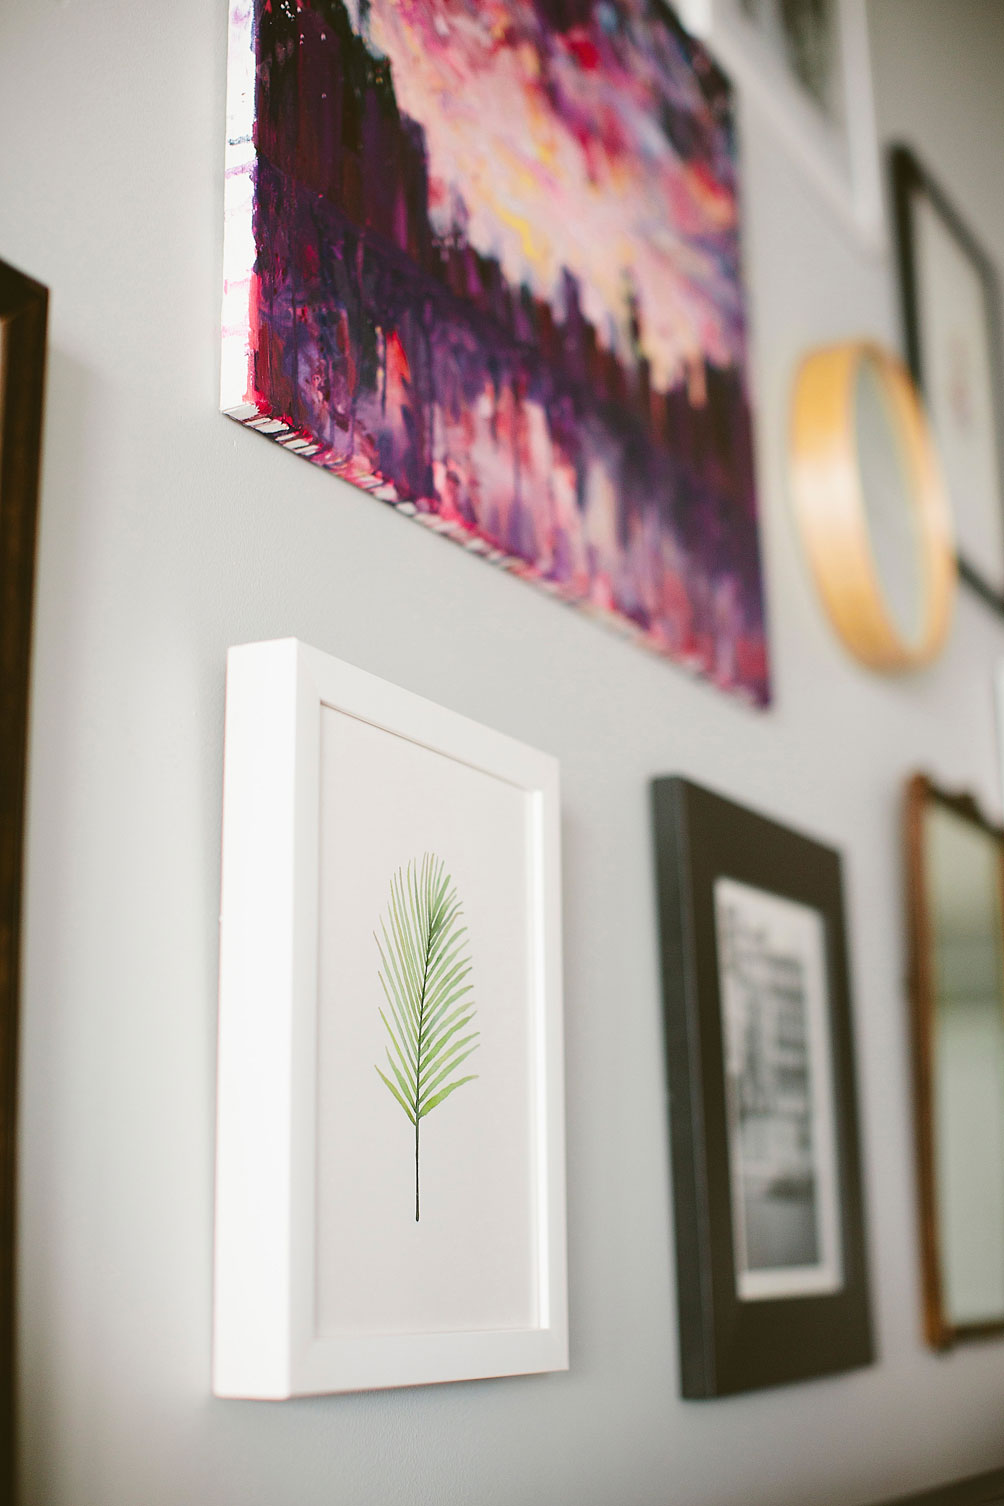 two: work from the center out – once that initial piece is defined, work around it. instead of trying to envision the entire wall from top to bottom or vice versa, spread outward from the middle. this will create a better sense of balance and not leave any section too overcrowded.
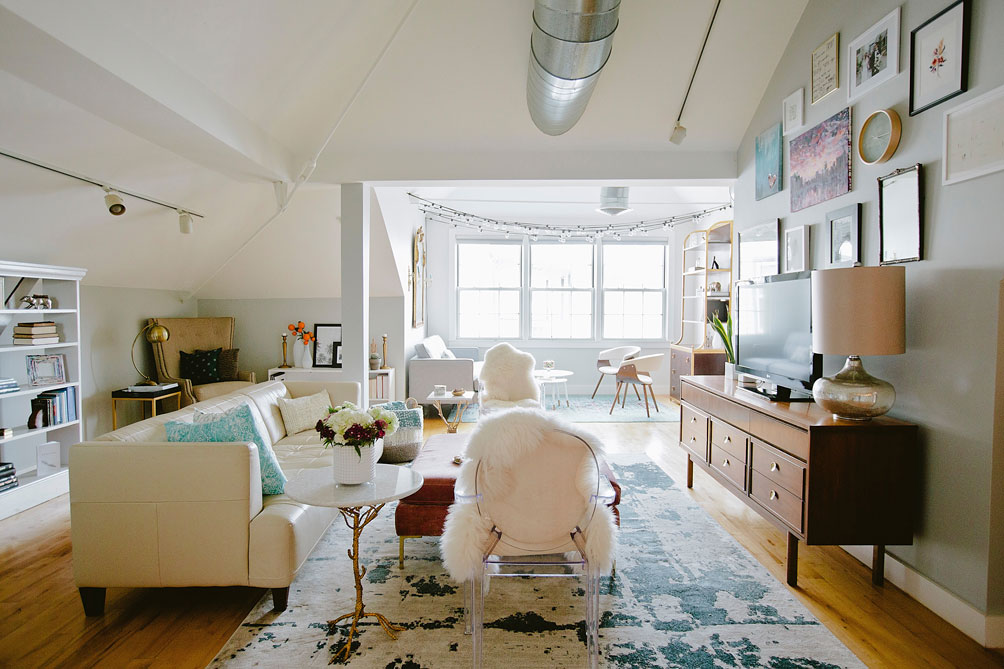 three: incorporate different mediums – a gallery wall doesn’t have to be limited to photography or paintings. feel free to add texture like a mirror, wall clock, or flat sculpture-like piece. many of these things were already in our hands and just had to be reimagined.
 four: from floor to wall – okay, this is my most masterful trick and the one true way I brought our gallery wall to life. lay it out on the floor first. before poking holes in a wall or getting frustrated when the final outcome isn’t what you’d pictured, get a complete design lined up. this gave us a sense of color patterns, space between pieces, and overall framing effect.
**note: if you want to take the last part one step further, trace each piece with wax paper when it’s on the floor. then tape the wax paper to the wall in the pattern you’ve laid out on the floor. nail each piece of wax paper to the wall then tear it off. hang art accordingly.

