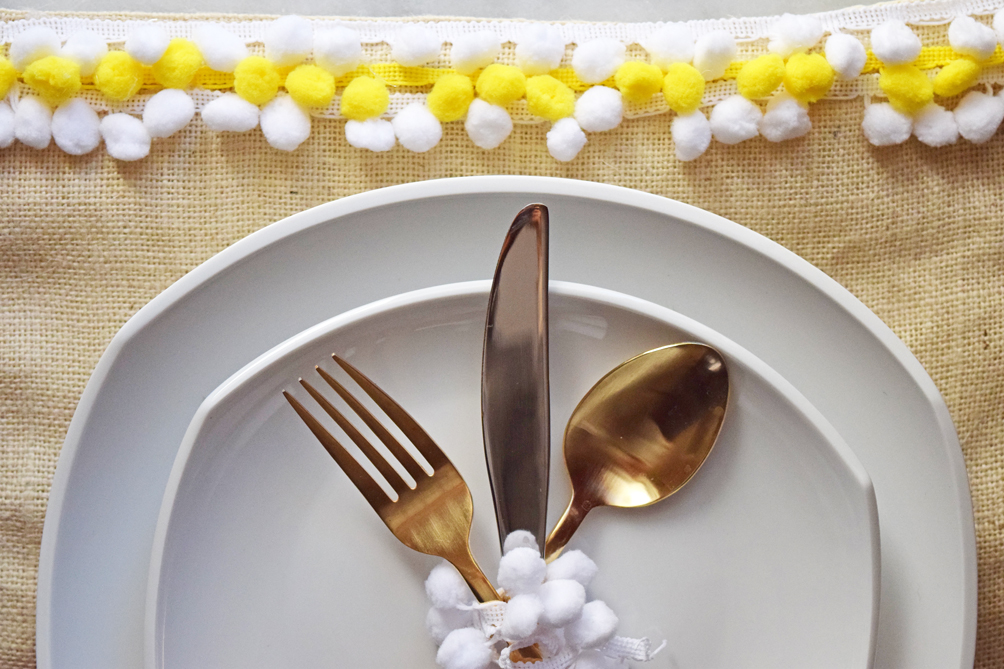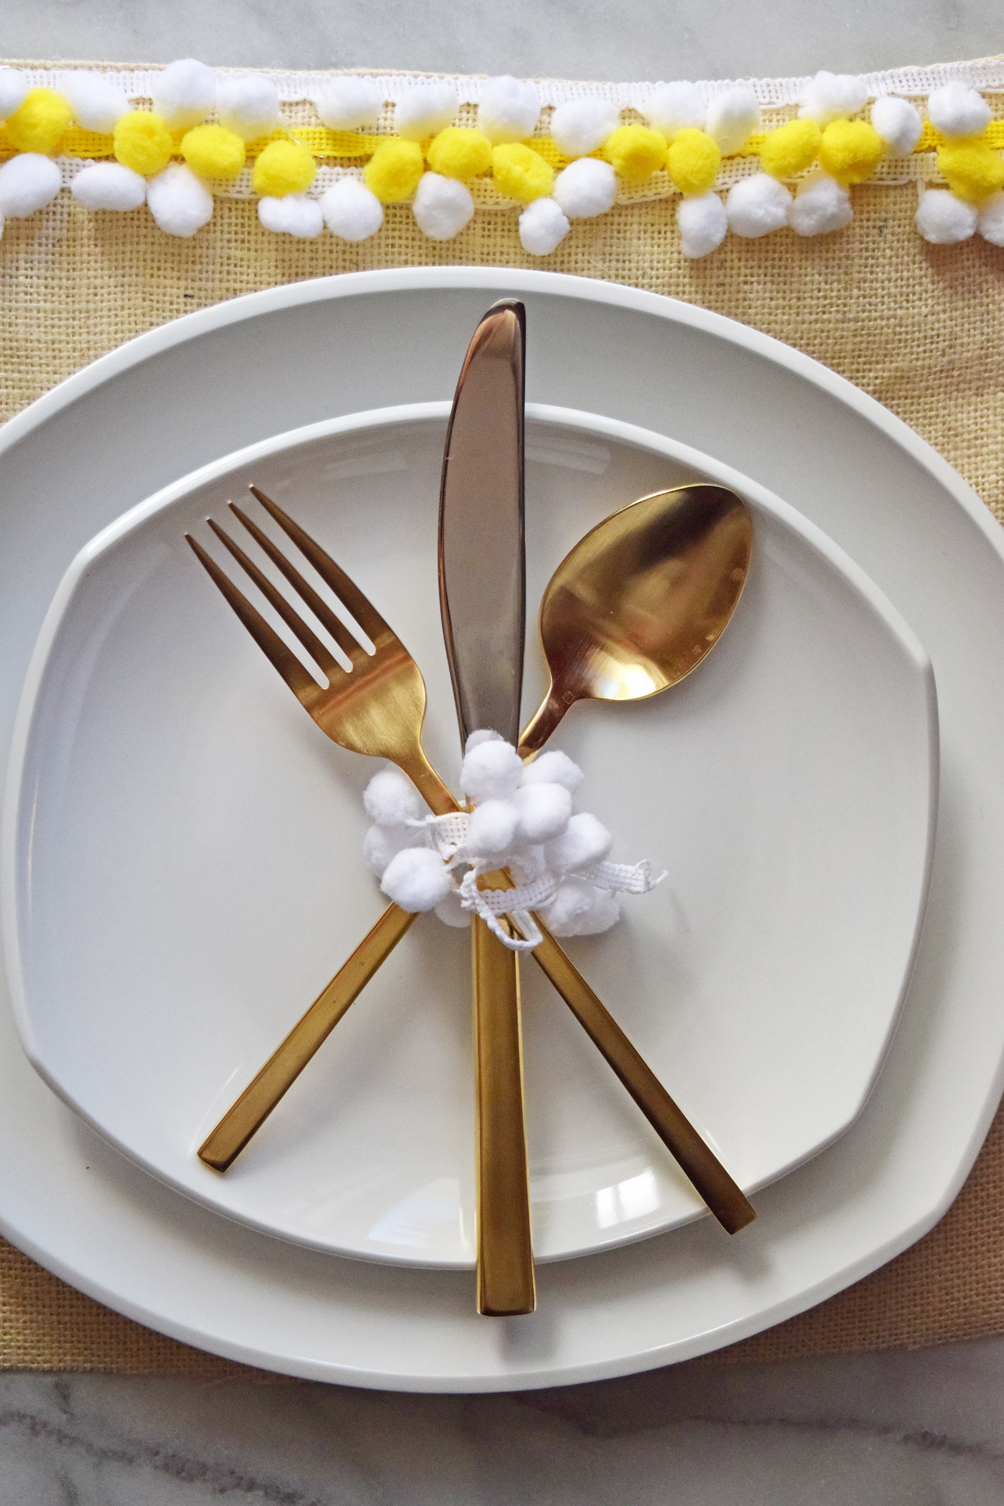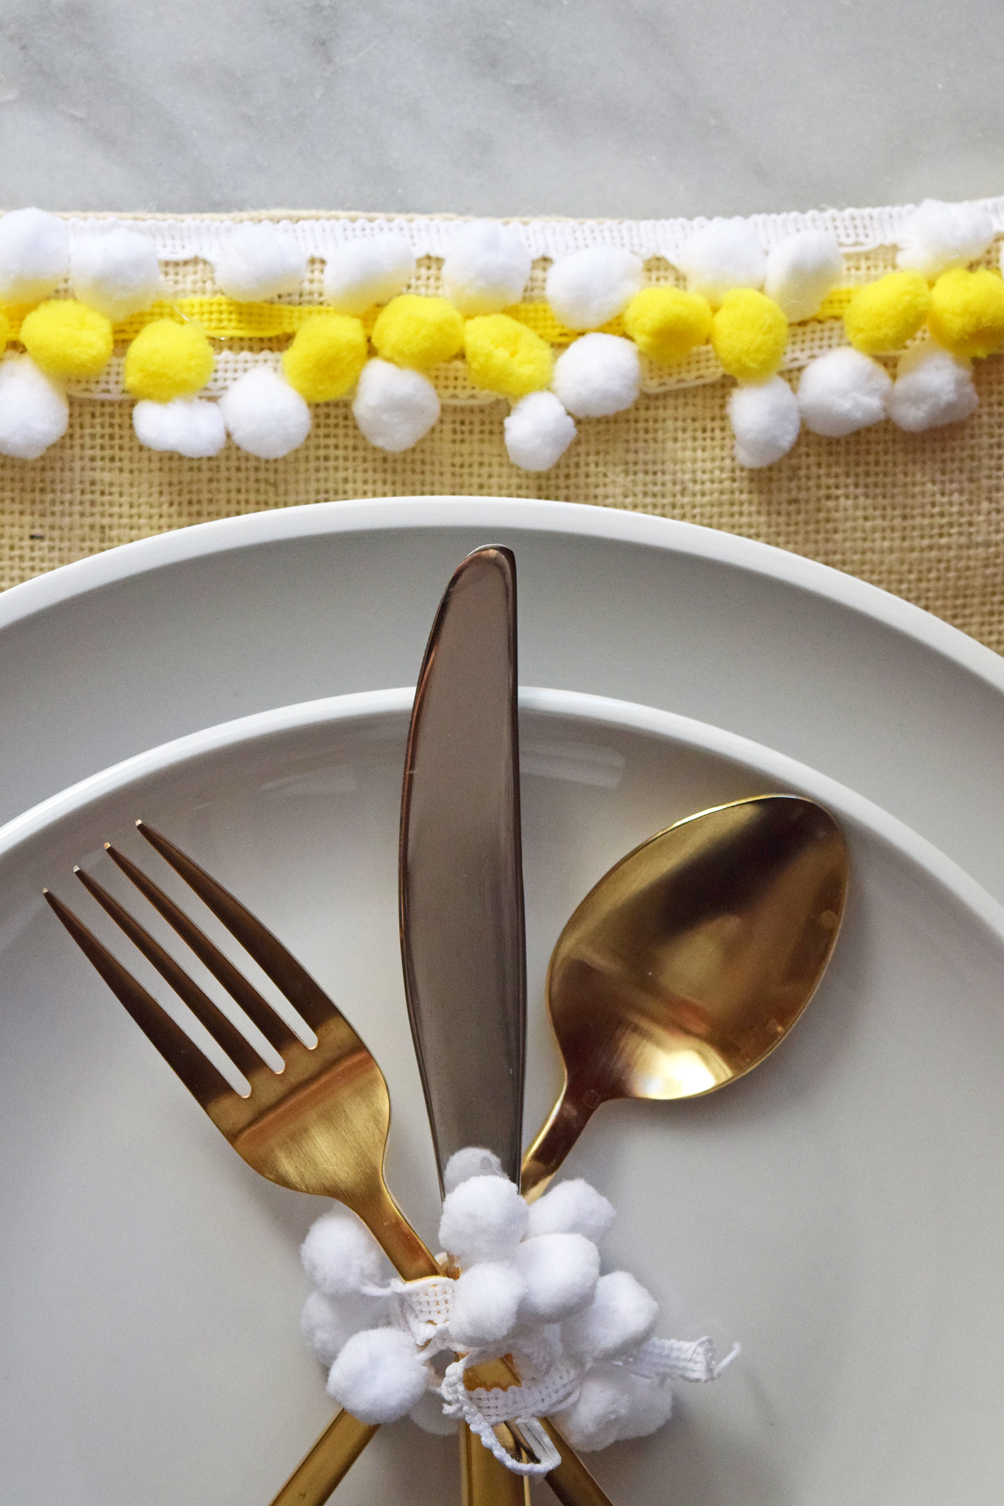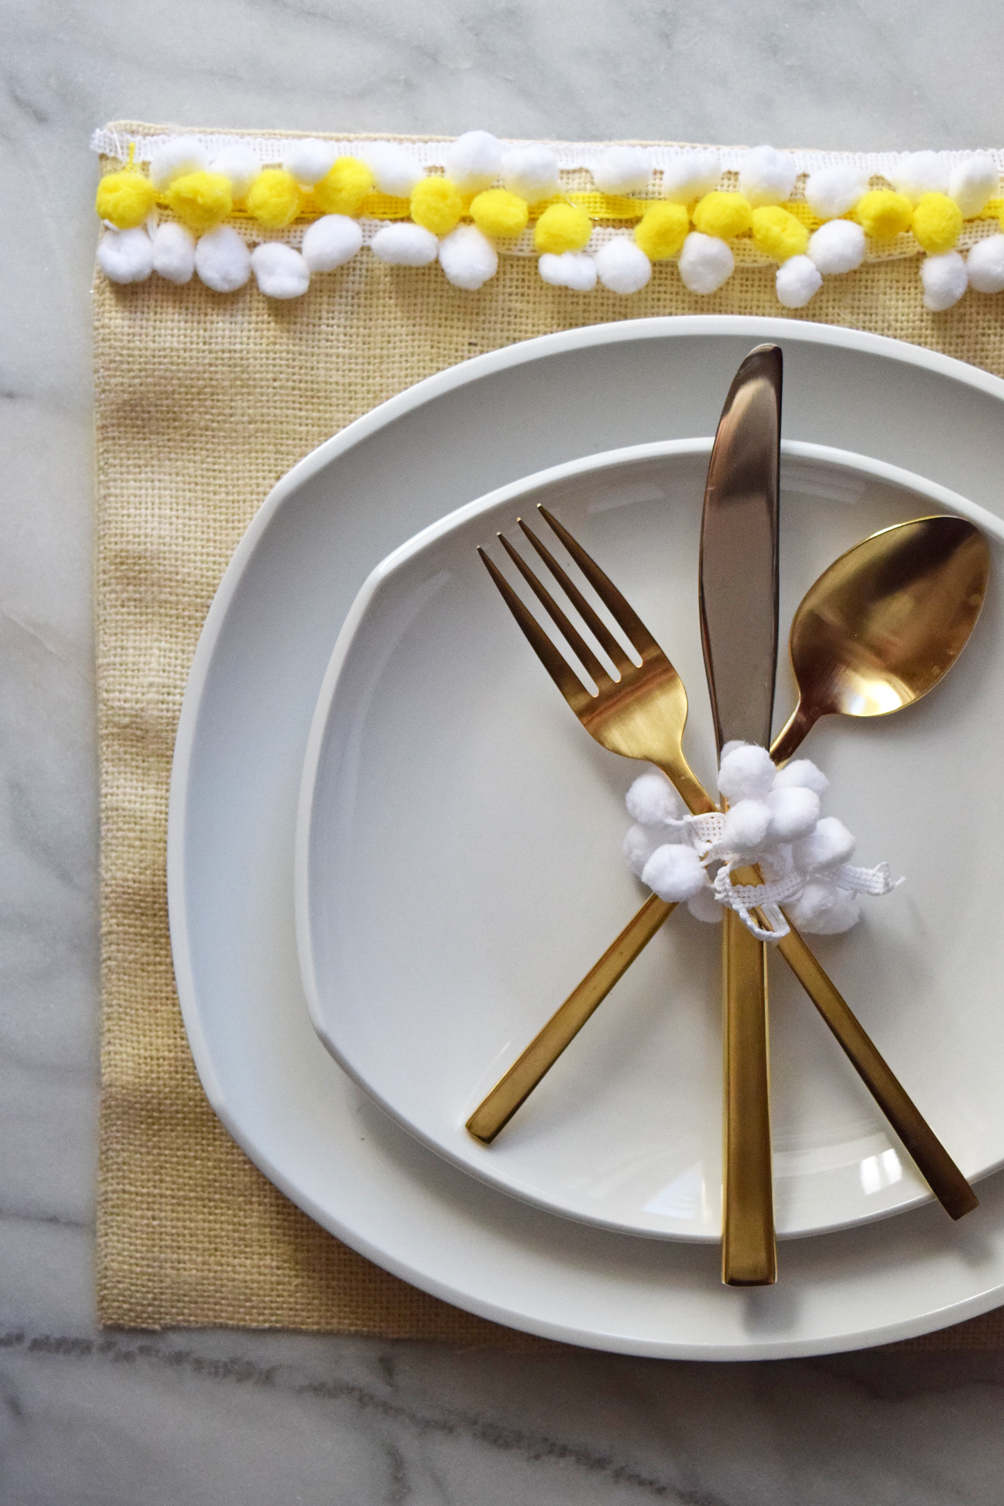
Over the next two months there will be plenty of reasons to set the table and play hostess. And one thing I’ve realized that’s lacking in our house is a collection of placemats. I never think to buy them or, when I do, I can’t find ones I really love. But I recently decided to delve into this diy pom pom placemat idea where I can mix and match colors for any occasion. The step-by-step instructions are below. And once I was ready to set the table, I used leftover trim to tie the silverware together. It brought the whole look together.
Supplies
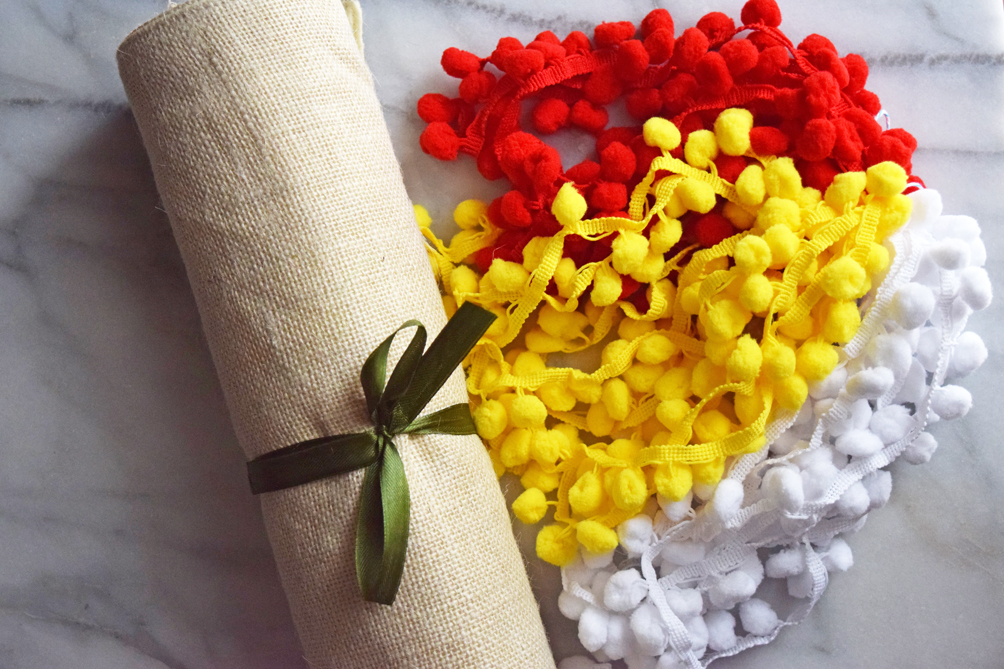
- Placemats (I cut a table runner to size)
- Hot glue gun
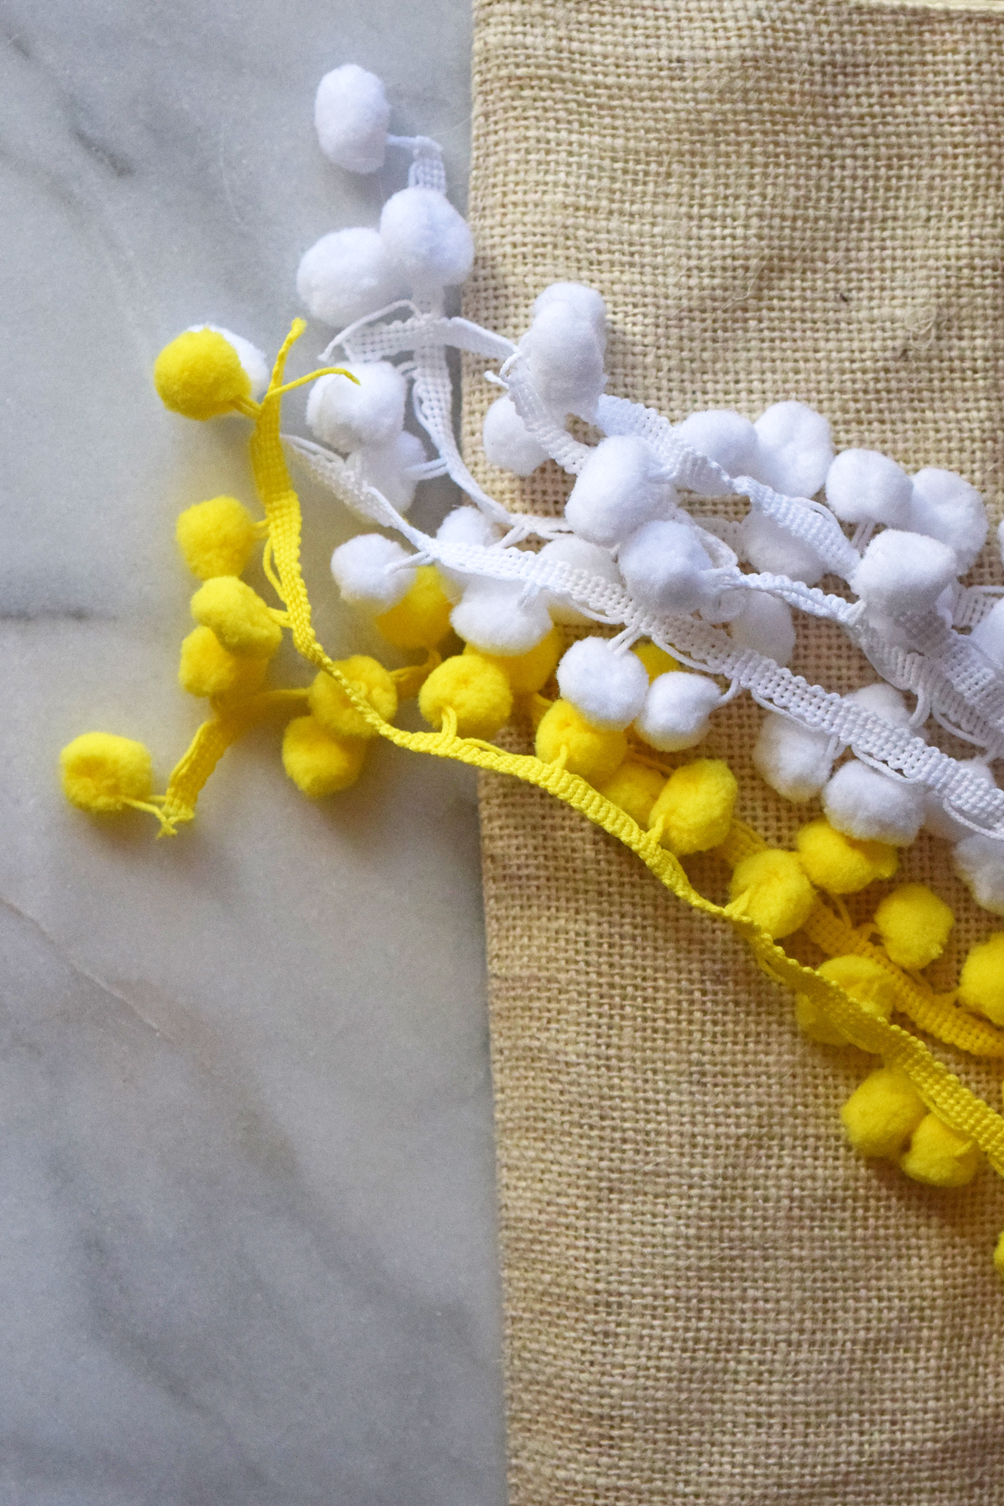
- Pom pom trim in colors of choice (I thought the red was much softer…so I avoided using it for fear of them looking like McDonalds)
- Scissors
Directions
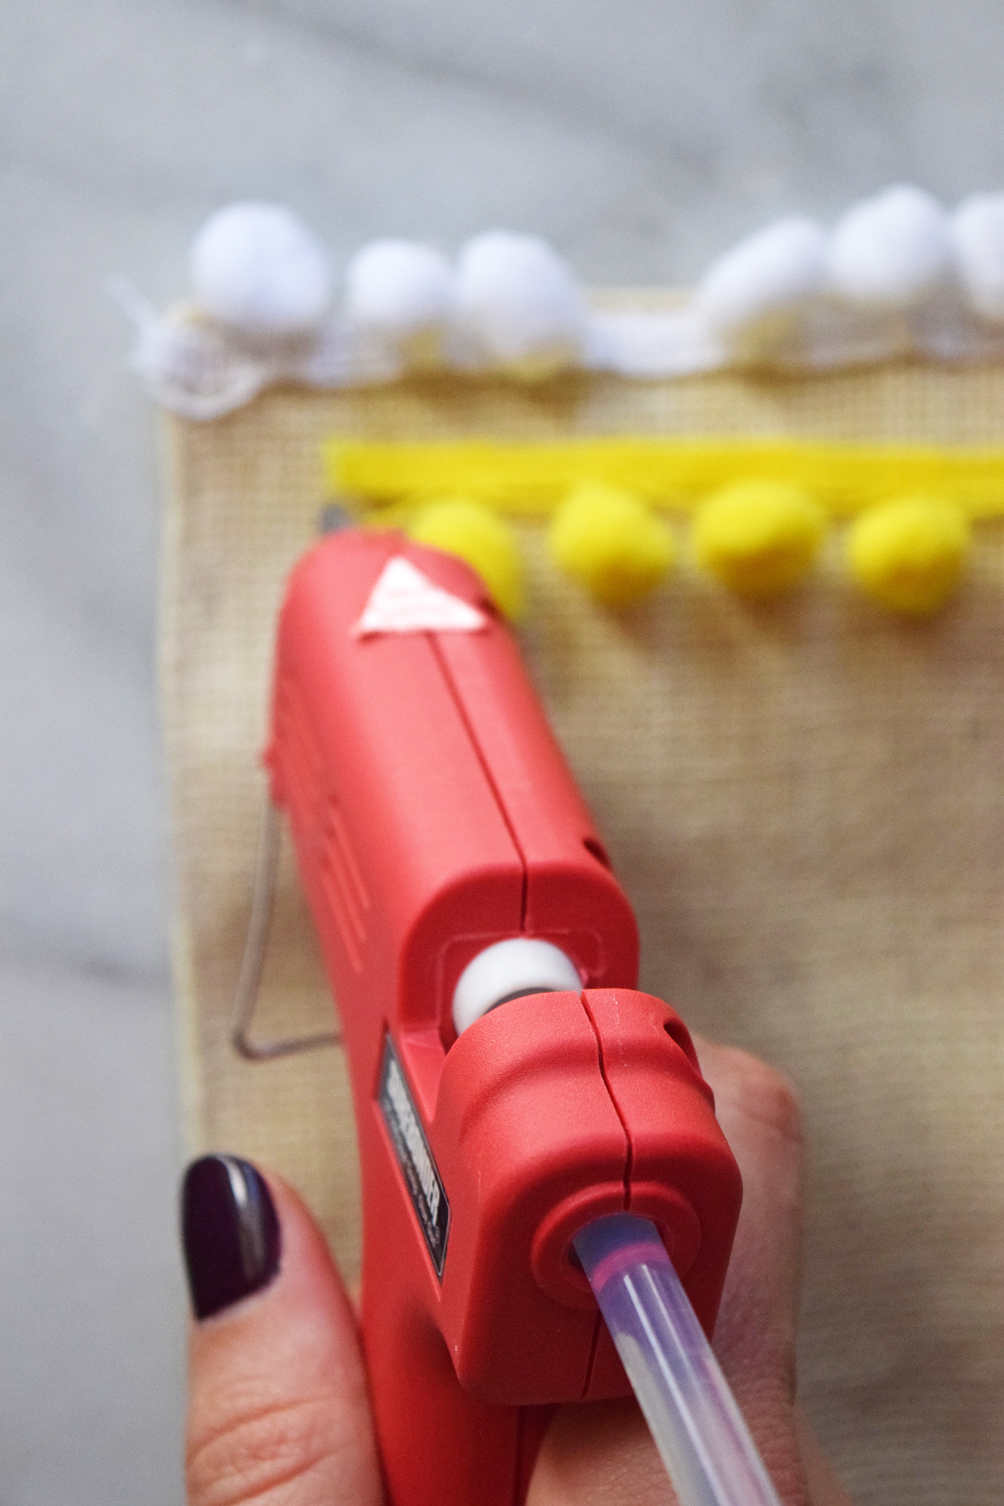
one: Glue one strip of pom pom trim along the edge of your placemat with the hot glue gun, adhering just a few inches at a time then pressing firmly in place.
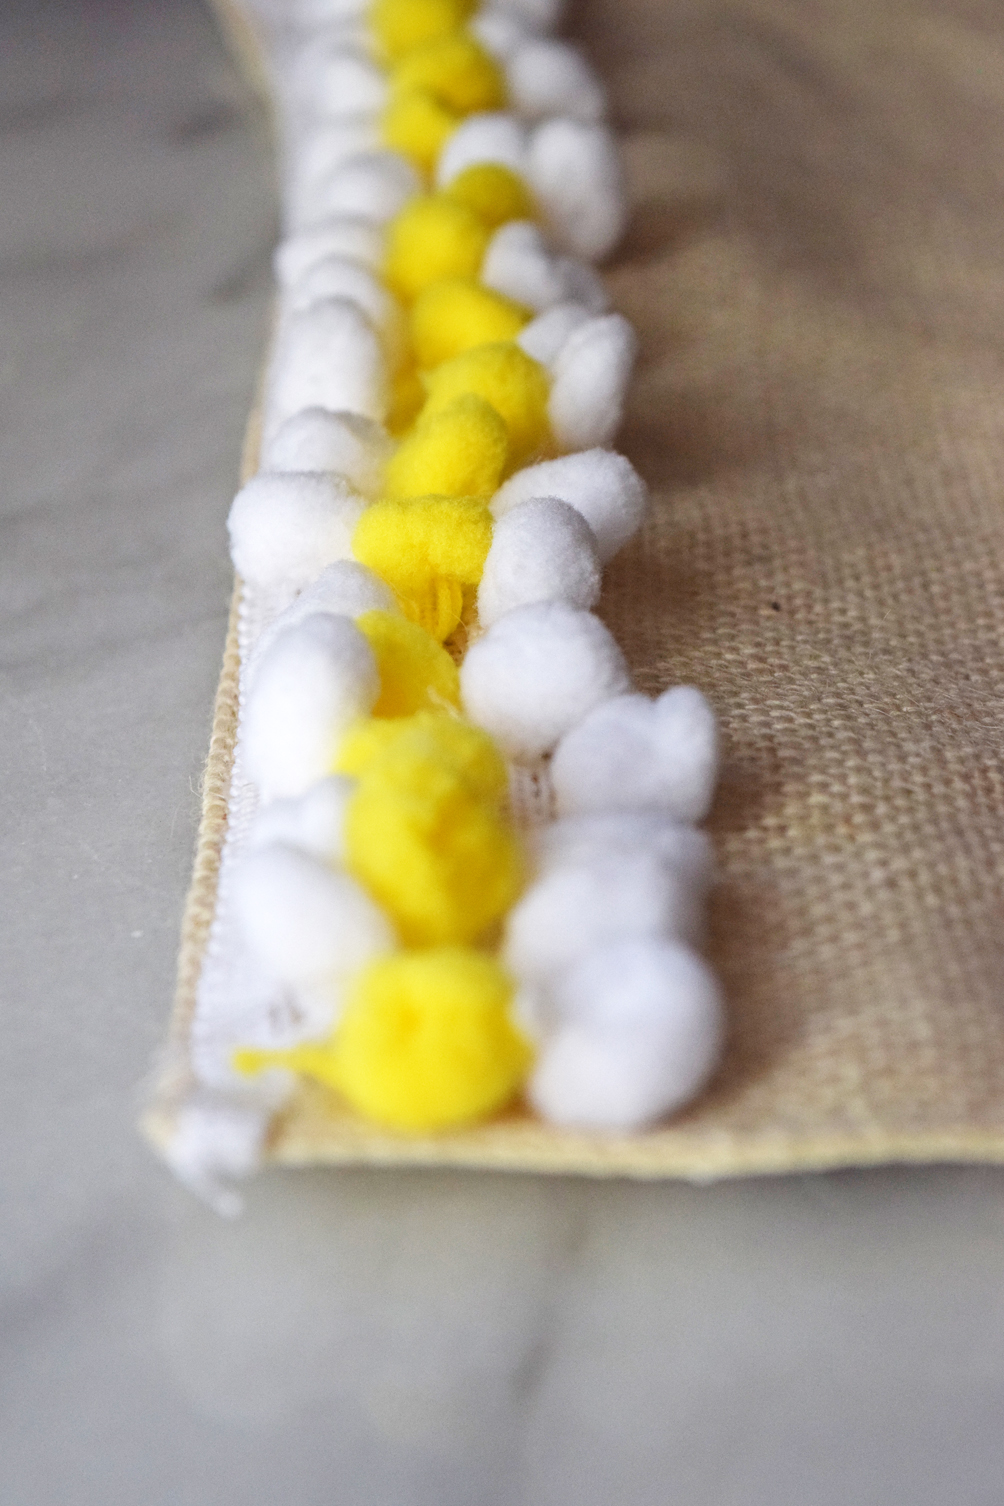
two: Repeat the process and lay the second pom pom trim just beneath the first to make sure the poms are close together.
three: Repeat for as many rows as you’d like.