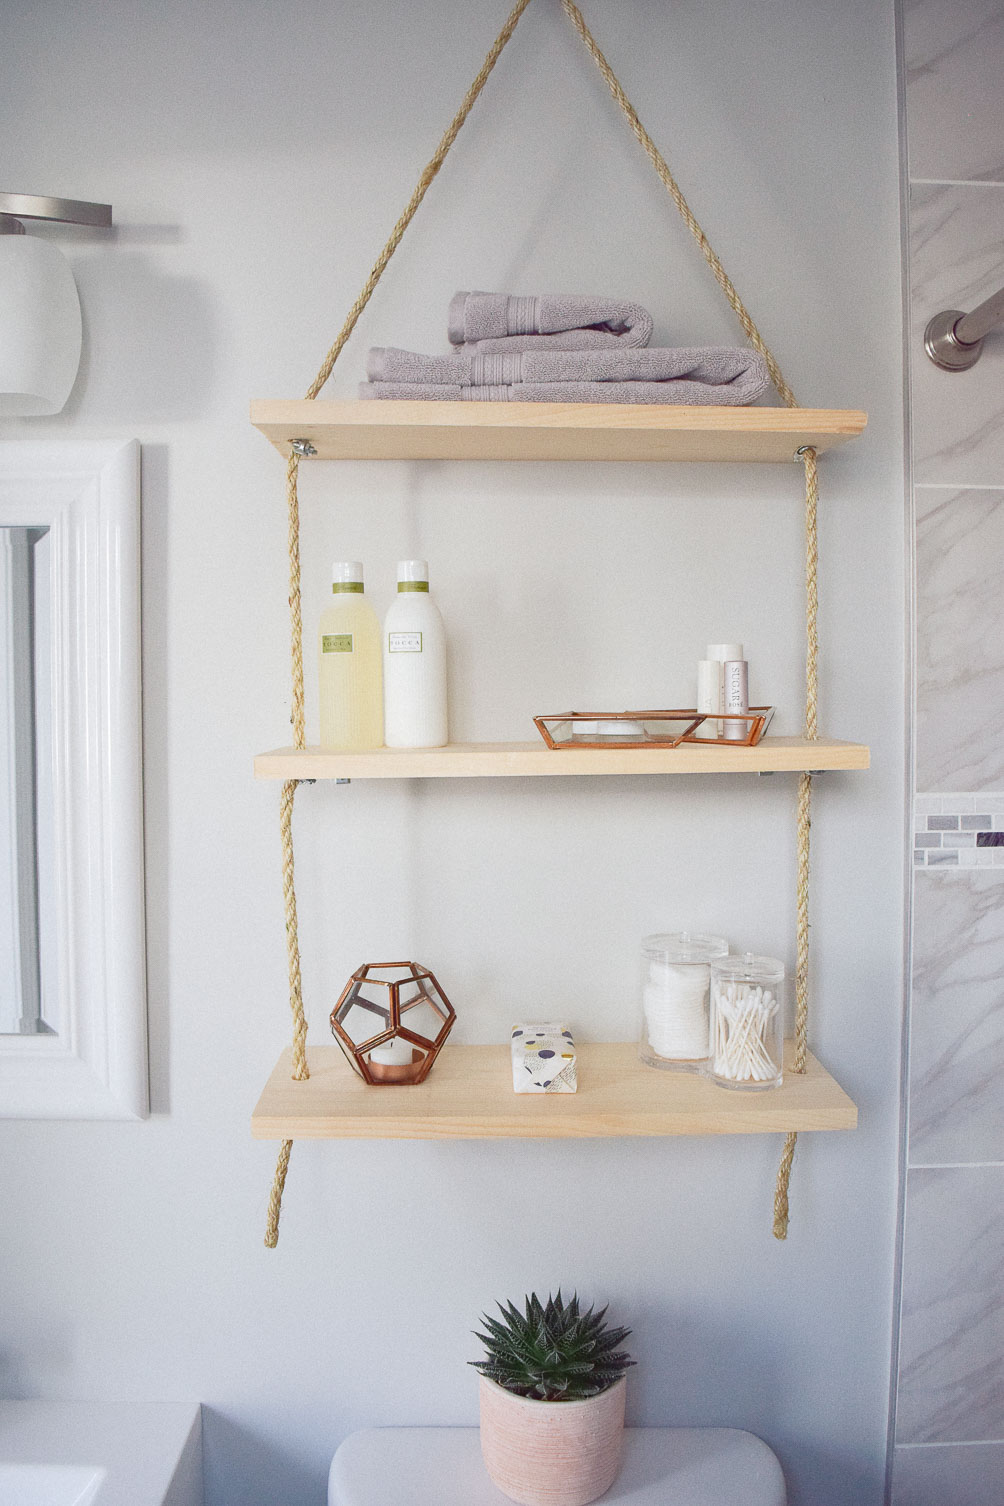
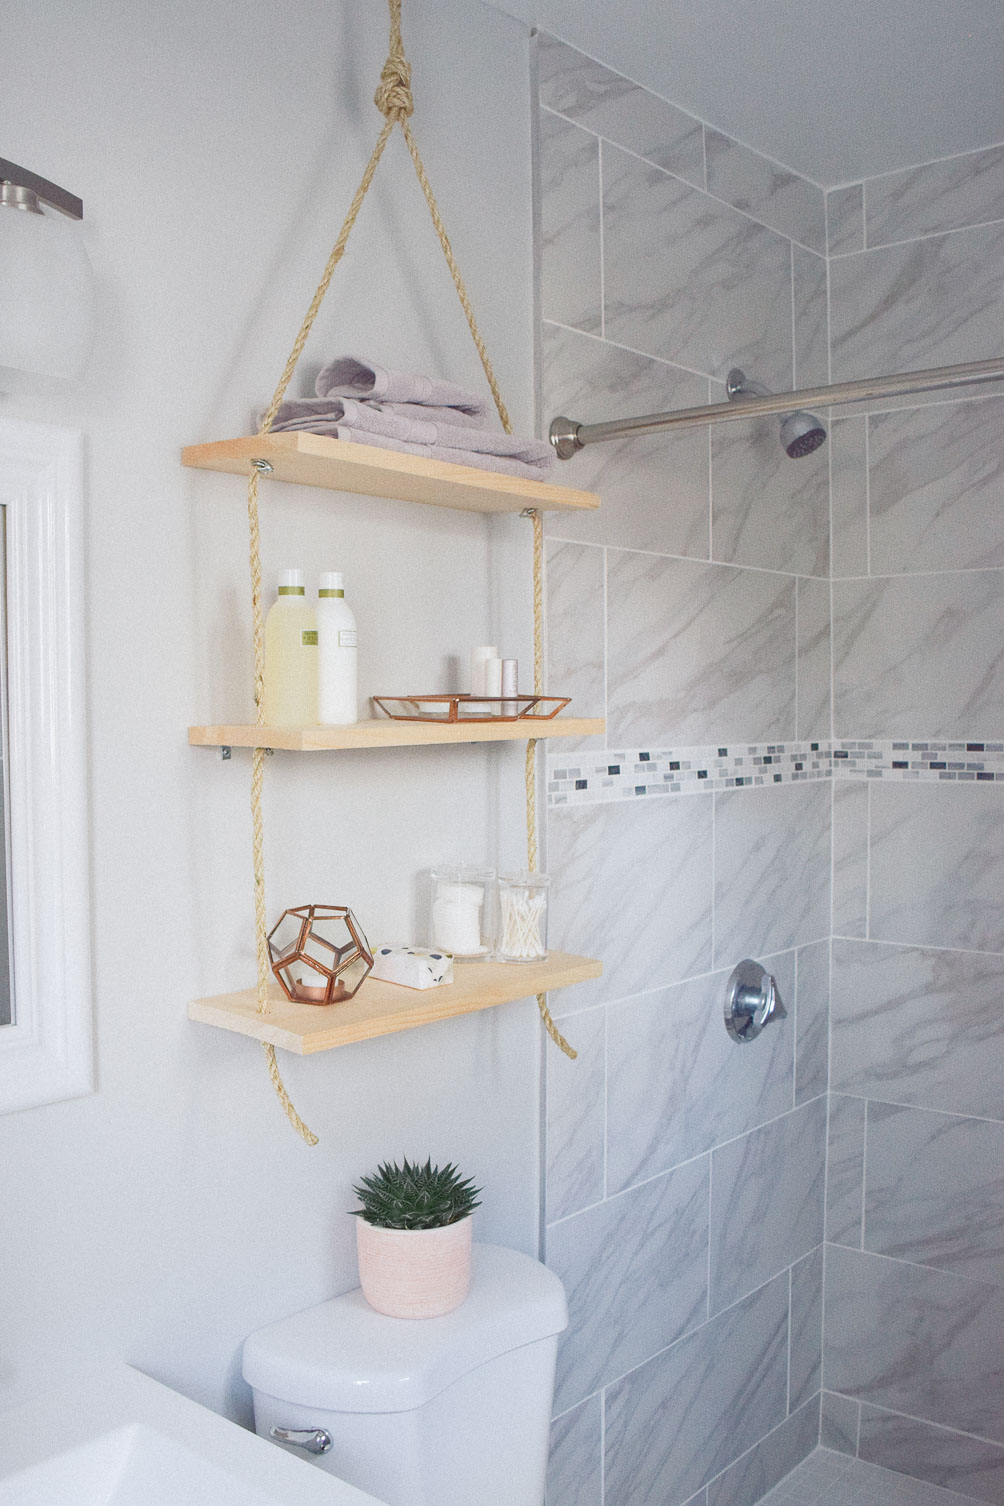
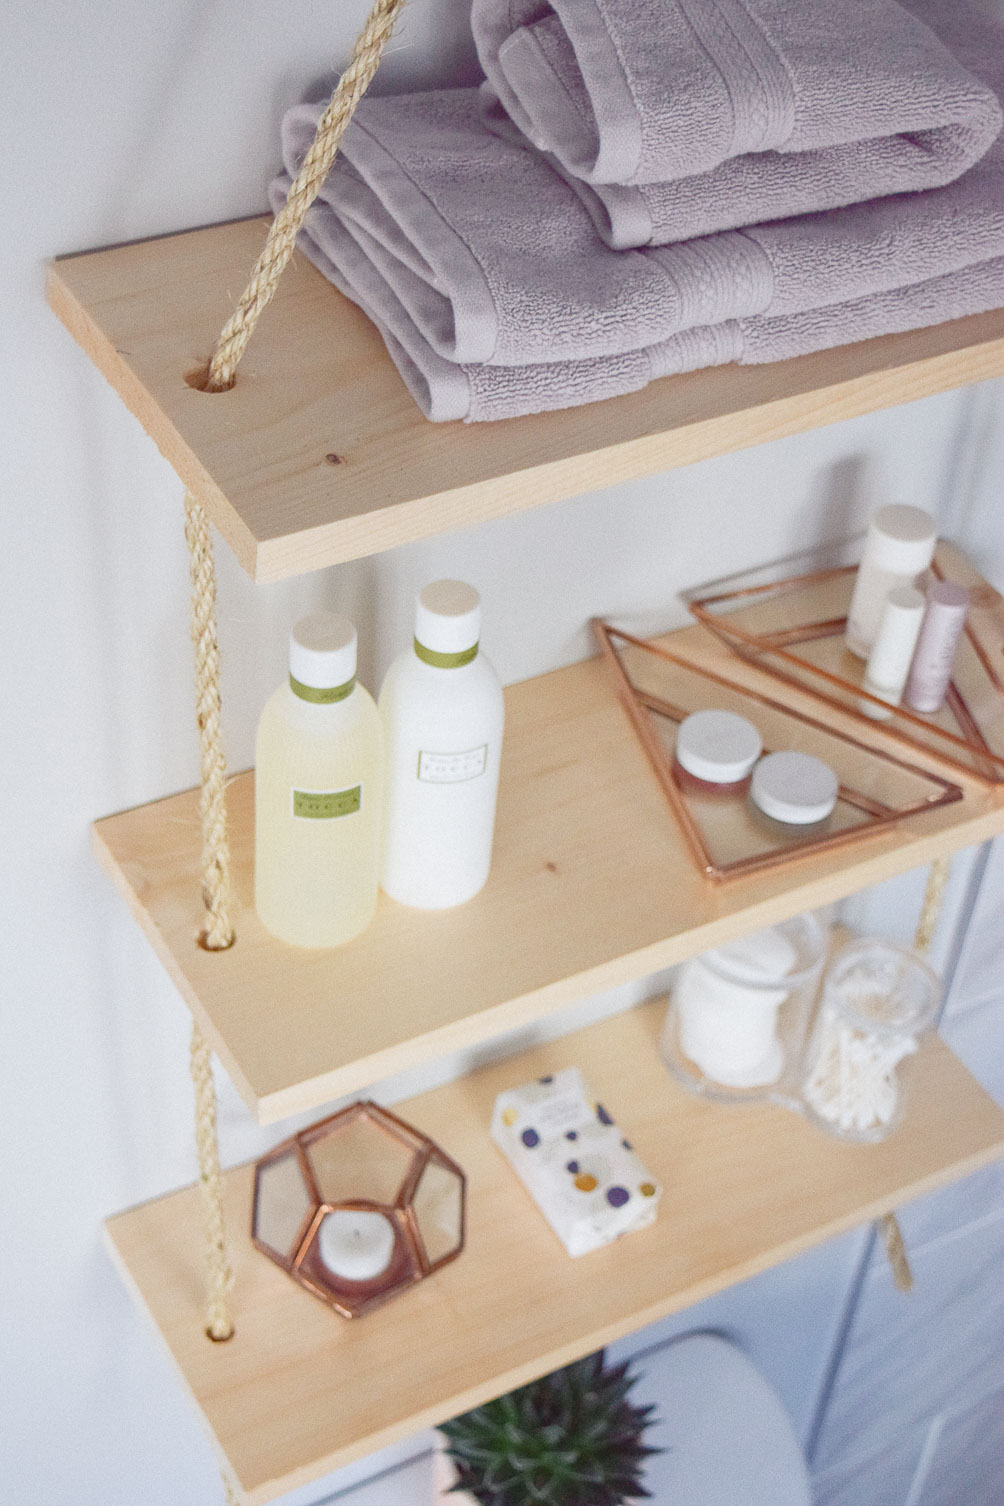
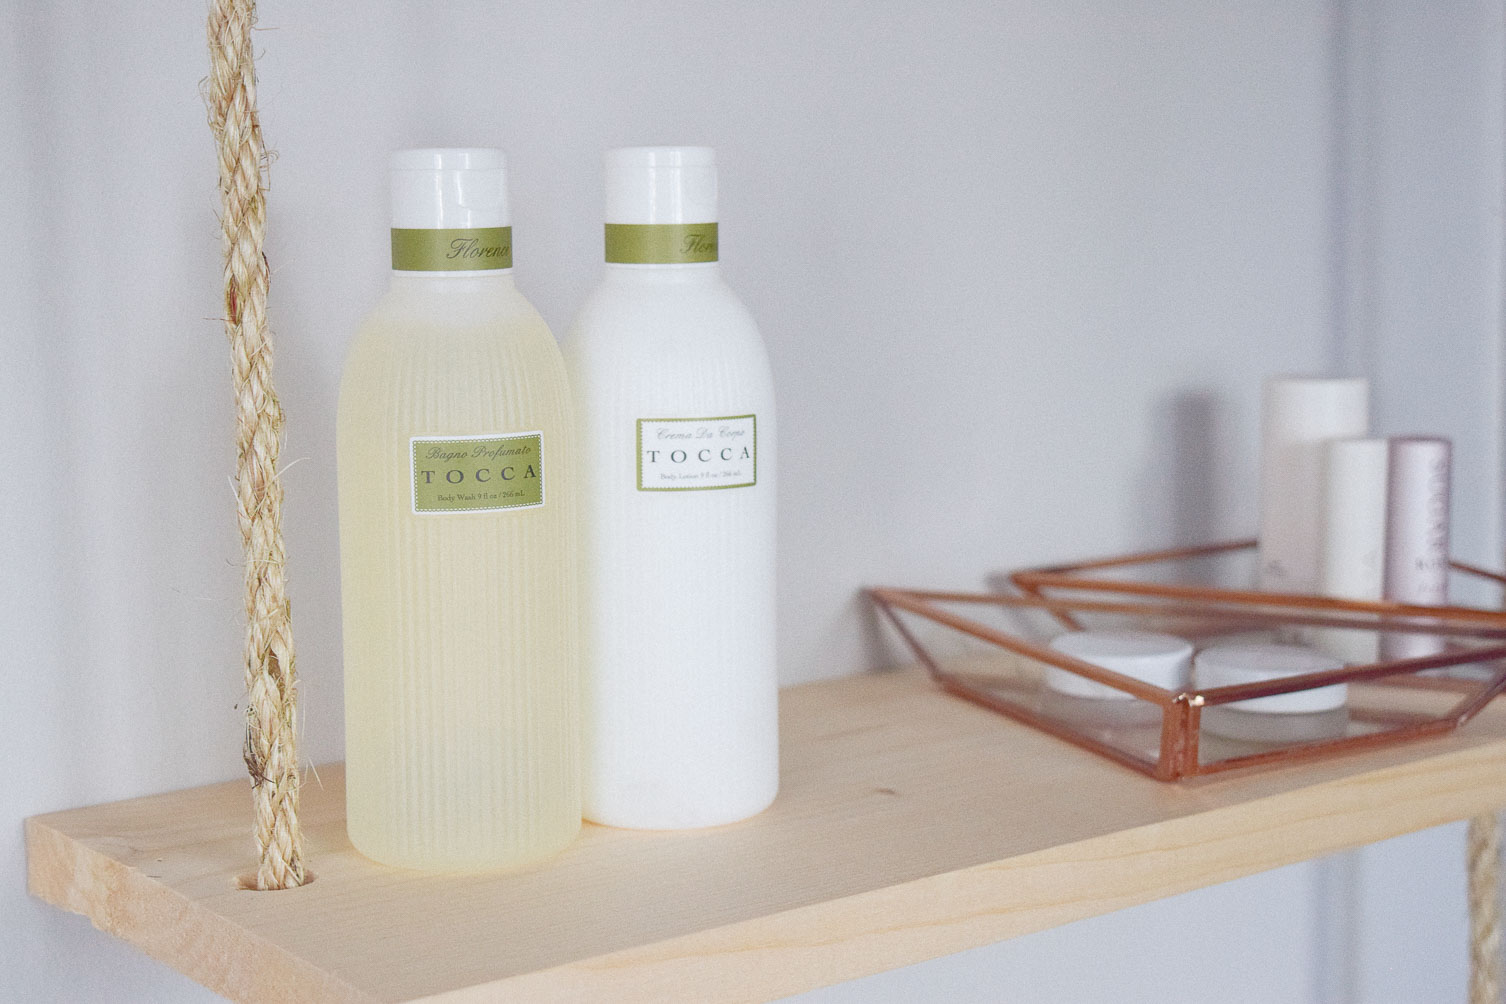
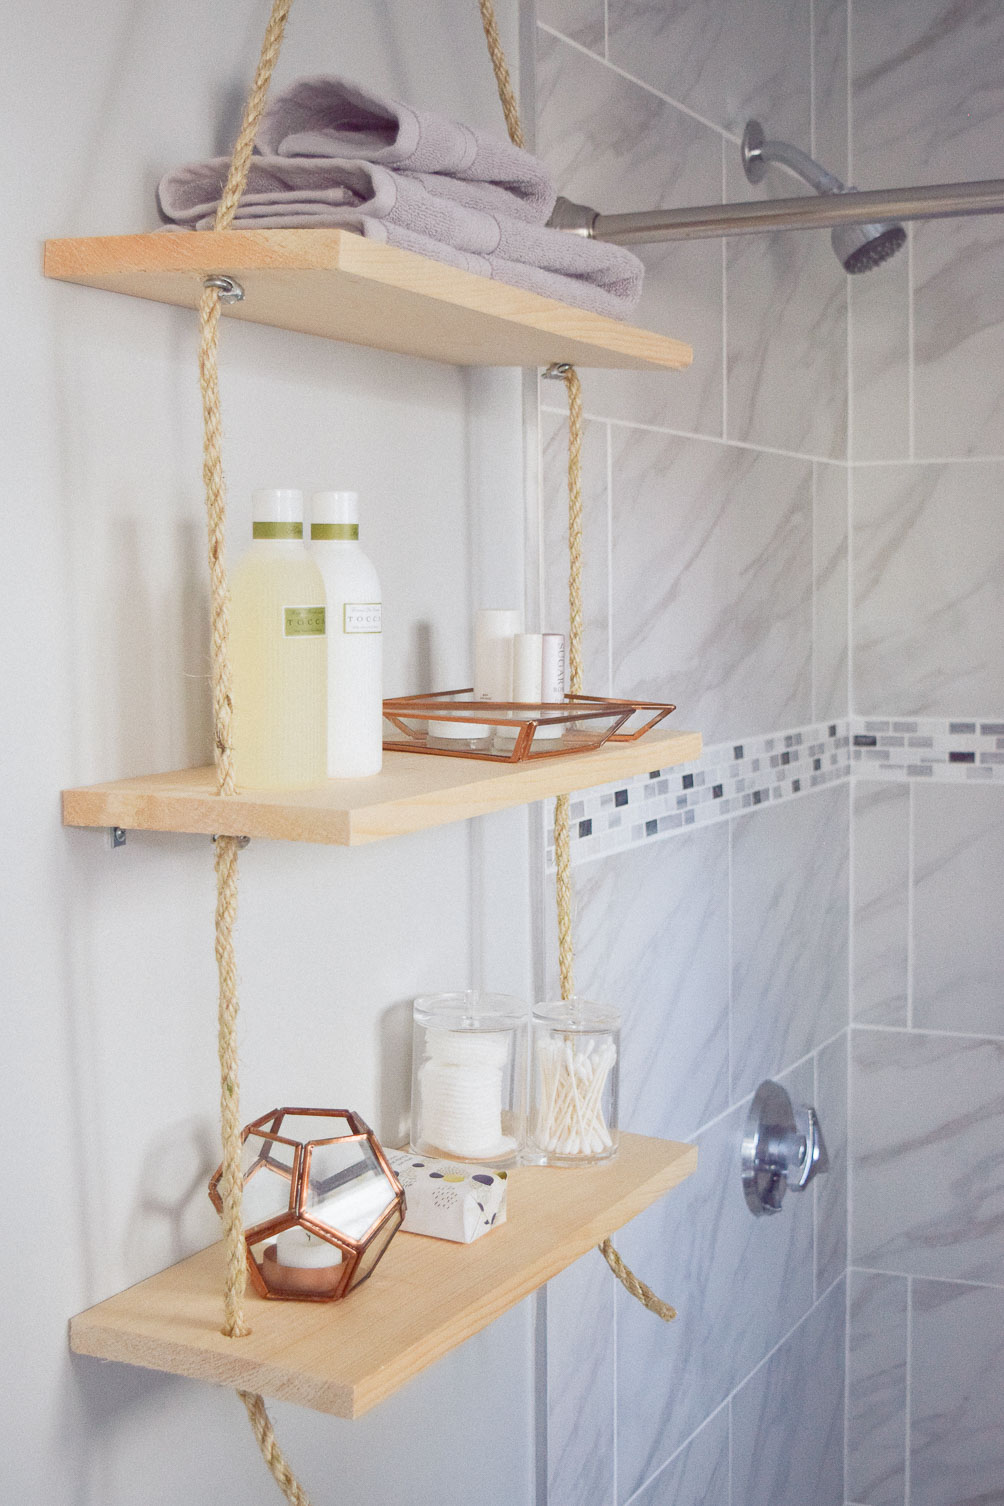
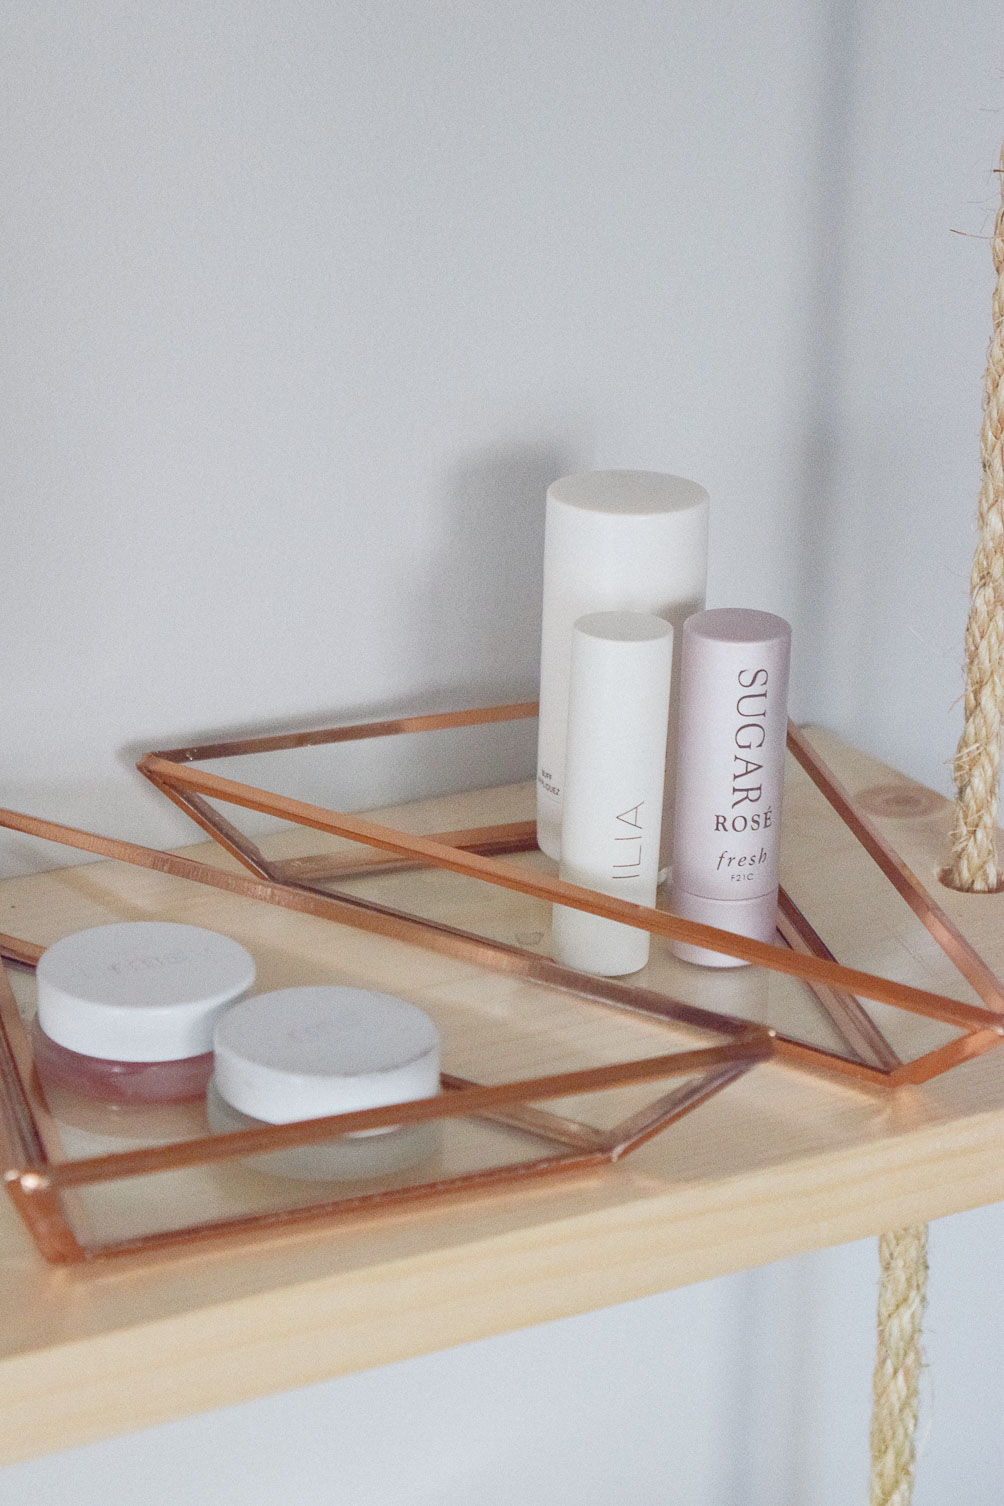
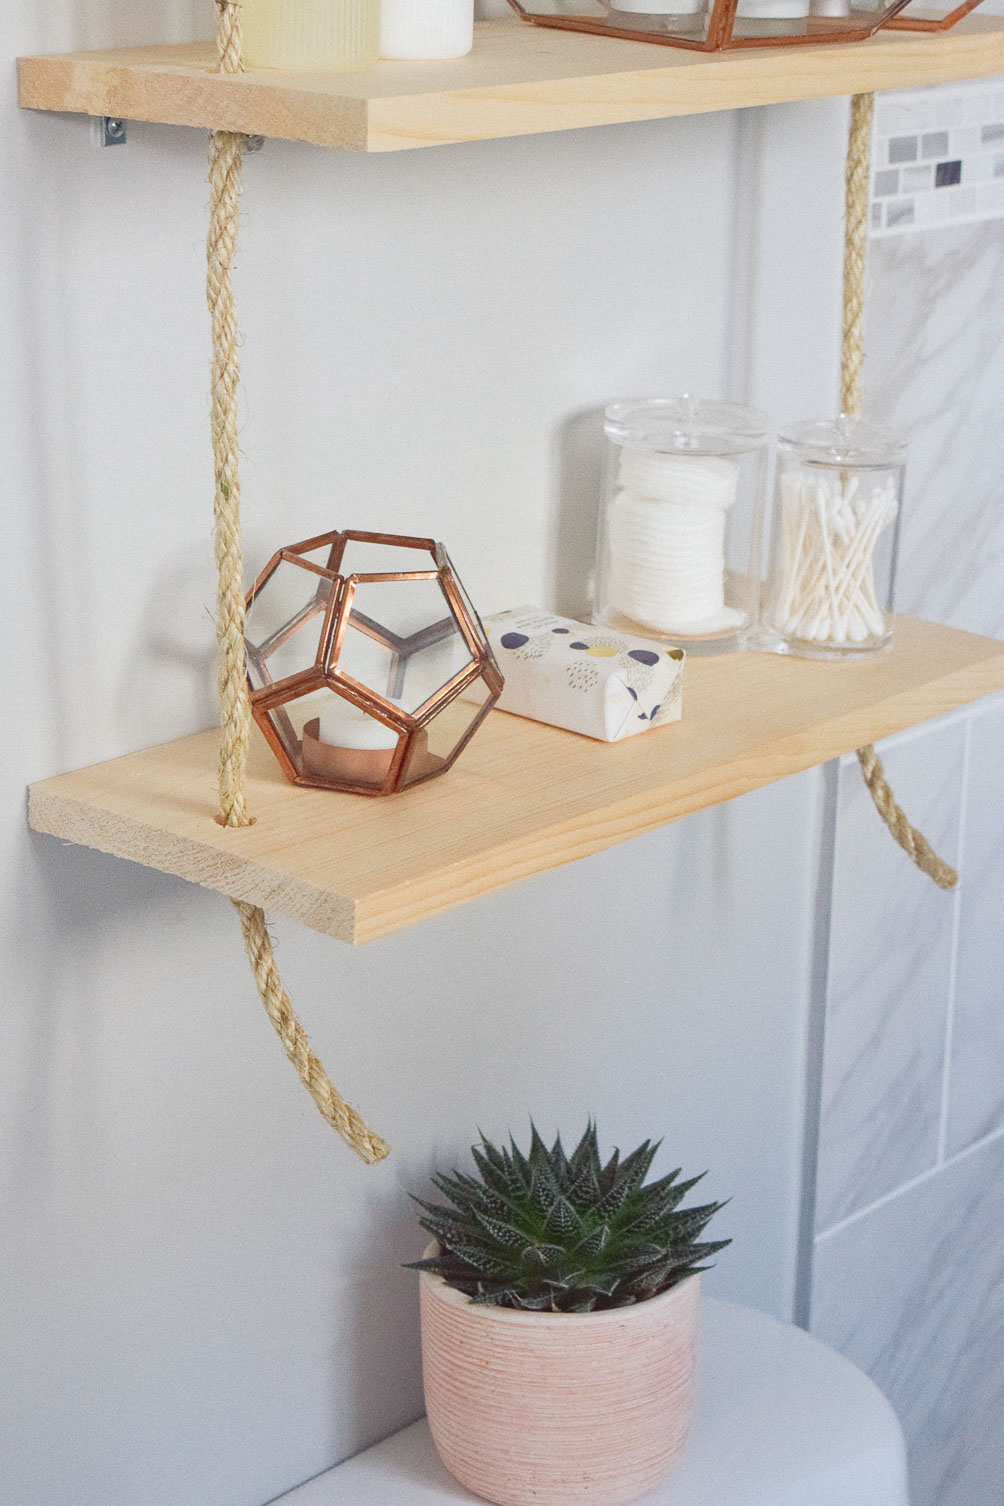
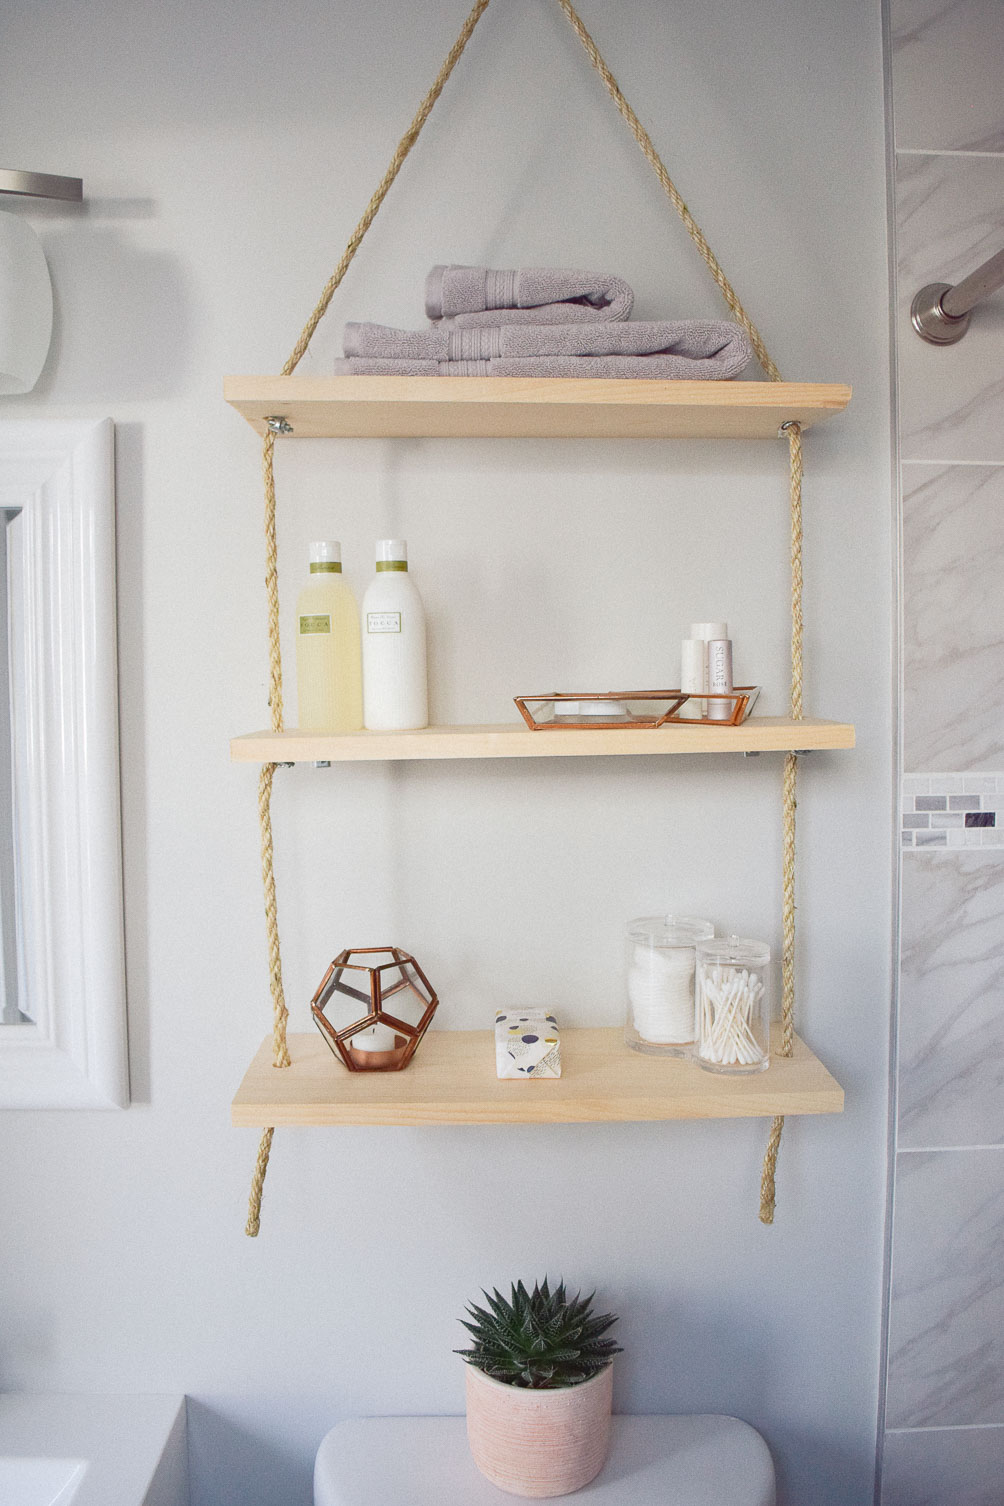
In the last couple of months E and I have been glued to HGTV. Our new house was completely move-in ready, but we still had areas needing customizing or organization. So we’ve been gleaning ideas from various shows, endless Pinterest scrolls, and my own wandering imagination. One of the first projects we tackled was these diy hanging shelves for the master bathroom. They’re space-efficient while looking chic and offering just enough additional storage. It’s an easy project that blends decor with function. Today I’m sharing the full process and any supplies needed.
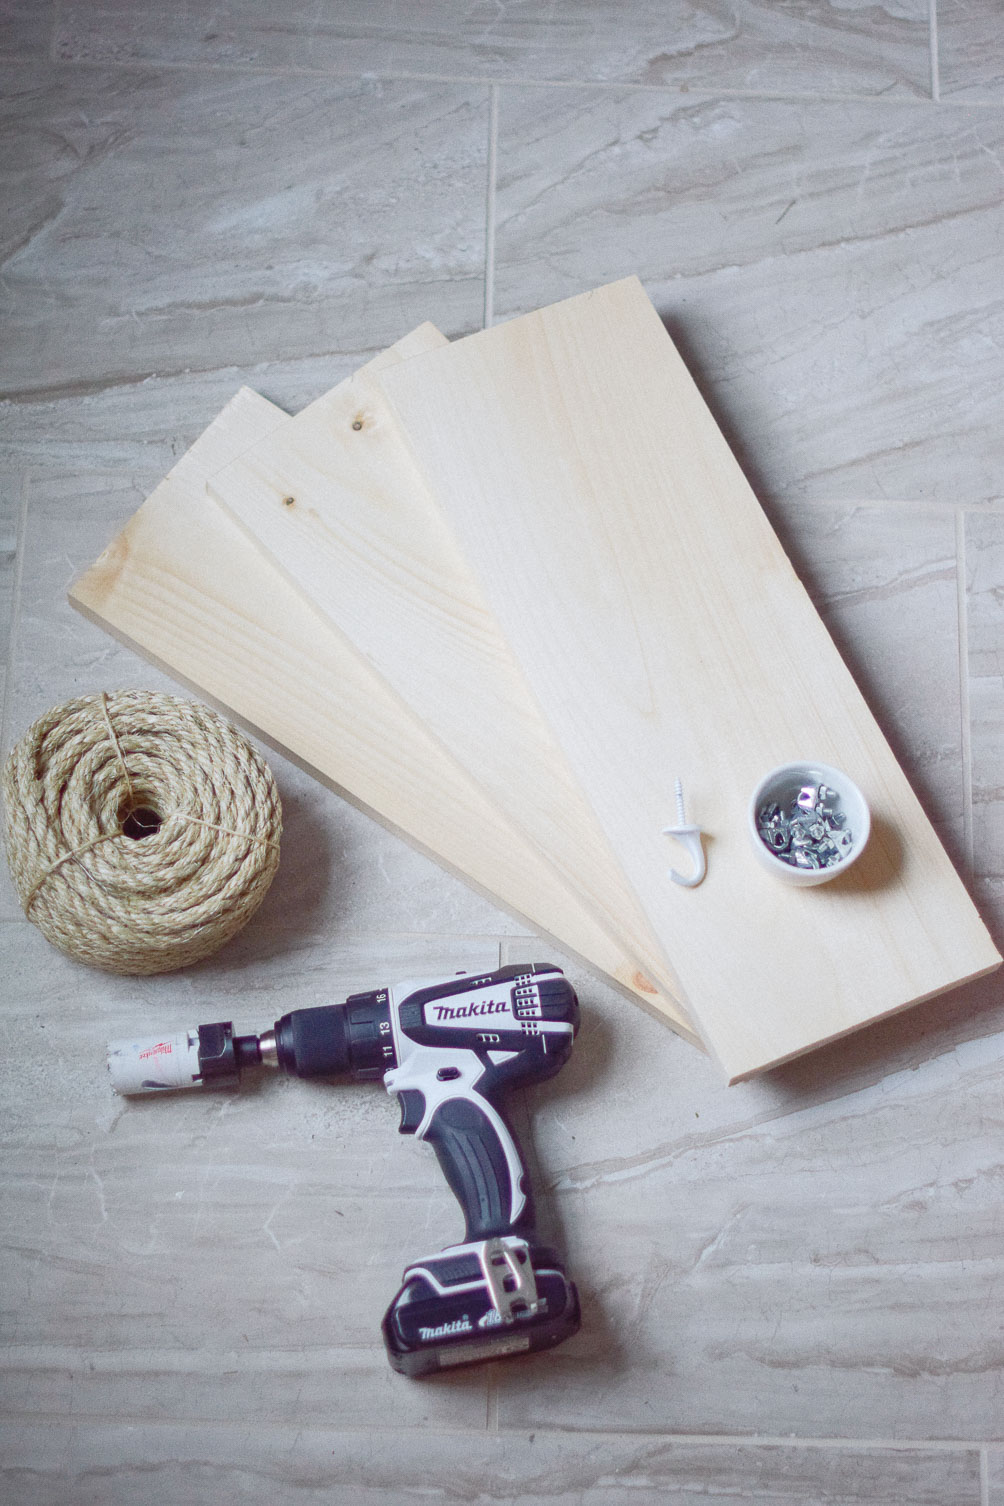
SUPPLIES
- 4 planks of wood in desired size (we used 8 in. wide x 20 in. long)
- 5 yards thick raffia rope (there will be extra)
- 6 cable locks
- 1 ceiling hook
- drill with either a wood boring drill bit or standard large drill bit
- measuring tape
- needle-nosed pliers
- pencil
- scissors
INSTRUCTIONS
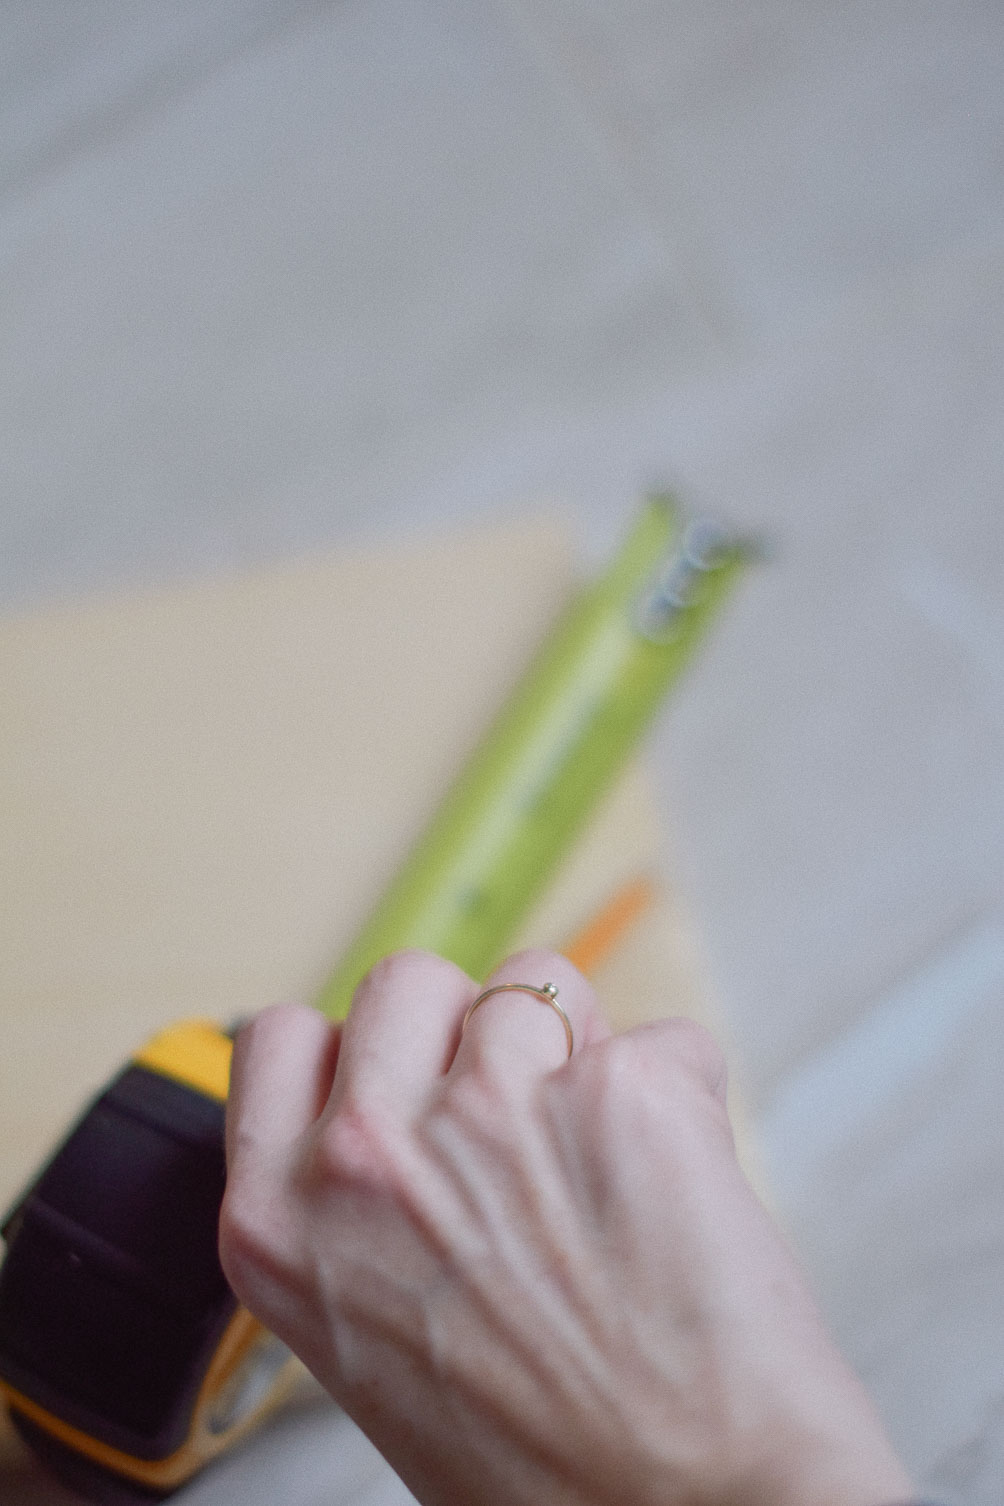
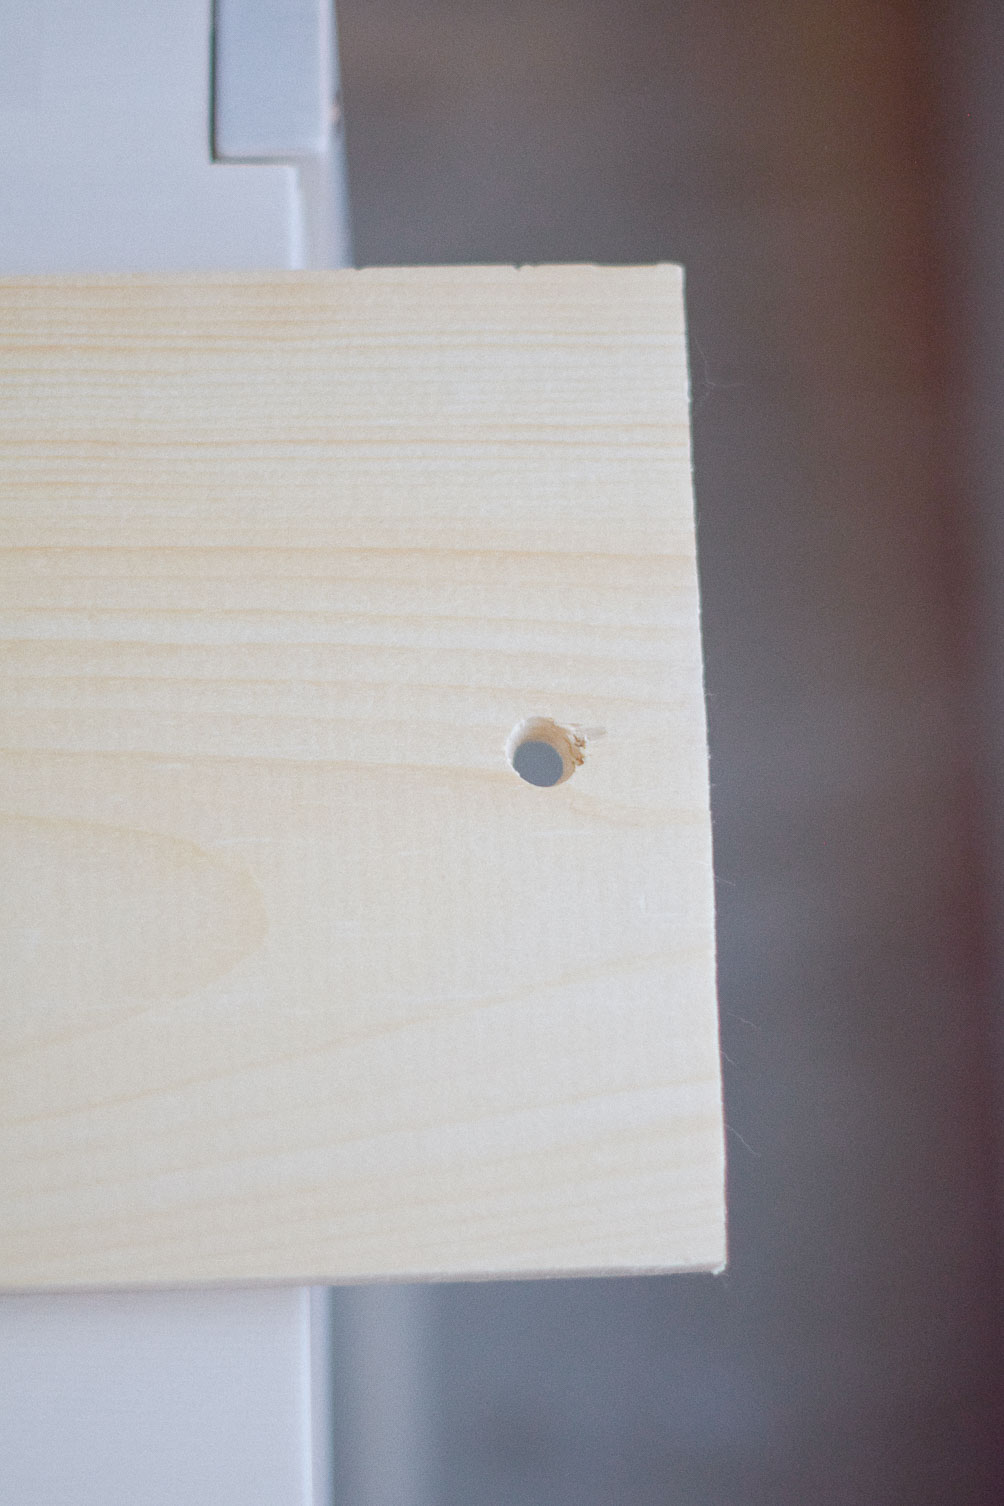
- Measure the center spot on each plank of wood and mark a point one inch in from the edge
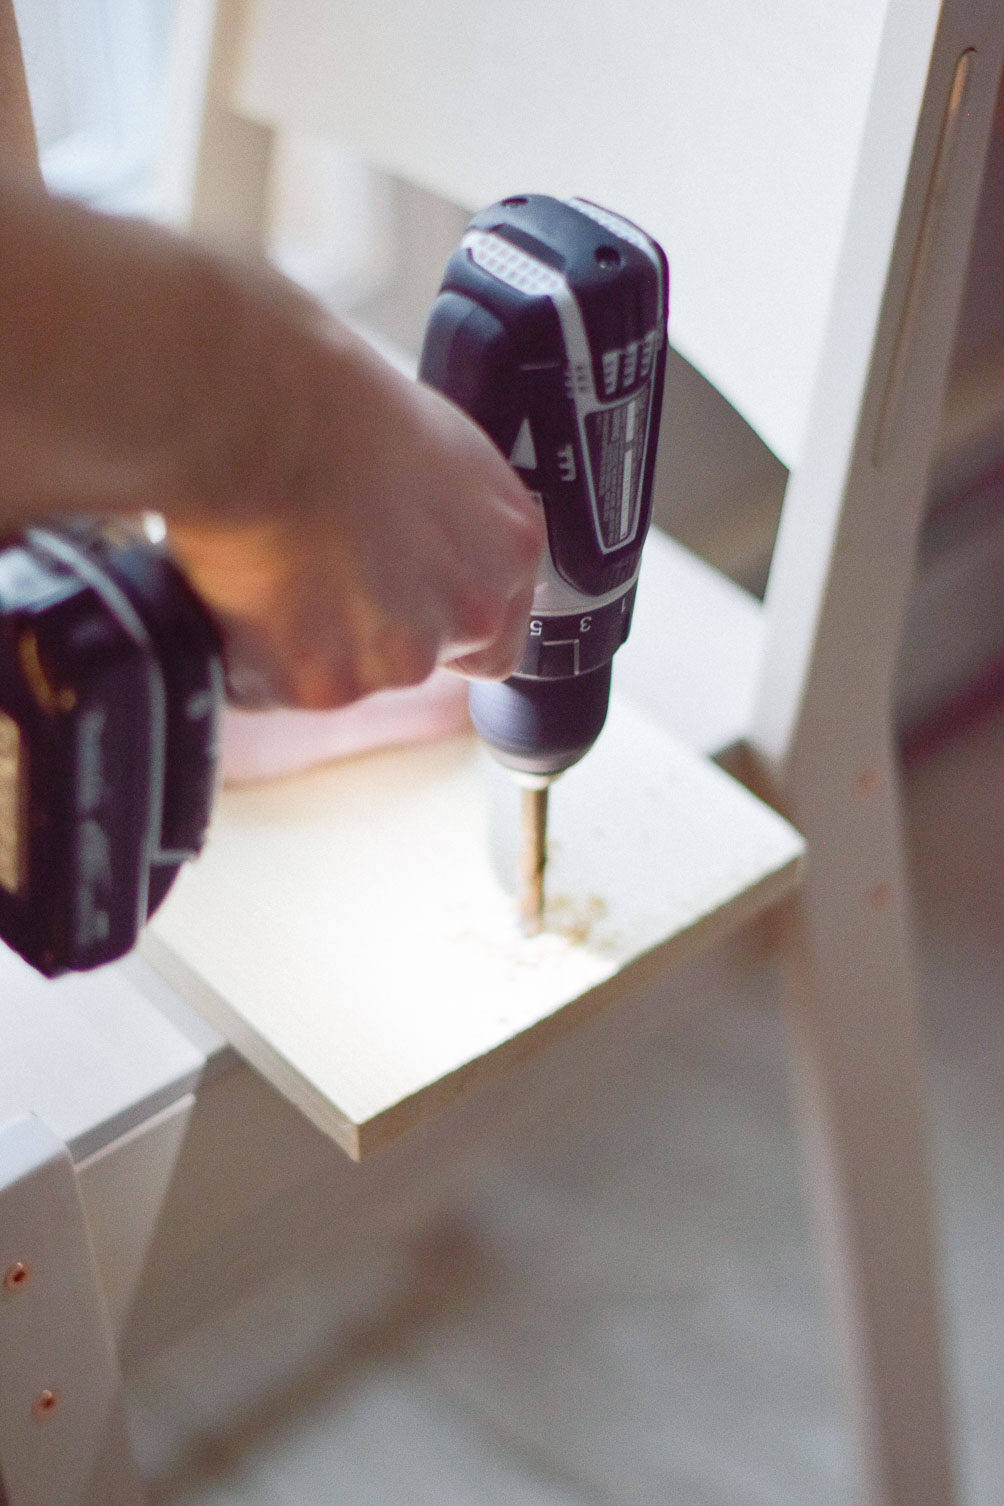
- Drill holes in marked points on each plank
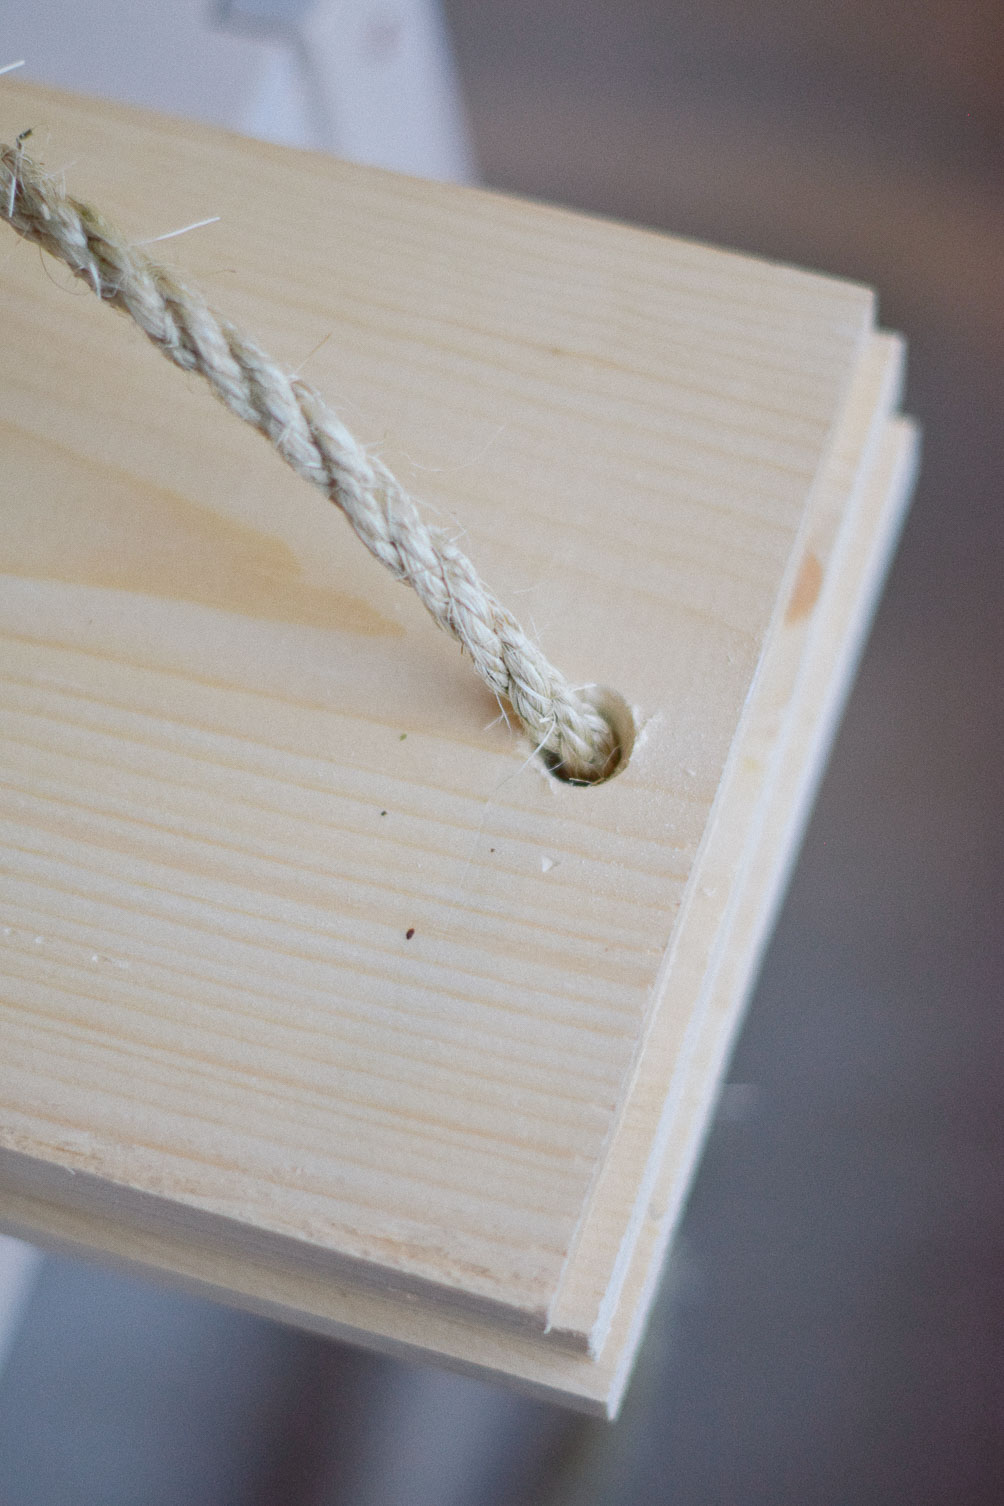
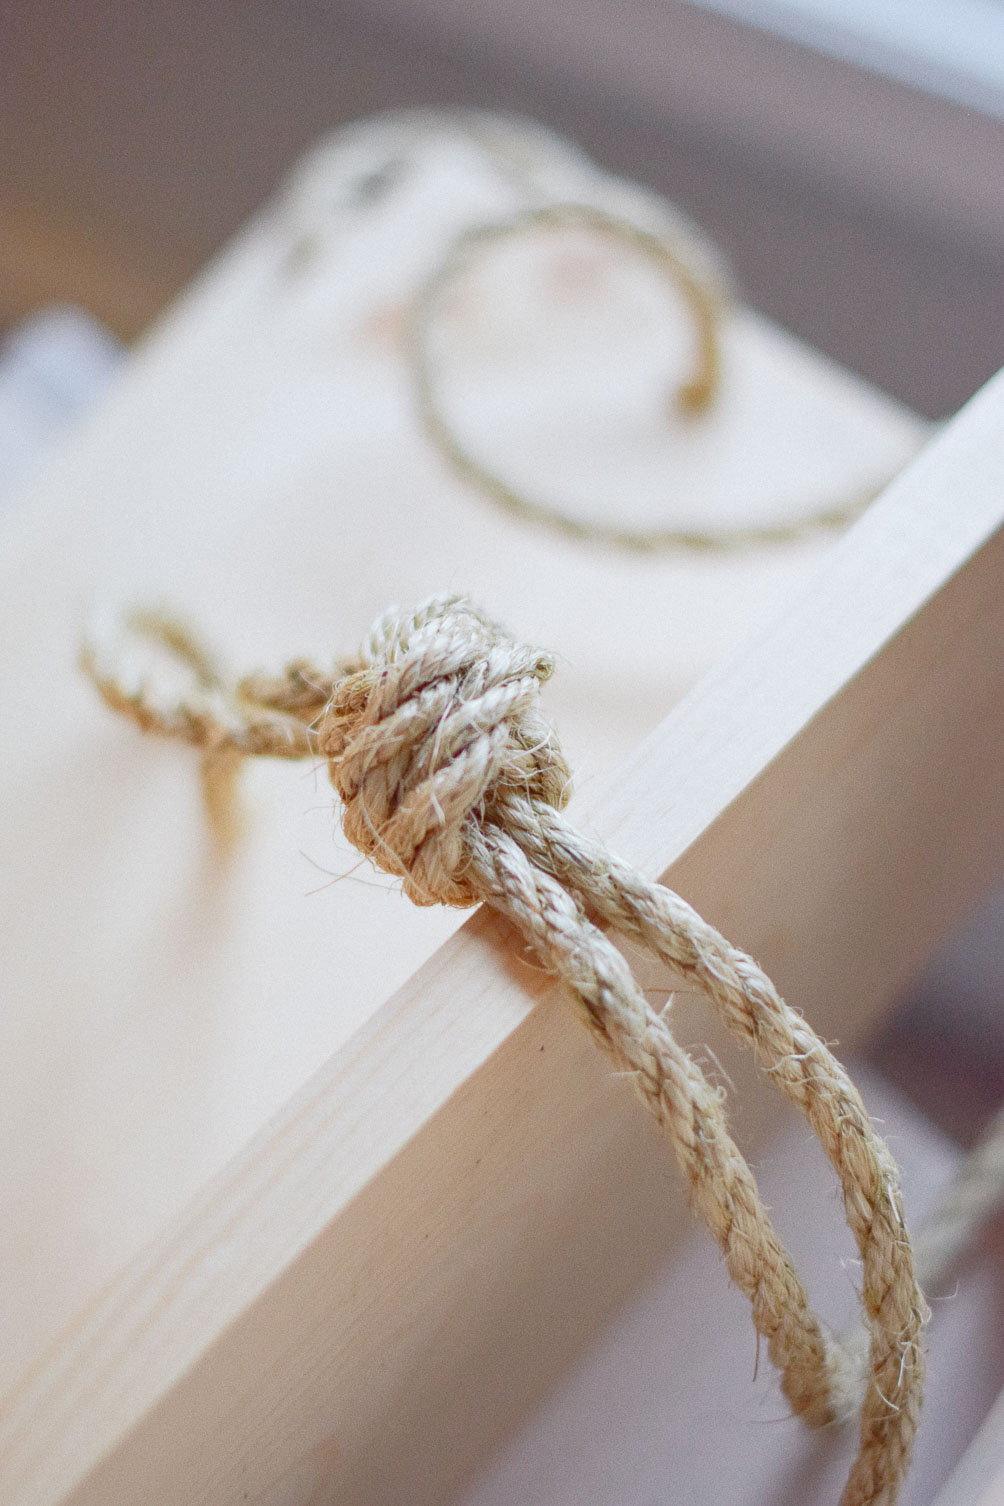
- Thread rope up through one side of the planks and down the other, leaving slack for tying a knot at the top
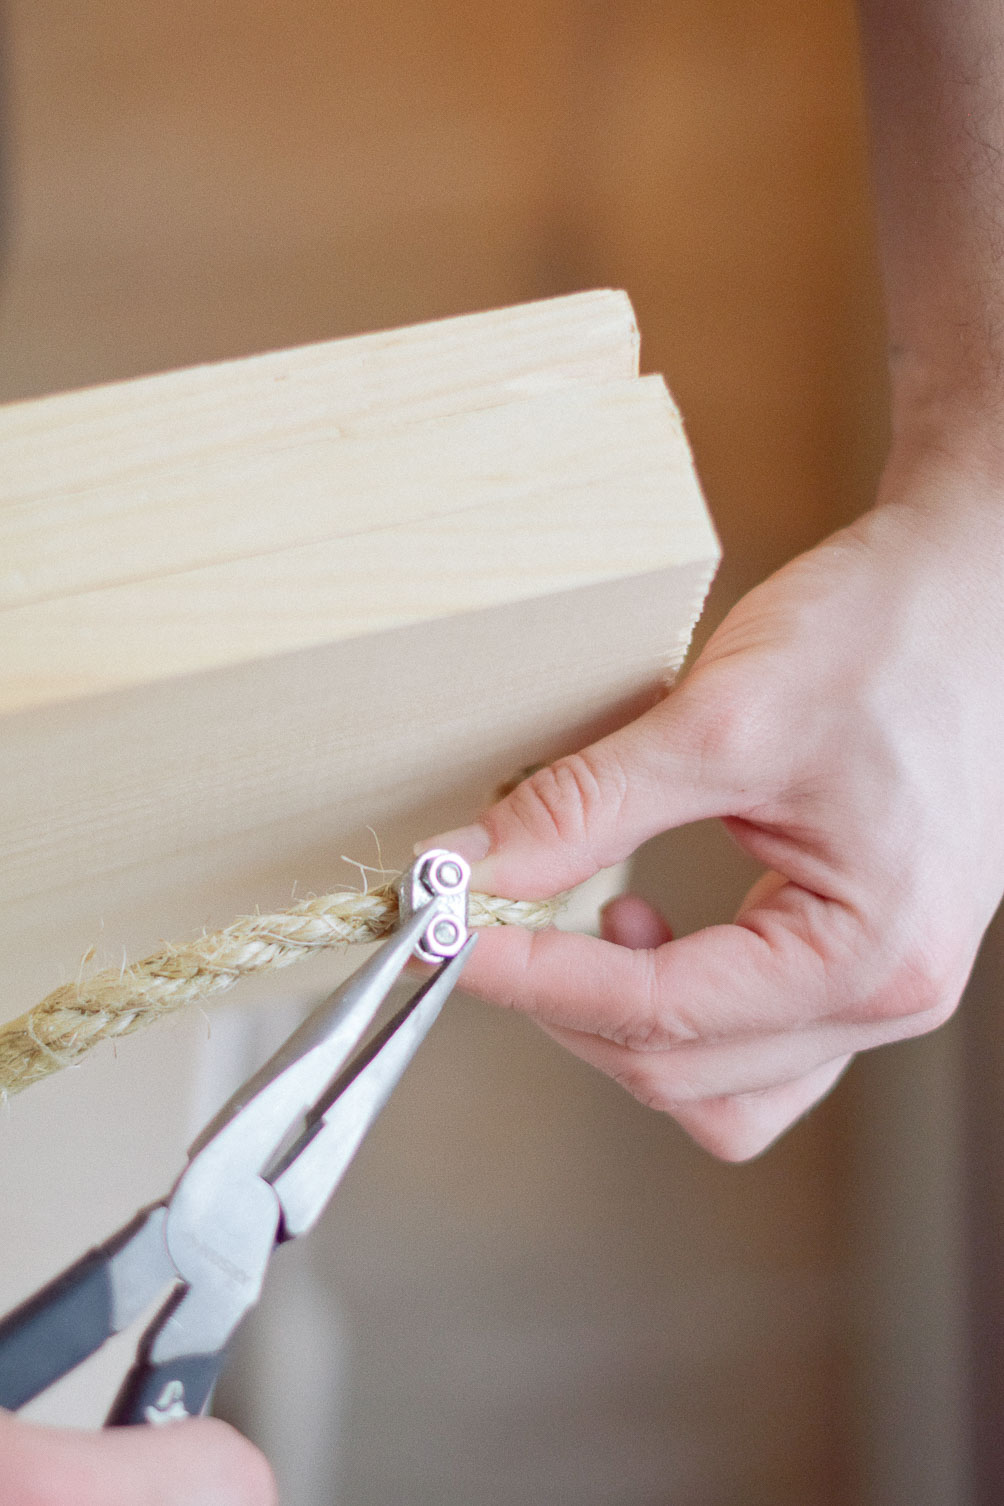
- Determine the desired distance between each plank and add cable locks underneath each shelf, tightening with needle-nosed pliers (if needed)
- Cut off any excess rope on the end
- Install ceiling hook + hang
shop this post

