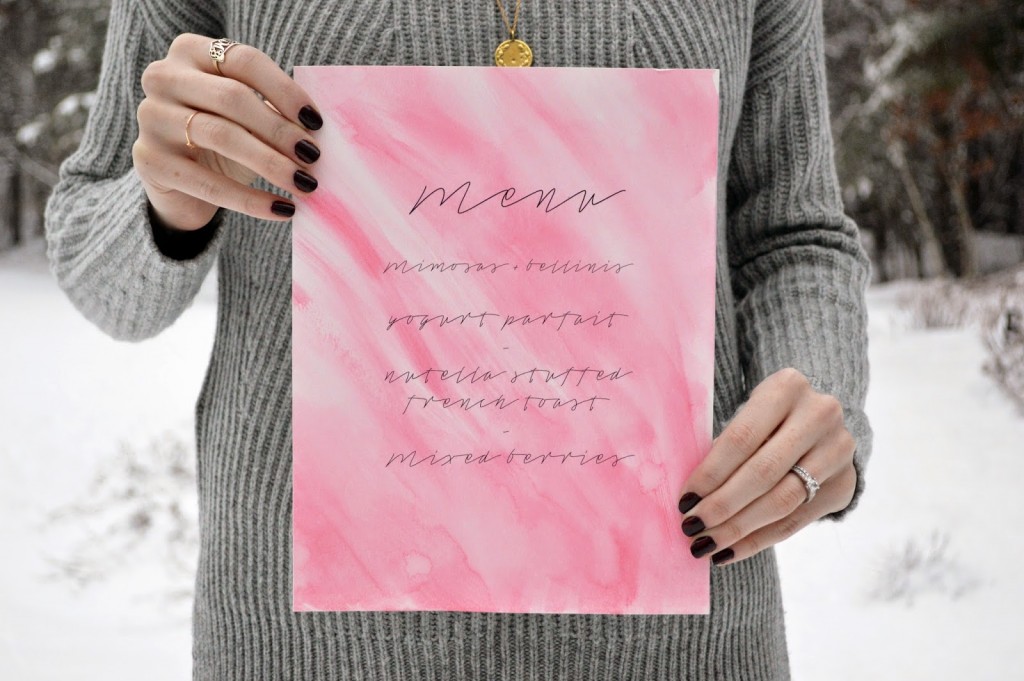
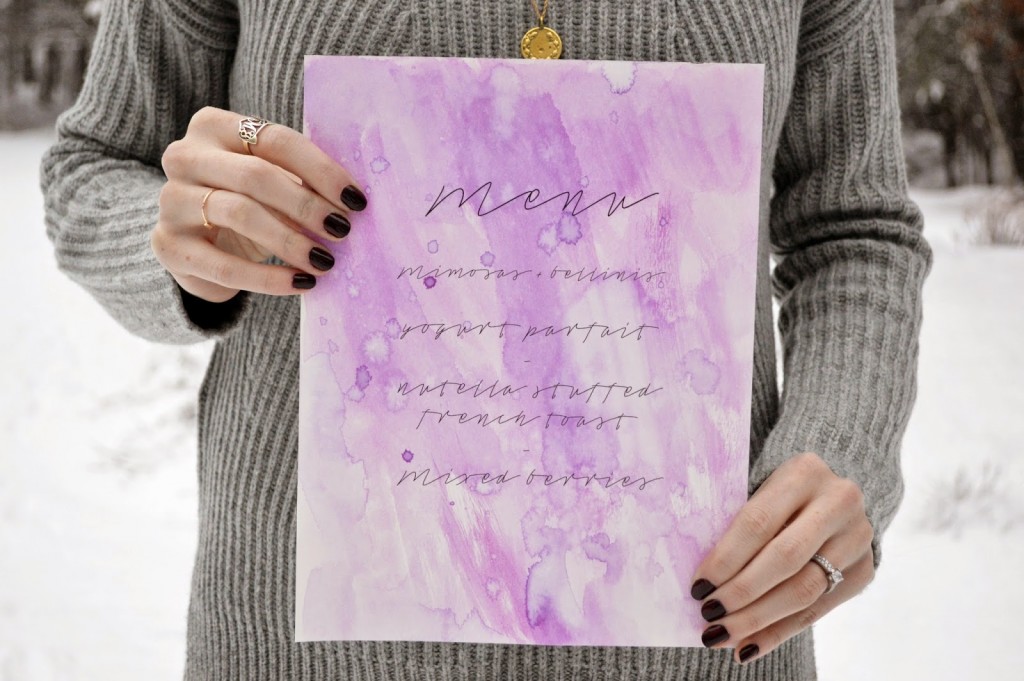
Let me be the first to admit I am not an ‘artsy’ person. I am creative and can come up with grandiose ideas of how something should look. But come time to put brush (colored pencil, crayon, marker) to paper and I am more than inadequate. It’s always been a source of frustration for me to have an active imagination and yet poor artist skills (to be fair, though, my stick figures can get pretty epic). All that’s to say these watercolor menu cards make my brush skills look expert. The forgiving materials and “no right or wrong way” directions result in a beautiful, unique presentation for your event. See full directions below and tap your inner visionary.
Supplies:
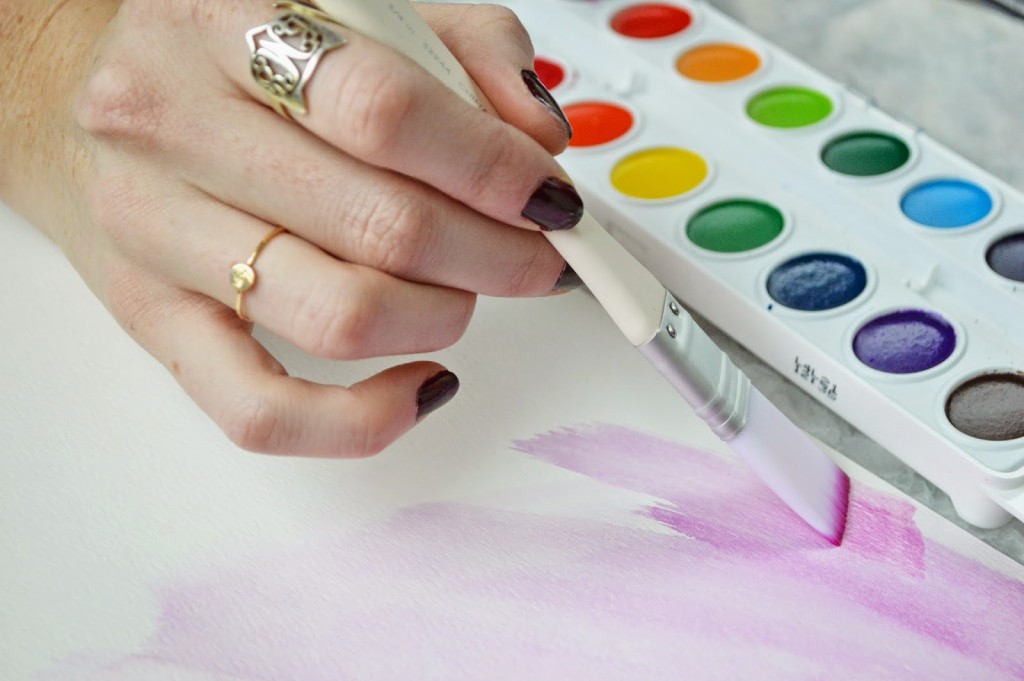
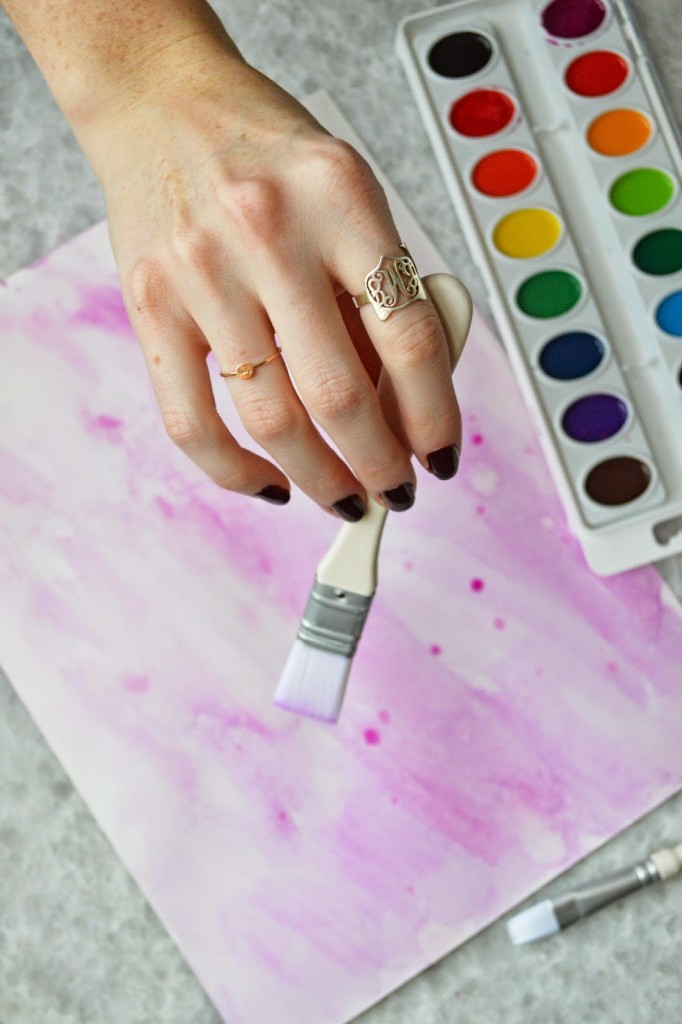
Watercolor paint
Thick watercolor paper (in white)
A few different sized paint brushes
Cup of water (to mix the watercolor with)